IMG_8070

Ink-Smushing with The Spellbinders BetterPress- CIC #585

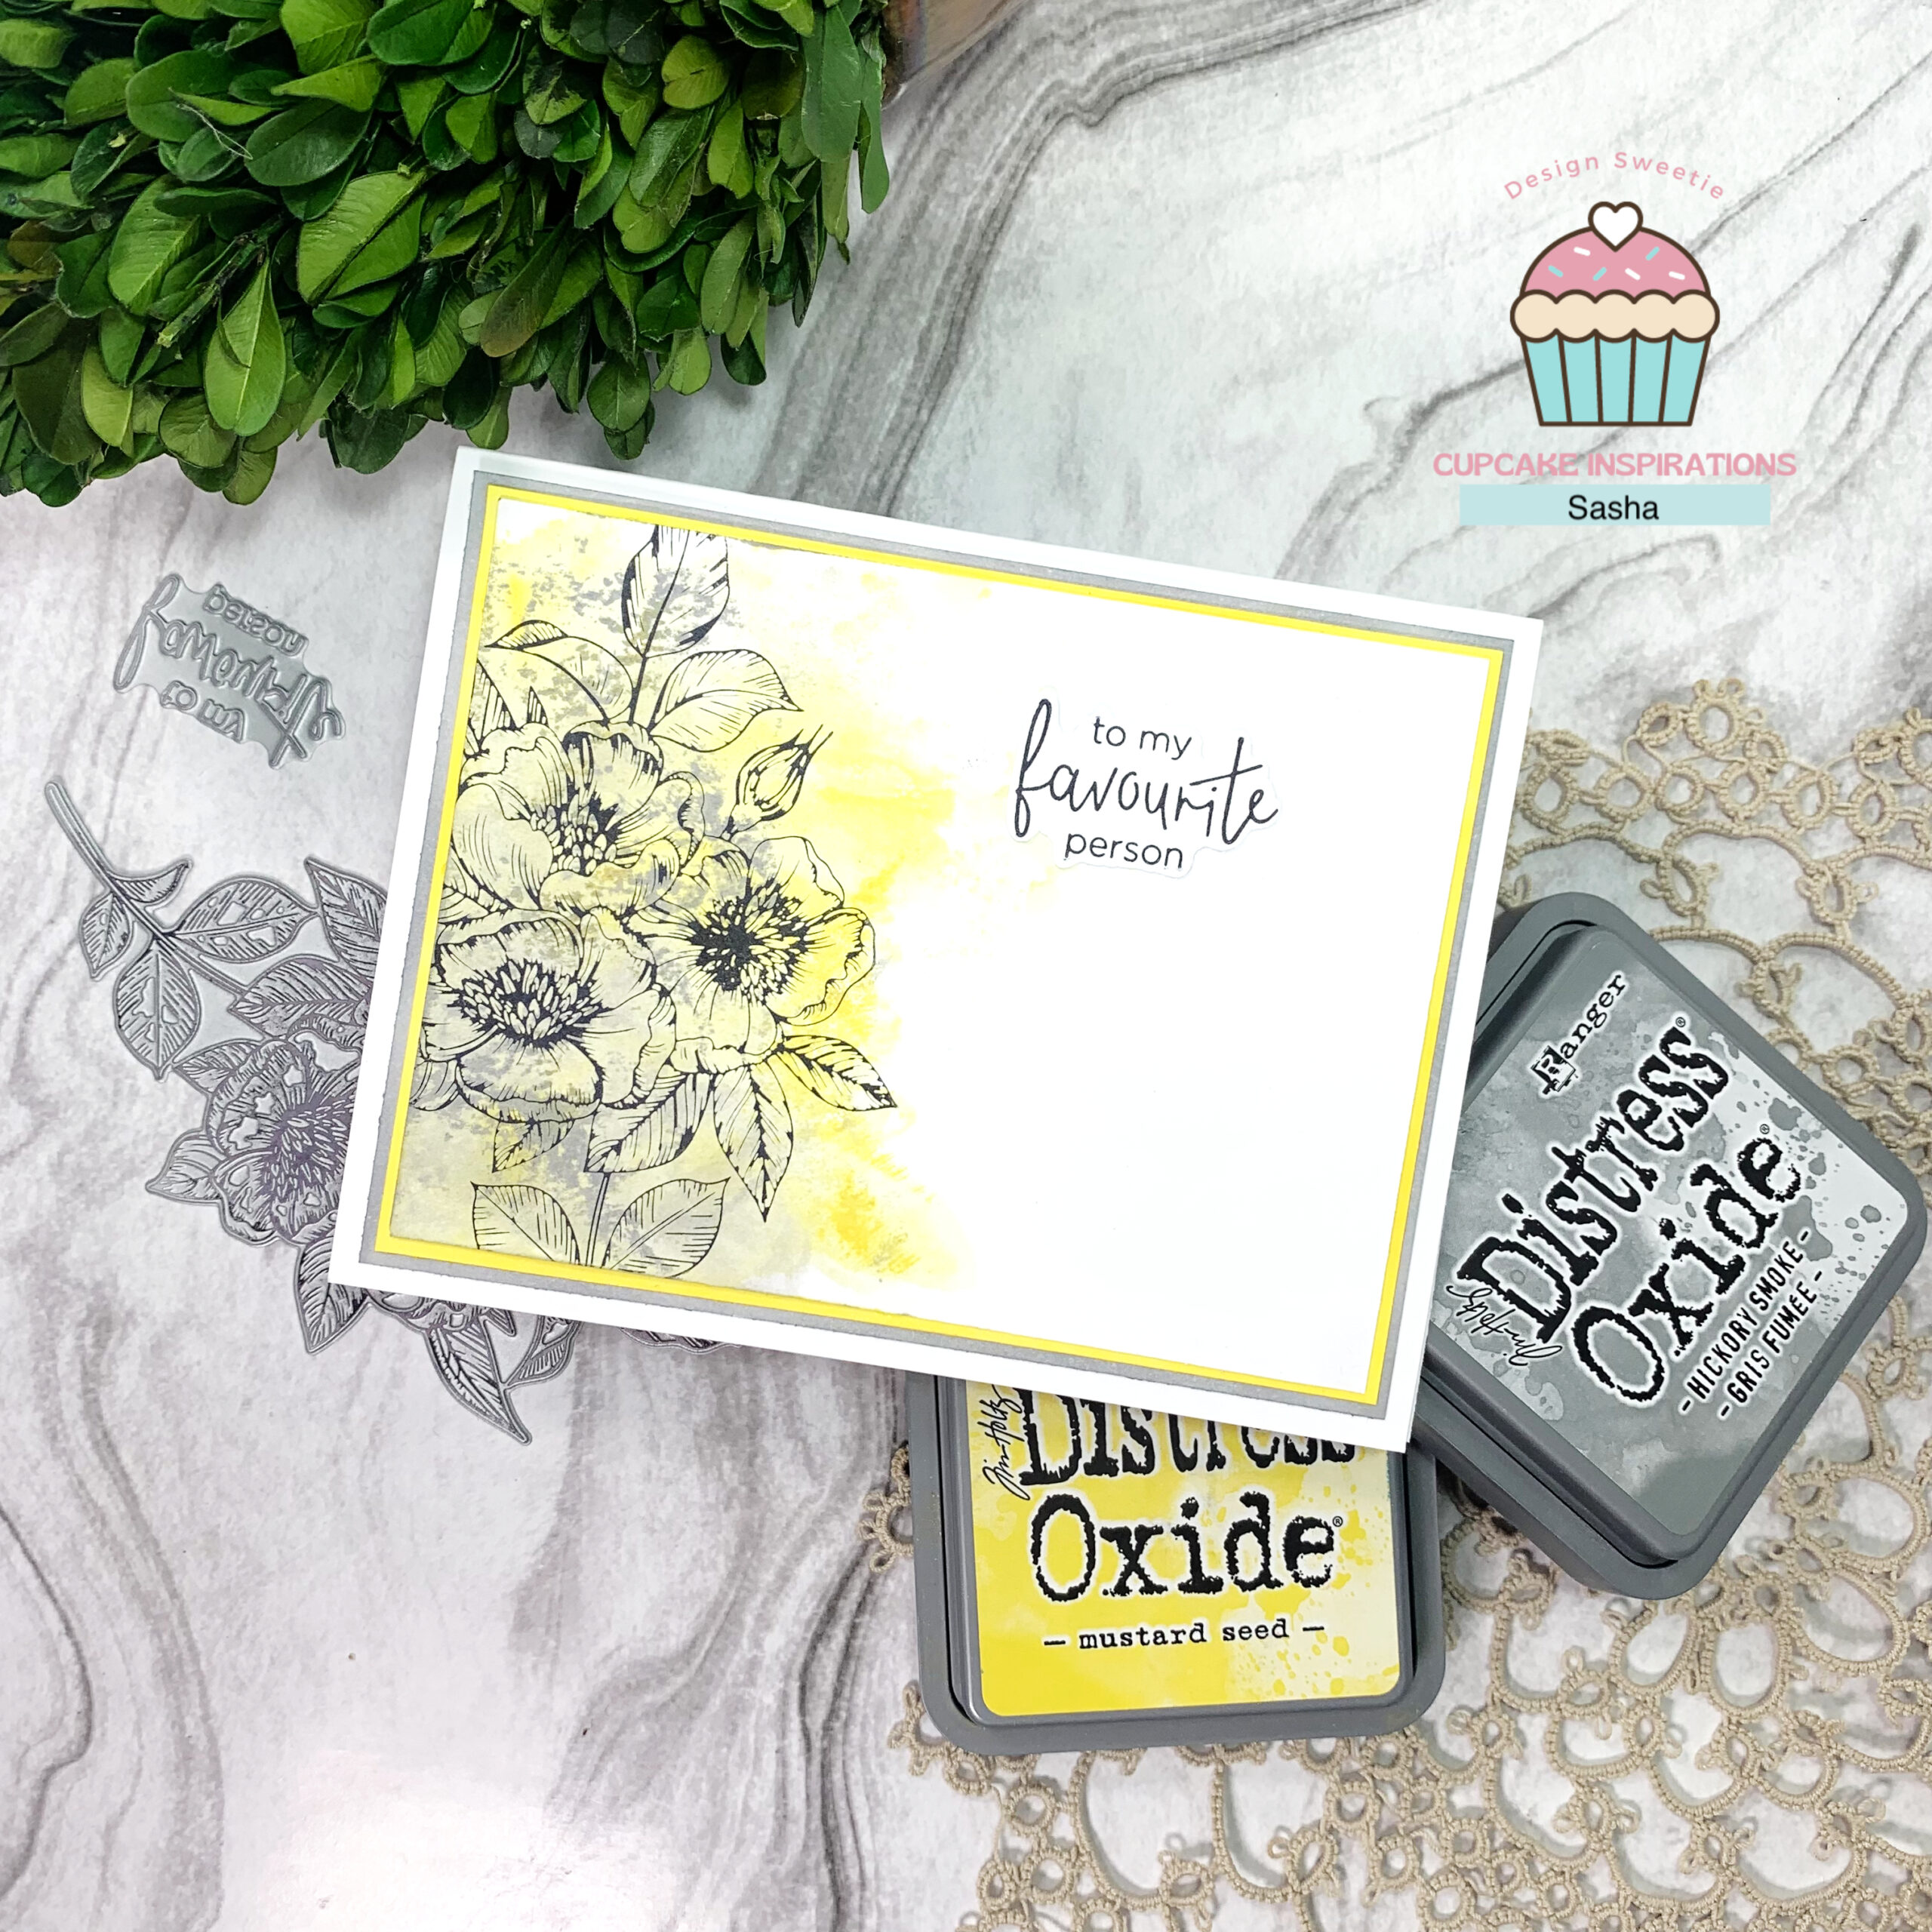
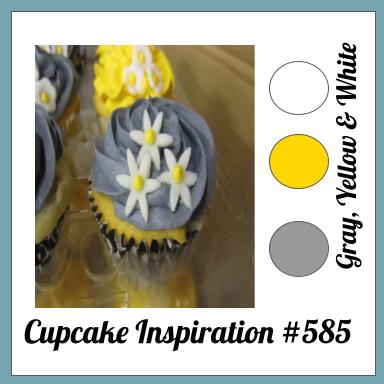
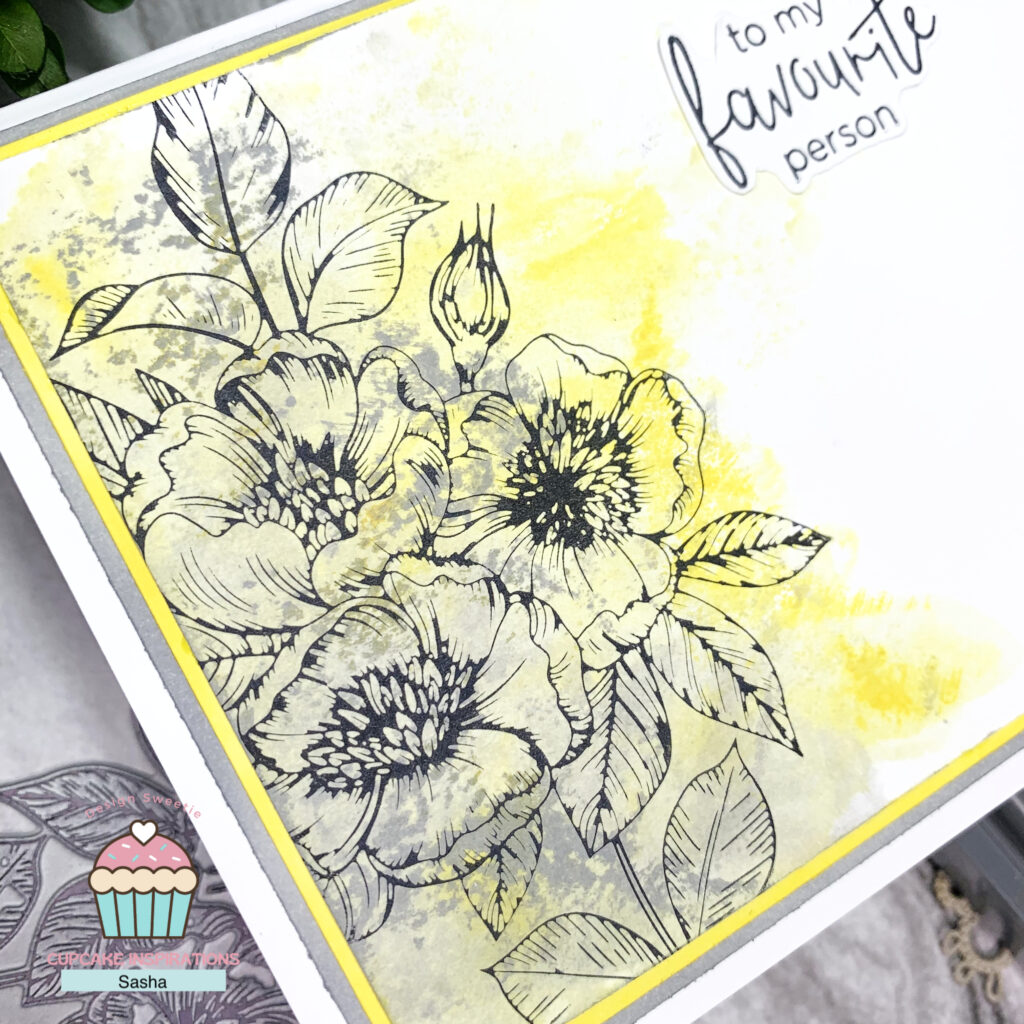
Hello friends! Today is the start of a new challenge over on the Cupcake Inspirations Challenge blog! Challenge #585 is a colour challenge, and the colours that you must use are grey, yellow, and white. This challenge is also the first challenge of the year!

To create this card, I first started by ink-smushing my card background using Mustard Seed and Hickory Smoke Distress Oxides. In between layers, I used my heat gun to dry the ink quickly.

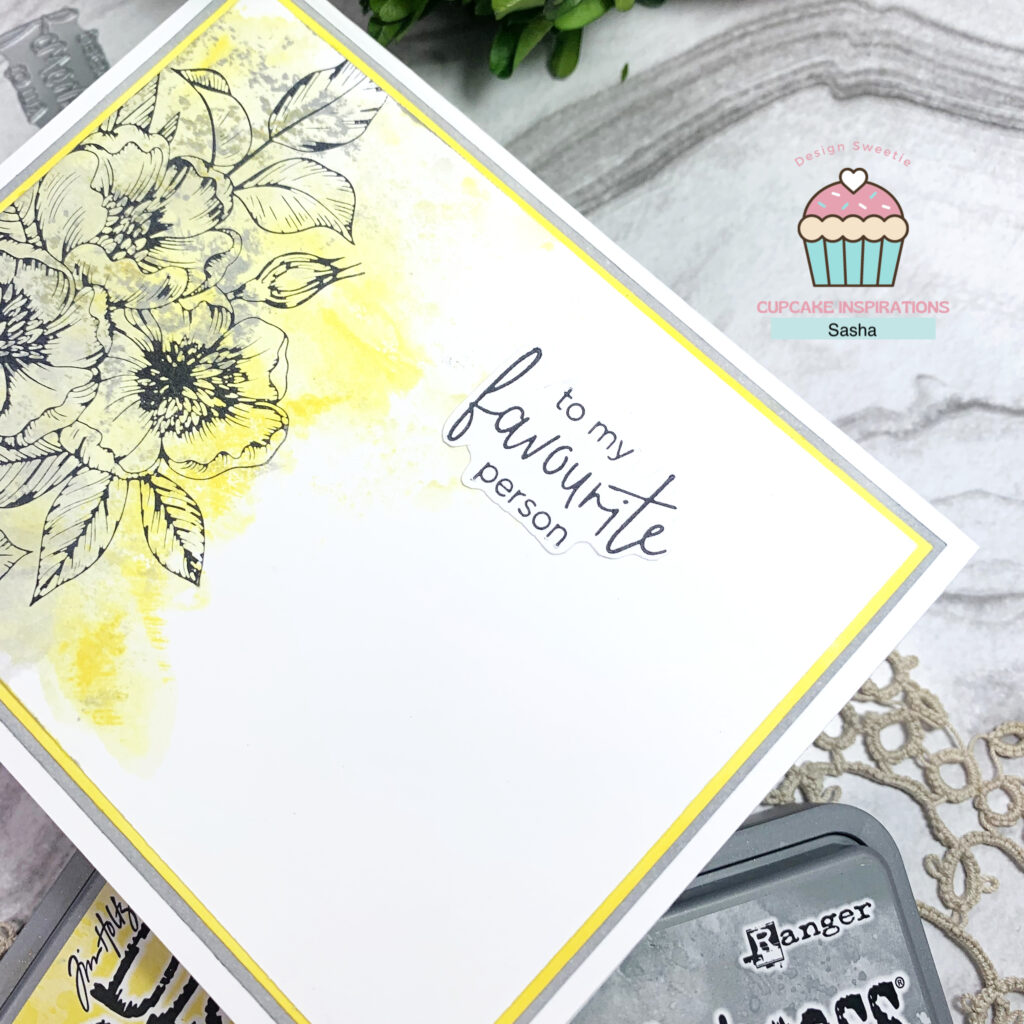
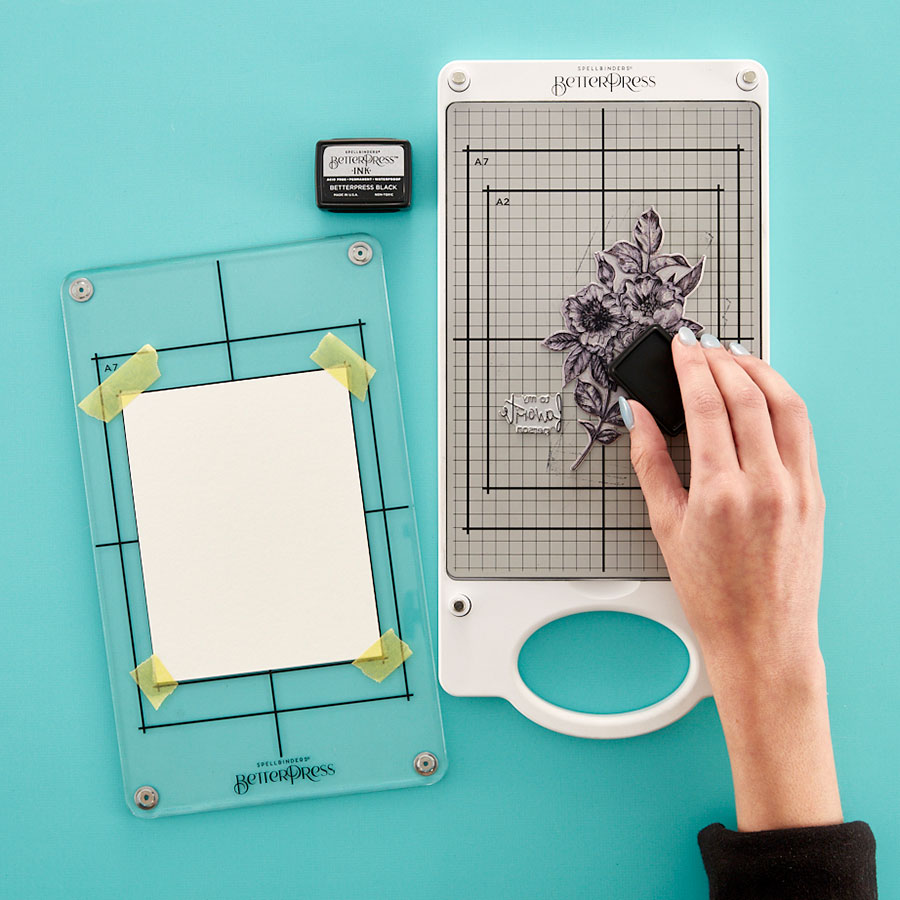
Once happy with my card background, I positioned my background and Press Plate on the Spellbinders BetterPress – the Press Plate I used to create this card is the one that comes with the BetterPress Letterpress System. I then inked the Press Plates using the BetterPress Black Ink and ran the BetterPress through my manual die-cutting machine. I did the same thing for the sentiment.

To finish the card, I created two matching mats for my card using Mustard Seed and Hickory Smoke Distress Oxides and adhered them (along with my sentiment), using Bearly Art Glue.

Be sure to head on over to the Cupcake Inspirations Challenge Blog to submit a card and participate in the current challenge!

Thanks for reading. Catch ya next time!

Sasha


Products Used

This post contains affiliate links that are of no extra cost to you. Using my affiliate links simply helps me to keep doing what I love – thank you!

Spellbinders BetterPress Letterpress System

Buy From

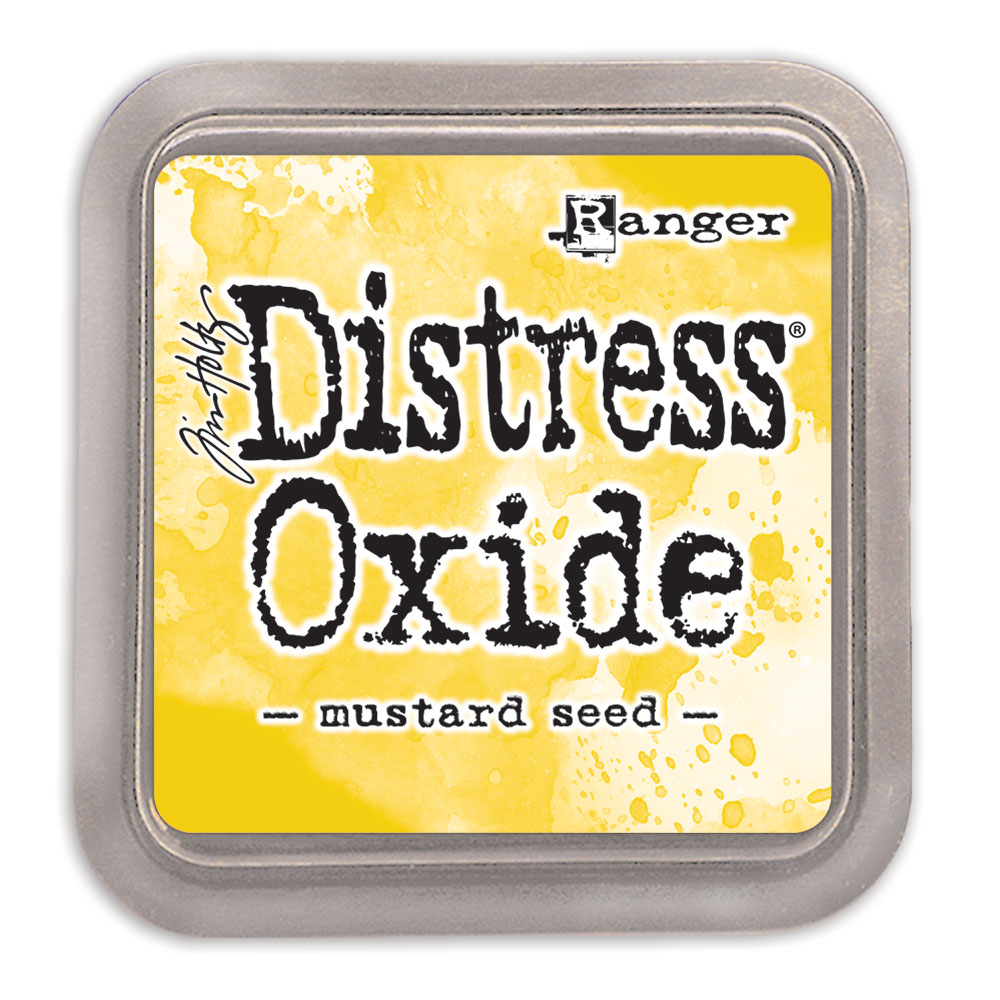
Mustard Seed Tim Holtz Distress Oxide Ink Pad

Buy From

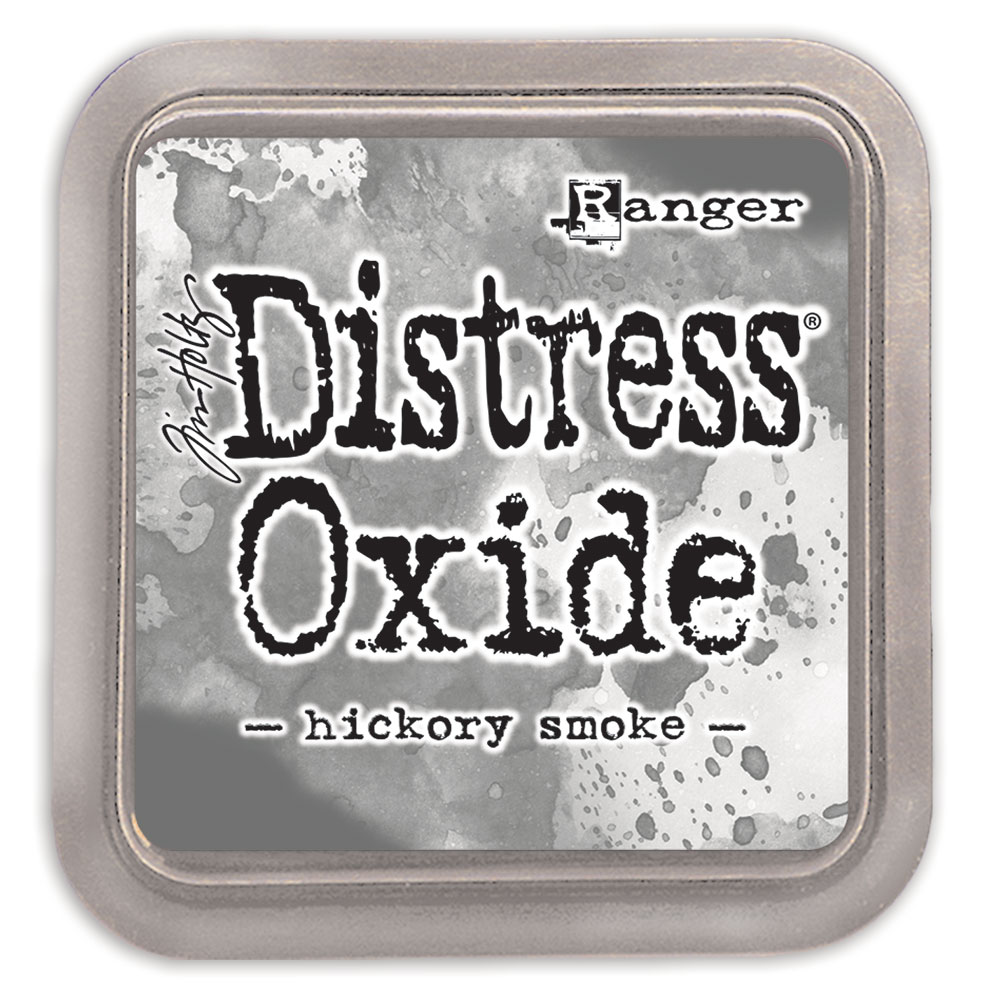
Hickory Smoke Tim Holtz Distress Oxide Ink Pad

Buy From

Tim Holtz Distress Sprayer

Buy From

12″ Portable Fiskars Paper Trimmer

Buy From

Scor-Pal Eights Measuring & Scoring Board – 12″ X 12″

Buy From

Bearly Art Precision Craft Glue – THE ORIGINAL

IMG_6590

Spooky Fun with Distress Oxides! – Spellbinders

This post contains affiliate links that are of no extra cost to you. Using my affiliate links simply helps me to keep doing what I love – thank you!

Hello friends! A very different card from yesterday – a not-so-clean and simple card featuring plenty of ink and colour!
This card features the Spellbinders Haunted House Etched Dies and a sentiment from the Spellbinders Open House Boo! Etched Dies Set.

I first started by making the background. I die-cut the moon from the Haunted House Set and placed it in the middle of my card front using washi tape. This piece will act as a mask.

I then started creating the background using a gradient of the following Distress Oxides:

I splattered the background with water, white acrylic paint, and Black Soot Distress Oxide.

With the background done, I removed the mask and used the piece of cardstock the moon was die-cut from use as another mask. I placed this piece of cardstock down and ink-blended the same gradient on to the moon.

To finish, I die-cut the haunted house and adhered everything together using Bearly Art Glue.

Thanks for reading. Catch ya next time!

Sasha J


Products Used

IMG_6597

Clean and Simple Ghost Die-Cutting – Spellbinders

This post contains affiliate links that are of no extra cost to you. Using my affiliate links simply helps me to keep doing what I love – thank you!

Hello friends!

While I love mixed media cards and adding all the elements, I also love experimenting with clean and simple designs, which is exactly what I did with this card!

Using the Spellbinders Open House Boo! Etched Dies, I die-cut several ghosts in different sizes in white cardstock. I also die-cut the “Spooky Greetings” sentiments from the same etched dies set.

Once my ghostie friends were die-cut, I arranged them on a white A2 card front and attached them using Bearly Art Glue. The sentiment was also attached using Bearly Art Glue.

Thanks for reading. Catch ya next time!

Sasha J


Products Used

IMG_6673

Scarecrow Fun – Spellbinders

This post contains affiliate links that are of no extra cost to you. Using my affiliate links simply helps me to keep doing what I love – thank you!

Hello friends, and happy fall! I know I’m a little late – but who’s counting right?

Today, I’ve created a card featuring Spellbinders Scare A Crow Etched Dies from The Happy Harvest Collection by Nichol Spohr.

After die-cutting plenty of pieces, I used the following distress oxides to add colour and a natural effect to each piece:

Once everything had been ink-blended and assembled, I ink-blended Frayed Burlap Distress Oxide for the background and adhered all the elements using Bearly Art Glue.

As for the sentiment, I used the Spellbinders Hummingbird Sentiments Stamp Set for the perfect matching stamp.

Thanks for reading. Catch ya next time!

Sasha J


Products Used

4th july

Fourth of July – Spellbinders & Sizzix

Hello friends and Happy Fourth of July! While I may be Canadian, I had an idea for a fun (and simple) red, white, and blue Fourth of July card and just wanted to share it!

Using my Fiskars 12″ Portable Paper Trimmer, I trimmed small strips of red, white, and blue cardstock and then glued them onto a piece of white cardstock.

Using the Spellbinders Colour Block Slices etched dies, I then die-cut a couple of triangles when I then glued to an A2 card front.

As for the sentiment, I used the Sizzix Celebration Words: Script Thinlits by Tim Holtz die set.

Thanks for reading. Catch ya next time!

Sasha J


Products Used

  • Spellbinders Colour Block Slices etched dies
  • Sizzix Celebration Words: Script Thinlits by Tim Holtz
  • Neenah Astrobright Cardstock
  • Bearly Art Glue
  • Fiskars 12″ Portable Paper Trimmer
IMG_5411 Large

Old-fashioned Brick Building – CR #169

Hello friends! Today’s card is my submission for episode #169 of Craft Roulette, which has the following parameters:

I had a lot of fun creating this card and experimenting with some styles and techniques I have not used before!

Once I die-cut the window from my card front using the Spellbinders The Sweet Shoppe cutting dies, I started by creating the brick building using Distress Oxides/Inks and the HoneyBee Stamps Perfect Brick Stencil. I also added some brown paint onto the bricks for a more “old-fashioned” look. I used the following Oxides/Inks for the brick wall:

  • Frayed Burlap
  • Vintage Photo
  • Ground Espresso
  • Candied Apple

The black window was distressed using silver paint along with Carved Pumpkin Distress Ink to create rust.

As for the awning (also from The Sweet Shoppe cutting dies set), I used the Star Six stencil from Ciao Bella Paper with Frayed Burlap, Black Soot, Mowed Lawn, and Ground Espresso Distress Oxides/Inks.

The wooden window box (along with the wooden sign with a sentiment from Sizzix) were created using – you guessed it – more Distress Oxides/Inks as well as brown paint! I used the following colours for the wood:

  • Frayed Burlap
  • Vintage Photo
  • Ground Espresso

I used these Copics to colour the dog from the Mama Elephant Puppy Play set:

  • Browns: E15, E18
  • Pinks: R20, R22

The plants were die-cut from various colours of Neenah Astrobright Cardstock and Recollections Cardstock using the Sizzix Garden Shed Die Set designed by Sophie Guilar.

Thanks for reading. Catch ya next time!

Sasha J


Products Used

  • Spellbinders The Sweet Shoppe Cutting Dies by Tina Smith
  • Sizzix Gaden Shed Thinlits by Sophie Guilar
  • Sizzix Good Vibes #3 by Pete Hughes
  • Honey Bee Stamps Perfect Brick Stencil
  • Ciao Bella Paper Star Six Stencil
  • Mama Elephant Puppy Play Stamp and Die Set
  • Copic Sketch Markers
  • Black Soot Distress Oxide
  • Lost Shadow Distress Oxide
  • Frayed Burlap Distress Oxide
  • Vintage Photo Distress Ink
  • Ground Espresso Distress Ink
  • Candied Apple Distress Oxide
  • Mowed Lawn Distress Oxide
  • Carved Pumpkin Distress Ink
Card #1 copy Large

Rainbow Floral Stitched Card – Spellbinders and Simon Says Stamp

Hi friends! Today’s card is my first time ever stitching a card, and I LOVED it – I can’t wait to buy more stitching dies!

If you want to watch me make this card, check out YouTube on making this card below!

Using the Stitched Floral Flip Frame Etched Dies from Spellbinders and cardstock from Neenah Astrobright and Recollections, I die-cut a TON of flowers in a rainbow of colours. Since I was using lighter cardstock for this, I die-cut each stitched flower twice (for a total of four) so that I could glue two of them together to make the cardstock better for the stitching. I also die-cut the simple flower with no stitching four times in each colour – two for the back of the stitched flowers and two to help create the repeating pattern on the finished card.

After stitching all of the flowers and gluing the backings on, I die-cut a large Happy Birthday sentiment three times using the Simon Says Stamp Large Fancy Happy Birthday Die. I glued the sentiments together to give the card some more dimension.

To finish, I attached everything to an A7 card base – the happy birthday sentiment is raised using foam squares.

Thanks for reading. Catch ya next time!

Sasha J


Challenges Entered

Two Scrapbook Friends – Repetitive

Simon Says Stamp IG Challenge – Fun with Flowers

Happy Little Stampers – Anything Goes with Dies


Products Used

  • Spellbinders Stitched Floral Flip Frame Etched Dies
  • Simon Says Stamp Large Fancy Happy Birthday Die
  • Neenah Astrobright Cardstock
  • Recollections Cardstock
  • Embroidery Thread
  • Foam Squares
  • Bearly Art Glue
  • Sizzix Big Shot
  • Sizzix Die Brush and Foam Pad
simple wedding Large

Simple Wedding Card – Spellbinders “Metamorphosis” Simon Hurley Collection

Hi friends! Earlier this week, I posted a rainbow thank you card using the Stained Window die-cut from Spellbinders designed by Simon Hurley. I had so much fun making that card that I decided to create another card for a different occasion – a wedding card!

This card is much simpler than the other one I made – first, I die-cut the window from white cardstock and glued it onto a white card front on a white A7 card base. Then, I used the Lawn Fawn Big Scripty Words Hot Foil Plates and Spellbinders Silver Glimmer Hot Foil to foil the sentiment “congrats.” To finish, I cut out my sentiment and glued it to the window die cut.

I just loved using this die so much! I will definitely be using it for more cards in the future!

Thanks for reading. Catch ya next time!

Sasha J


Products Used

  • Spellbinders Stained Glass Window Die-Cut by Simon Hurley
  • Lawn Fawn Big Scripty Words Hot Foil Plates
  • Basic White Cardstock
  • Neenah Astrobright Cardstock
  • Recollections Cardstock
  • Spellbinders Glimmer Foil System
  • Sizzix Big Shot
  • Spellbinders Silver Glimmer Hot Foil
  • Bearly Art Glue
  • Double Sided E-Z Runner Grand Adhesive Tape Dispenser
  • Fiskars Titanium Micro-Tip Easy Action Scissors, 6”
  • Fiskars Portable Paper Trimmer, 12”
IMG_4506

Rainbow Thank You Card! – Spellbinders “Metamorphosis” Simon Hurley Collection

Hi friends! Although this card was more time-consuming than others, I LOVE the final product – it’s simple but effective. Despite being time-consuming (having to glue tons of little pieces down…), it was pretty easy to make, dare I say therapeutic!

Using the Spellbinders Stained Glass Window die-cut designed by Simon Hurley from his Metamorphosis collection, I die-cut the window in white cardstock and glued it to an A7 card front. Then using a rainbow of cardstock colours, I die-cut each section of the window in a different colour so that I could carefully glue each piece to the corresponding cut-out on the card front. Although it was a tedious process, I actually liked doing this! It was really satisfying putting each piece in its place – kind of like putting together a puzzle!

After all the pieces were cut and glued, I used the Lawn Fawn Big Scripty Words Hot foil plates from their latest release (such a fun release!) and hot foiled the sentiment “thanks” using the Spellbinders Silver Glimmer Foil. I then fussy cut the sentiment and glued it into the centre of the finished window. To finish, I attached the card front to an A7 card base.

I LOVED this stained window die-cut so much that I decided to make another card (for a different occasion!) using all the same products, which I will post later in the week!

Thanks for reading. Catch ya next time!

Sasha J


Products Used

  • Tweezers
  • Spellbinders Stained Glass Window Die-Cut by Simon Hurley
  • Lawn Fawn Big Scripty Words Hot Foil Plates
  • Basic White Cardstock
  • Neenah Astrobright Cardstock
  • Recollections Cardstock
  • Spellbinders Glimmer Foil System
  • Sizzix Big Shot
  • Spellbinders Silver Glimmer Hot Foil
  • Bearly Art Glue
  • Double Sided E-Z Runner Grand Adhesive Tape Dispenser
  • Fiskars Titanium Micro-Tip Easy Action Scissors, 6”
  • Fiskars Portable Paper Trimmer, 12”
RAM G main

Simple Friendship Card – RAM Stamps

Hi friends! Today’s card features another digi stamp, but this time from RAM Stamps! The stamp I used for this card is called “Giraffe & Bird,” I thought it would make for a perfect friendship card, so I decided to do that!

After choosing a sentiment, I printed both the image and sentiment onto basic white cardstock. I rounded the corners of the sentiment with a corner punch (to give it a softer look) and coloured the digi stamp using the following Ohuhu alcohol markers:

Giraffe: Y3, Y030, YR240, Y120, WG050, WG01

Bird: B070, B050, B030, YR240, Y120

Flowers: RV270, RV260

I then used the Spellbinders Hand Drawn Scallops Embossing Folder to emboss the card front. I wanted to keep this card simple, so embossing the background was the perfect way to add interest.

To finish this card, I attached the card front to an A7 card base and used foam squares to pop up both the sentiment and the image.

Thanks for reading. Catch ya next time!

Sasha J


Products Used:

  • RAM Stamps “Giraffe & Bird” Digi Stamp
  • Spellbinders Hand Drawn Scallops Embossing Folder
  • Ohuhu Alcohol Markers
  • Basic White Cardstock
  • Foam Squares
  • Double Sided E-Z Runner Grand Adhesive Tape Dispenser
  • Sizzix Big Shot