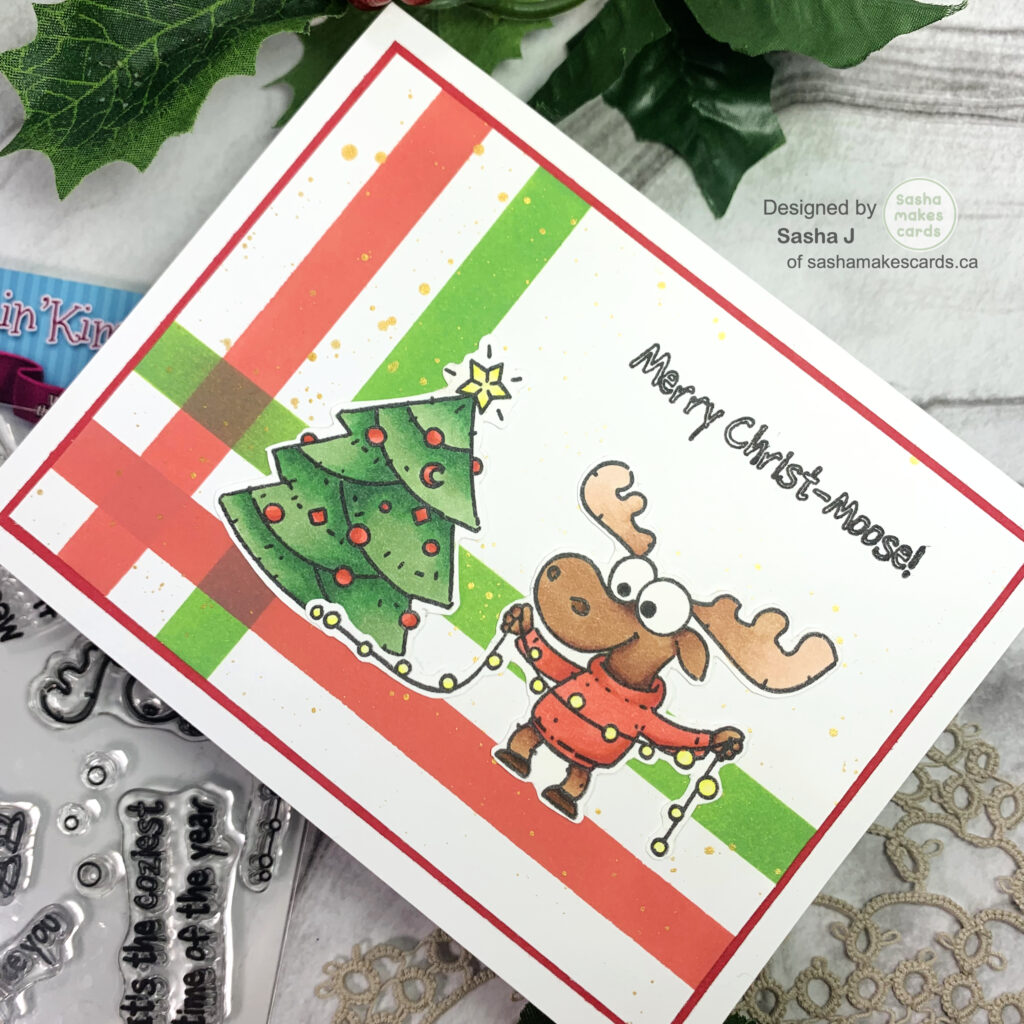
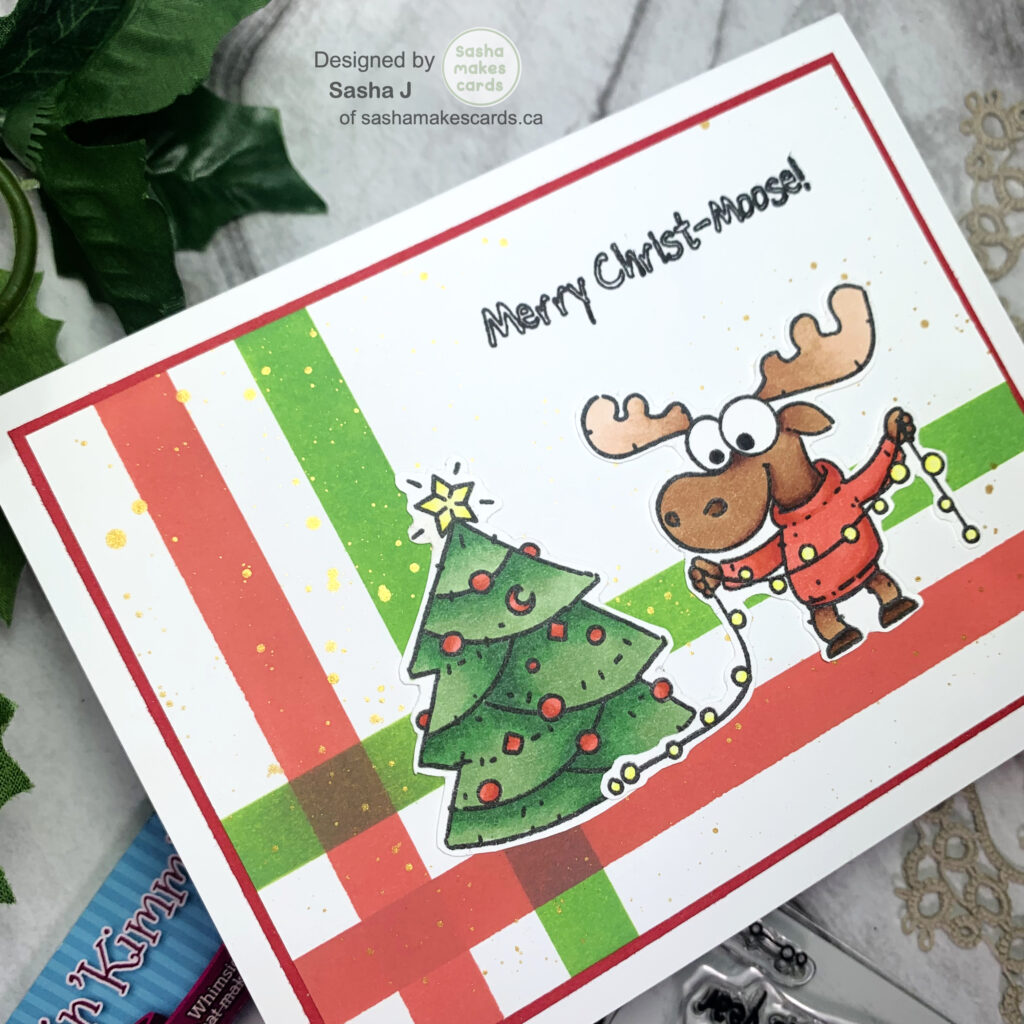
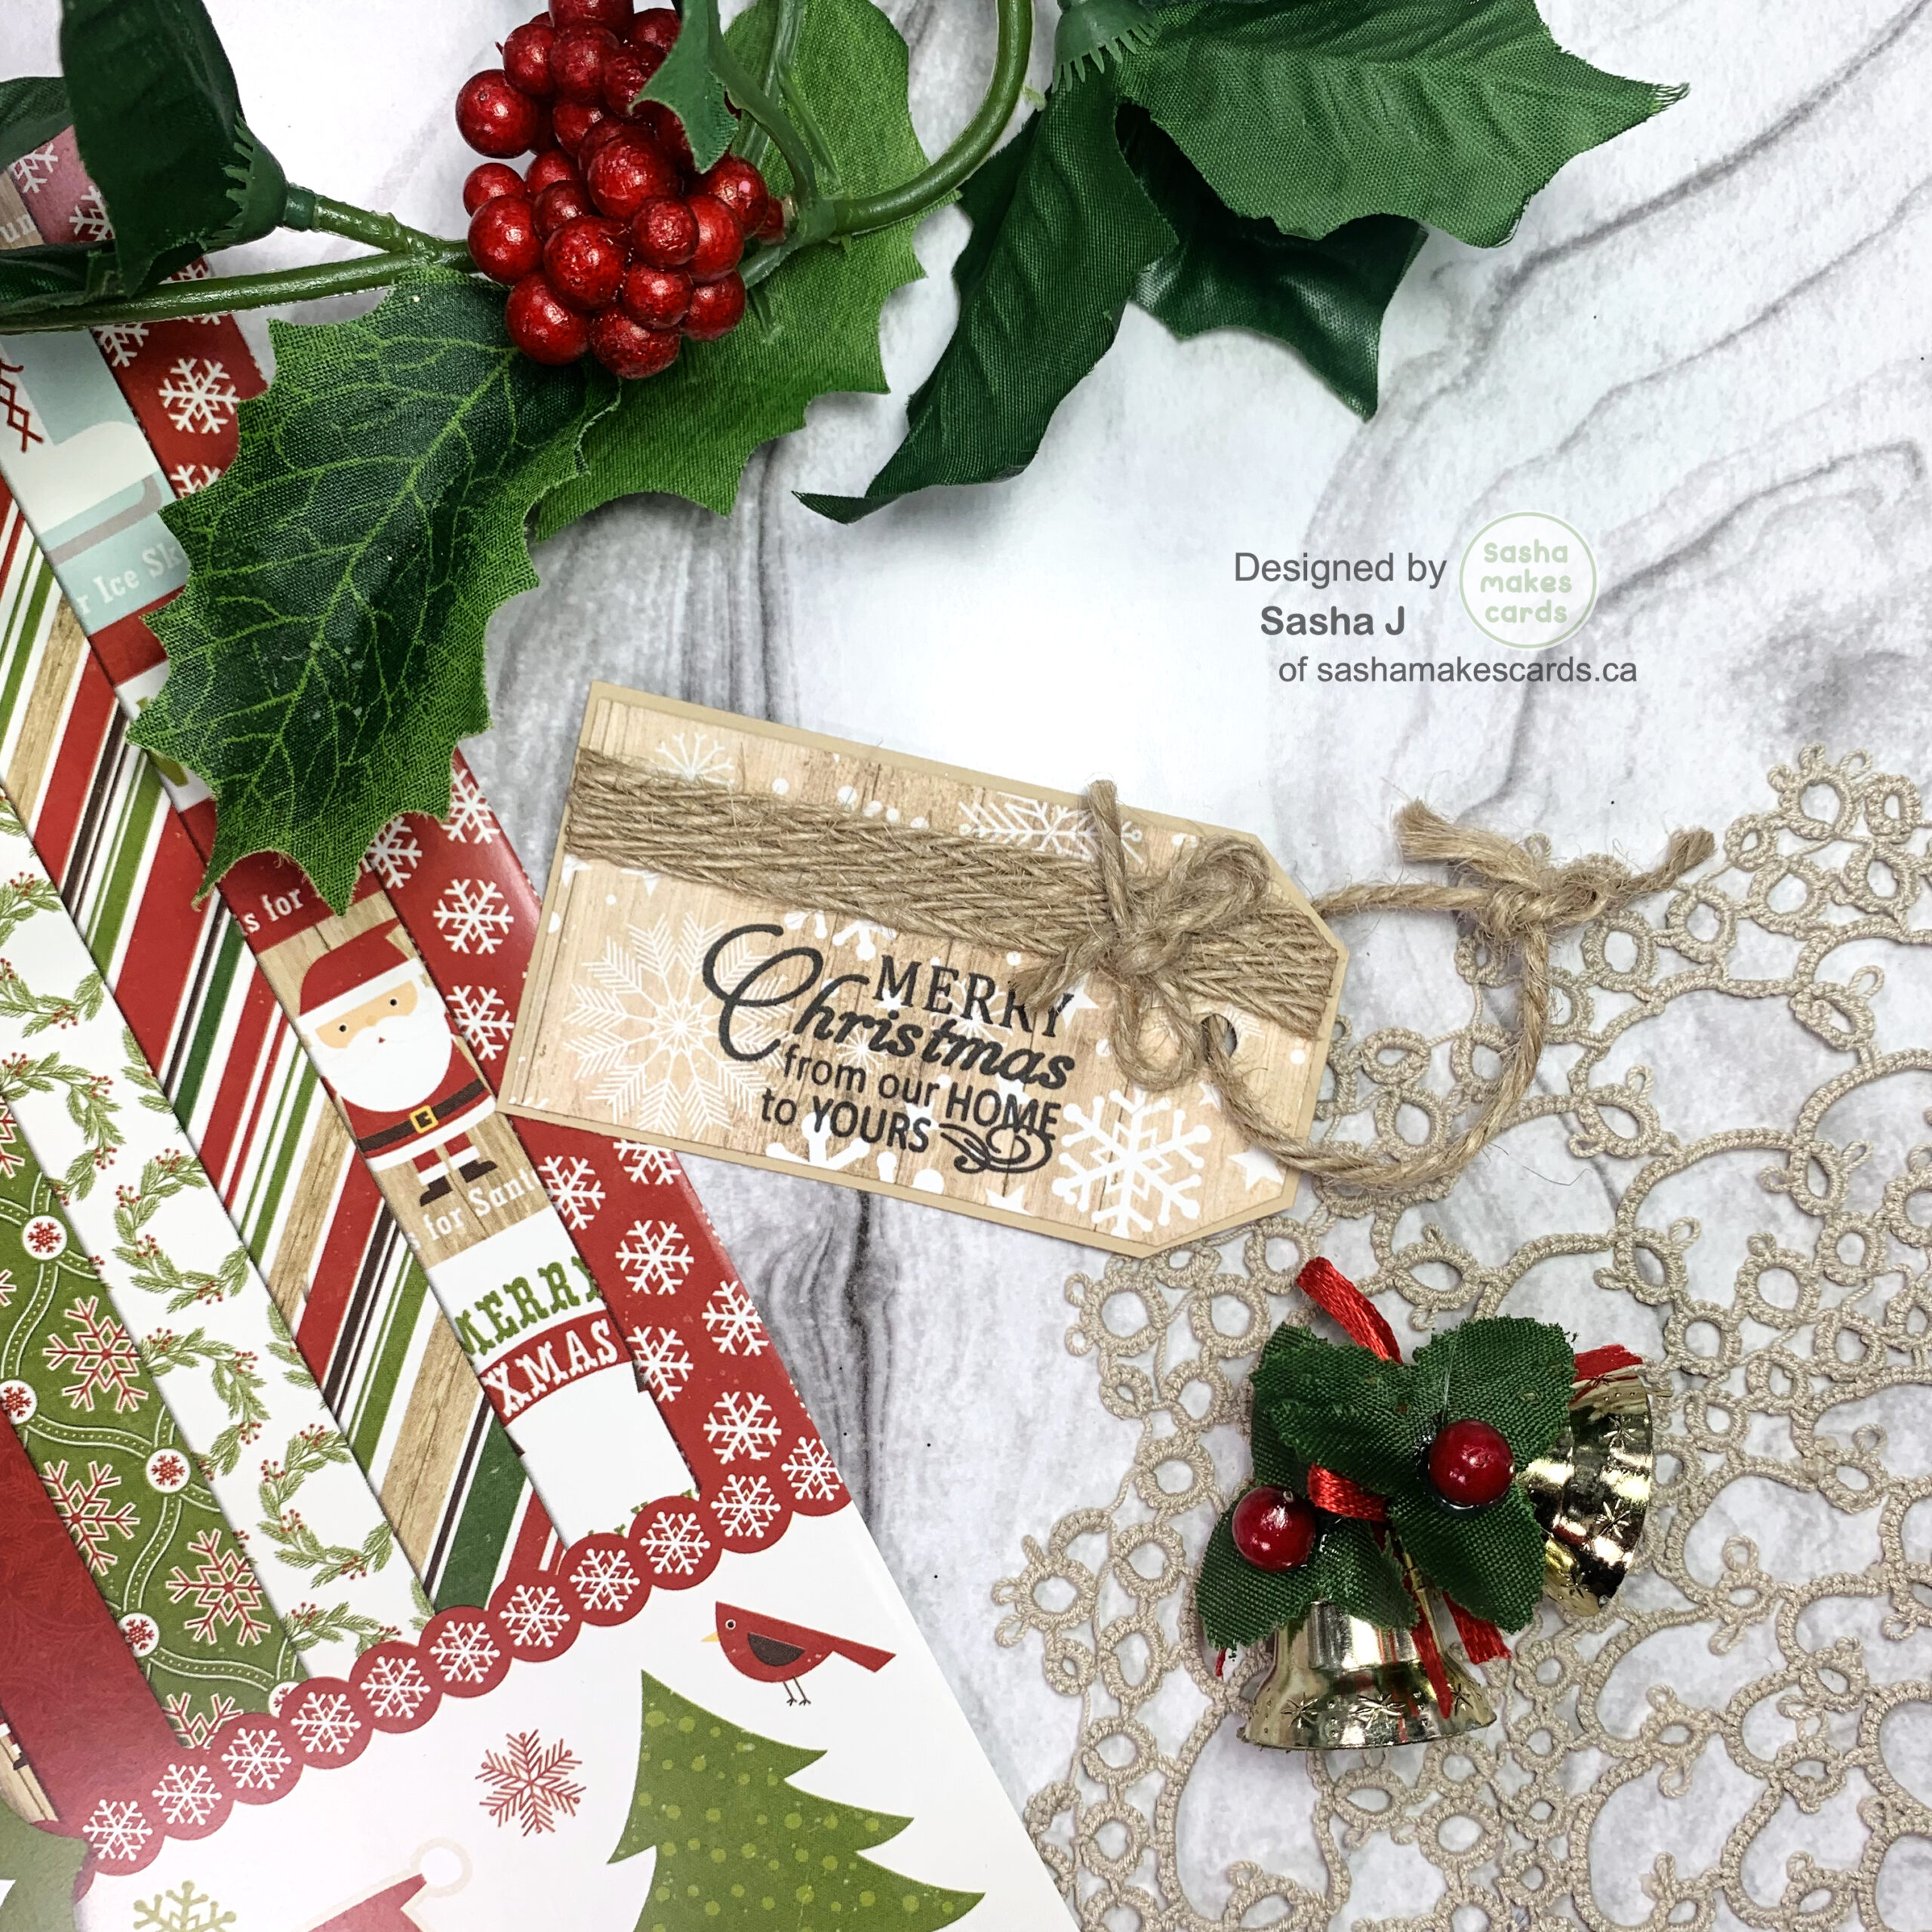
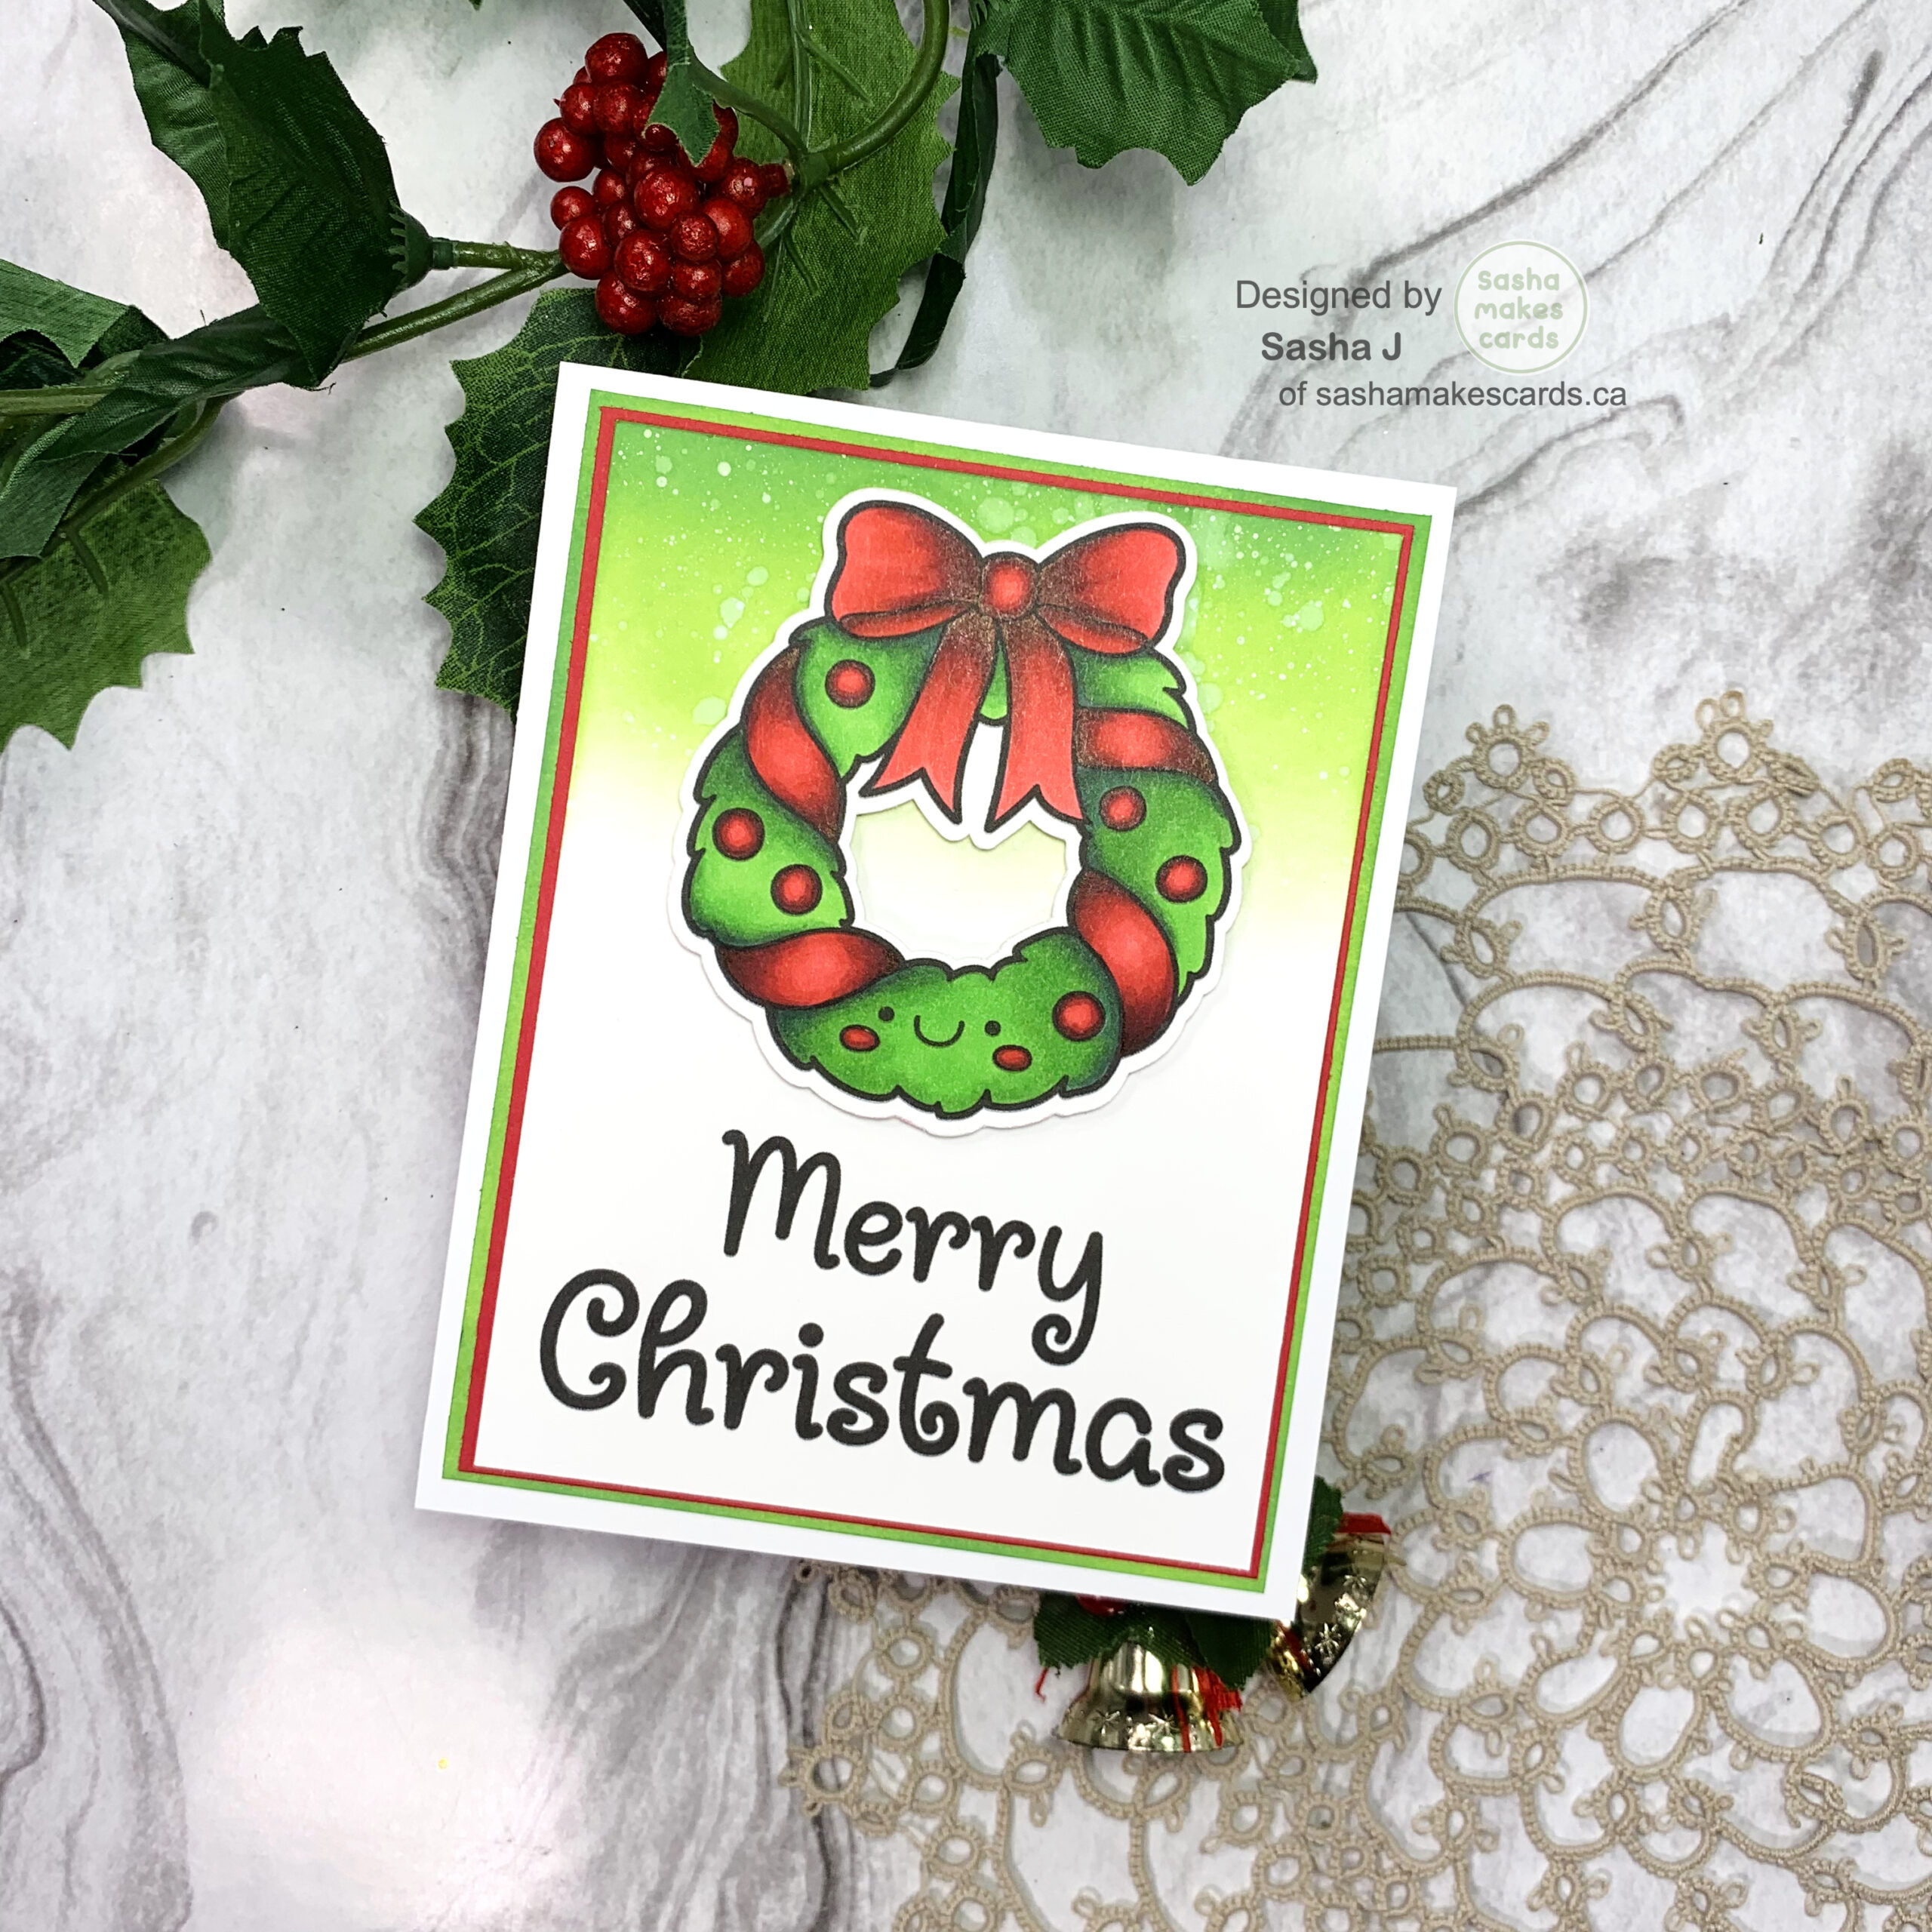
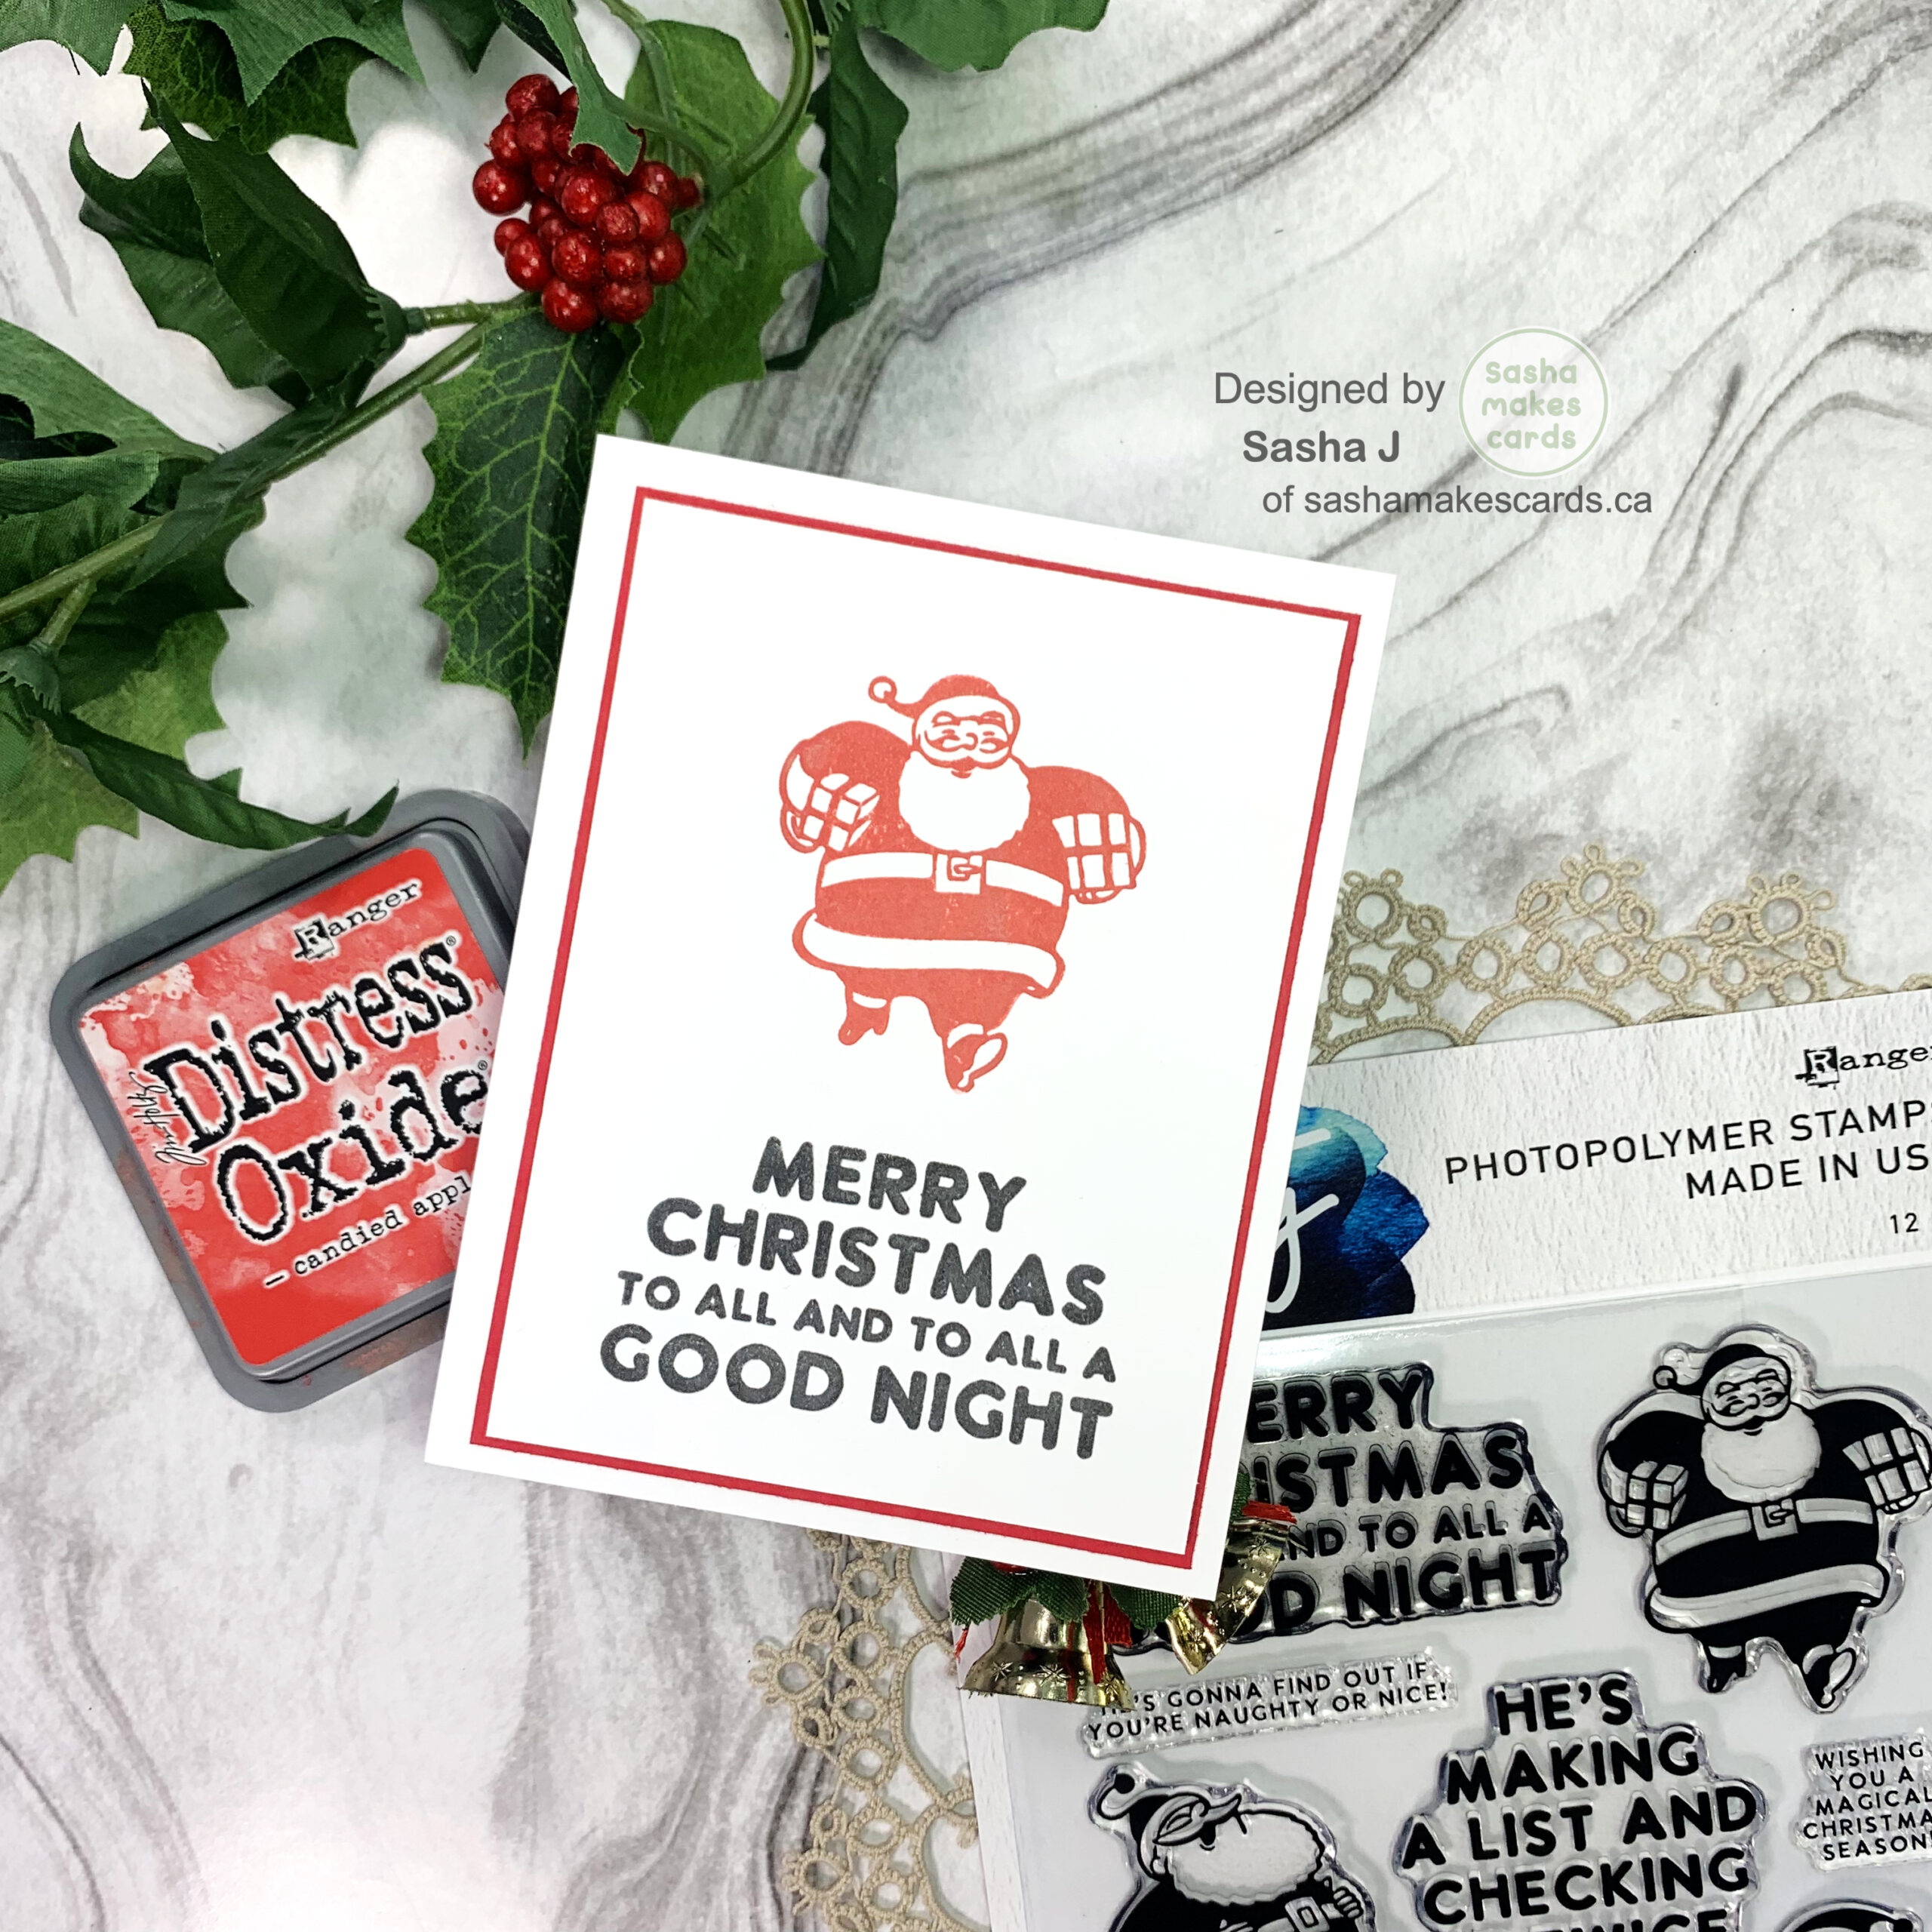
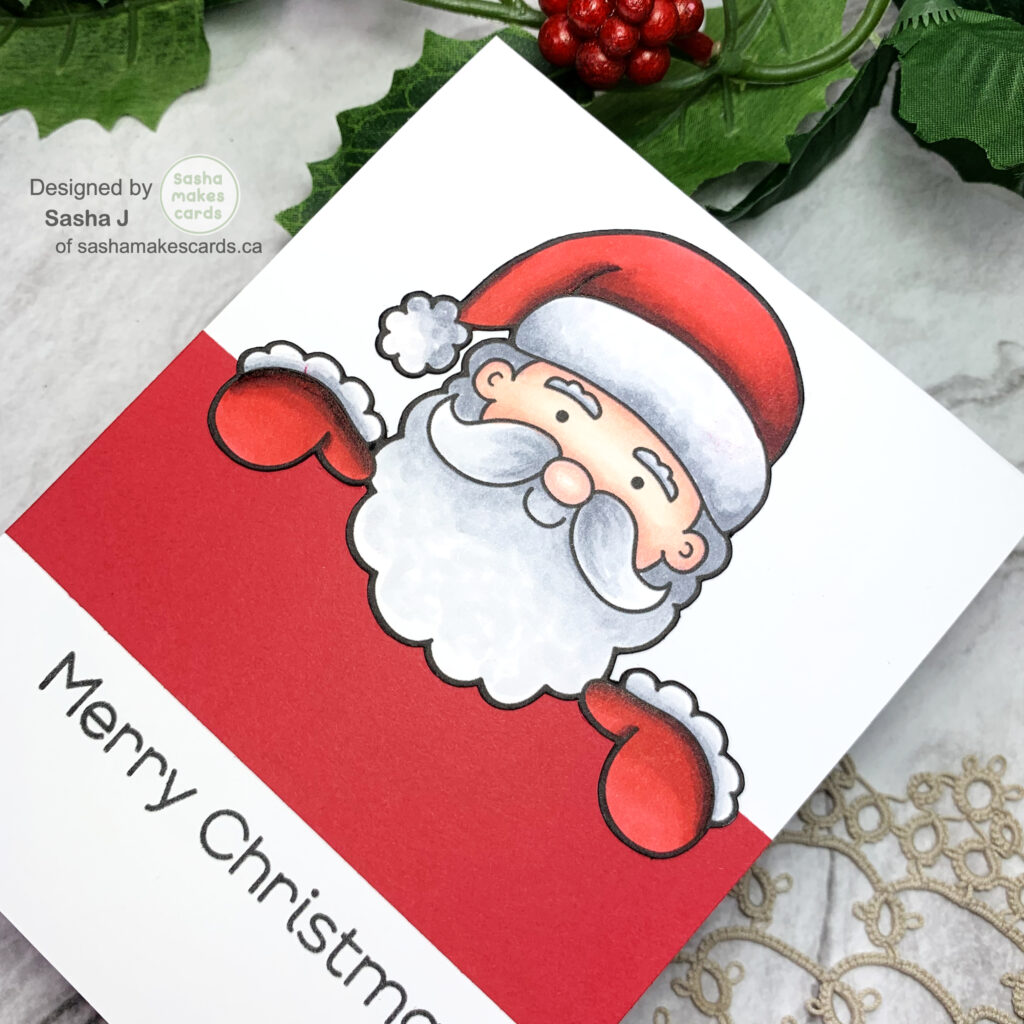
Hello friends! For Today’s card, I created a card featuring the Kate Hadfield Designs Jingle Toppers Digital Stamp Set.
After using Cricut Design Space to resize my chosen image, I used the print then-cut feature on my Cricut cutting machine to cut the Santa topper image and used the following Copic and Ohuhu alcohol markers to colour the image:
Copics:
- Greys: C1, C3, C5
Ohuhus:
- Reds: R1, R2, R7, R8
- Pinks: R18, R19, R20, R110
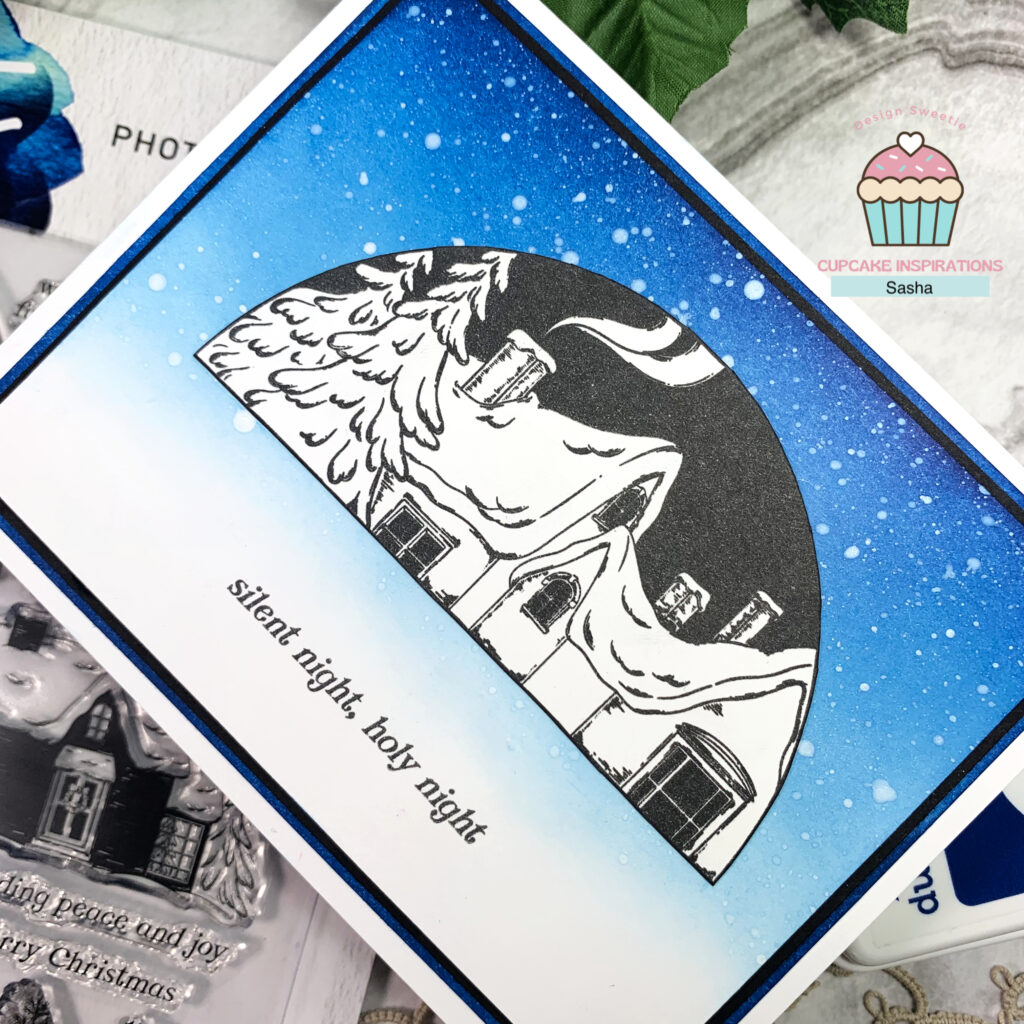
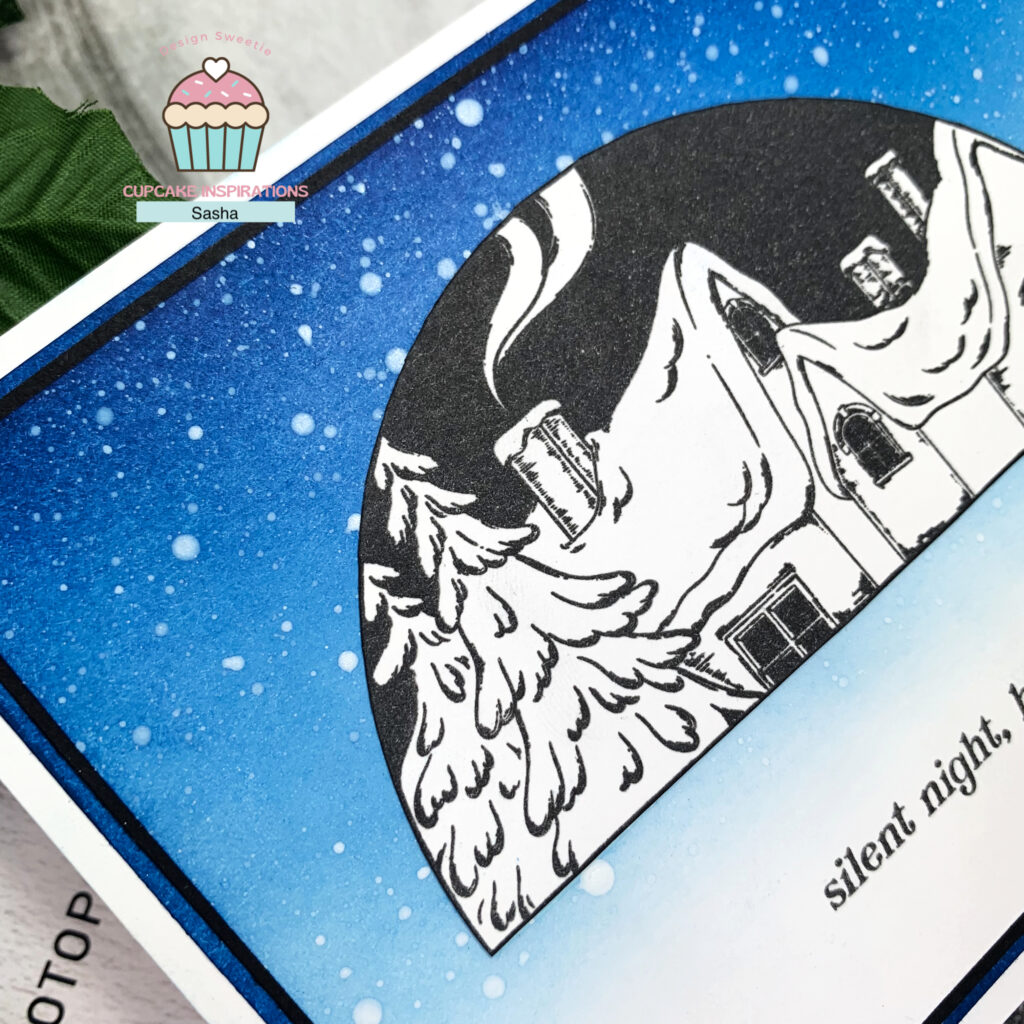
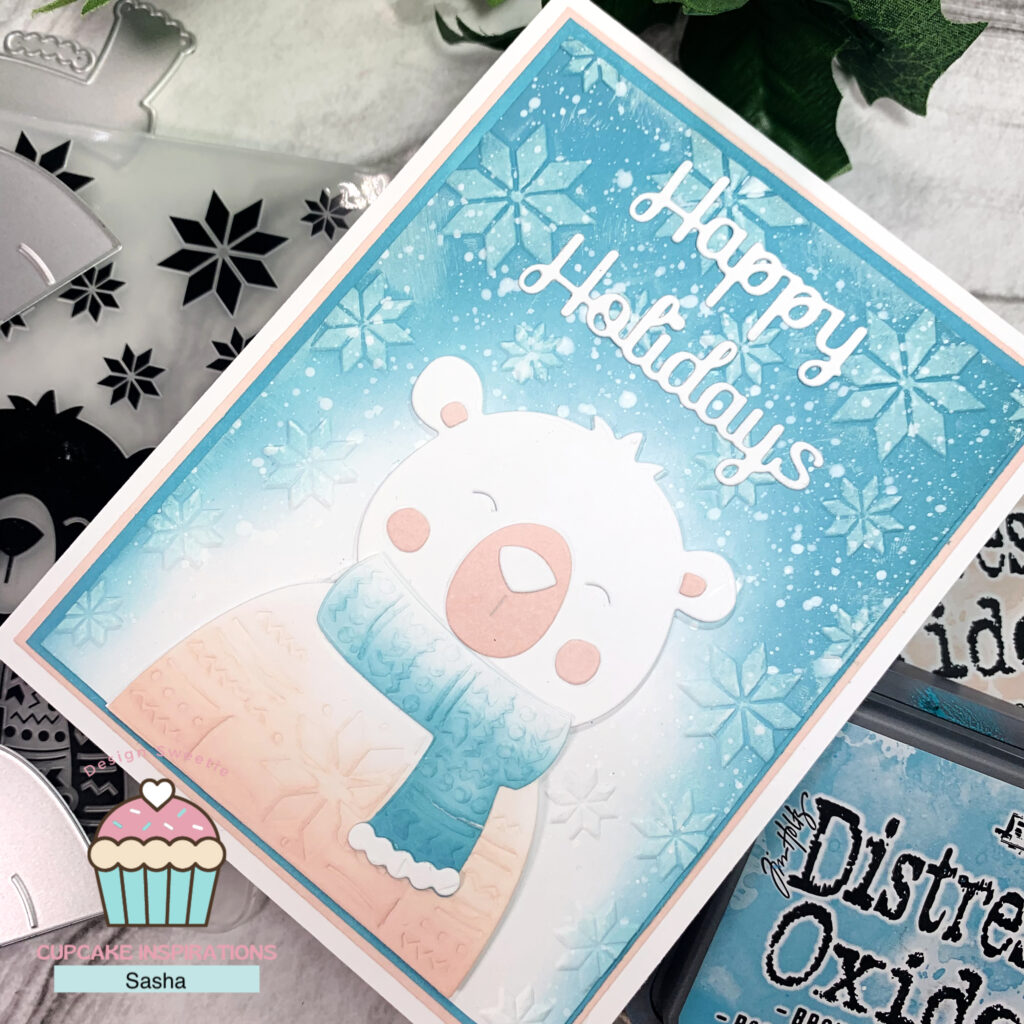
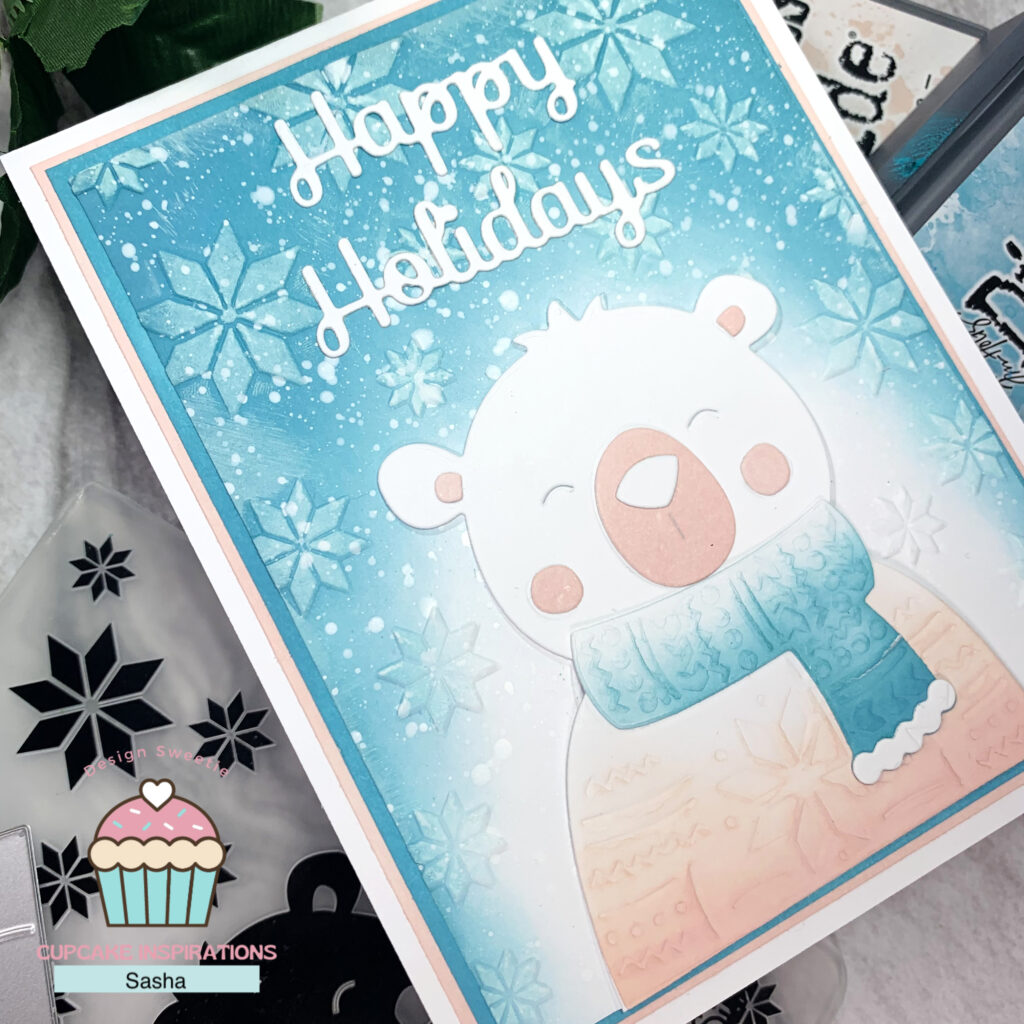
Once coloured, I cut a strip of red cardstock and stamped a sentiment from the Simon Says Stamp Snowflake Circle Stamp Set on an A2 card base.
To finish, I used Bearly Art Glue to adhere my image and red cardstock to my card base.
Thanks for reading. Catch ya next time!
Sasha
Products Used
This post contains affiliate links that are of no extra cost to you. Using my affiliate links simply helps me to keep doing what I love – thank you!
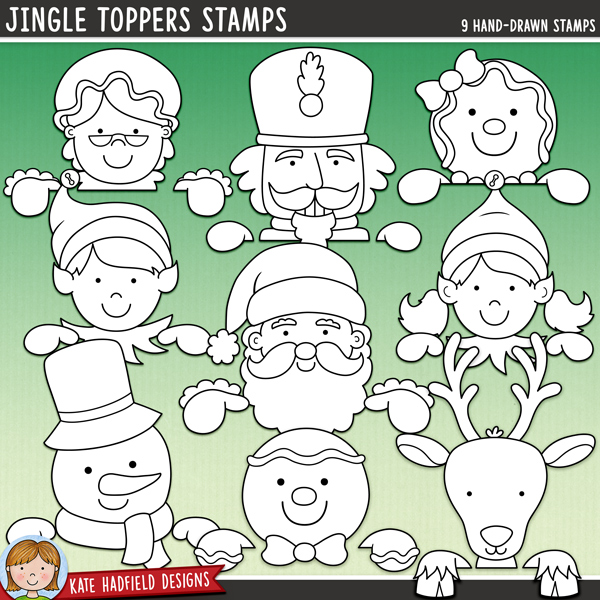
Jingle Toppers Digital Stamp Set
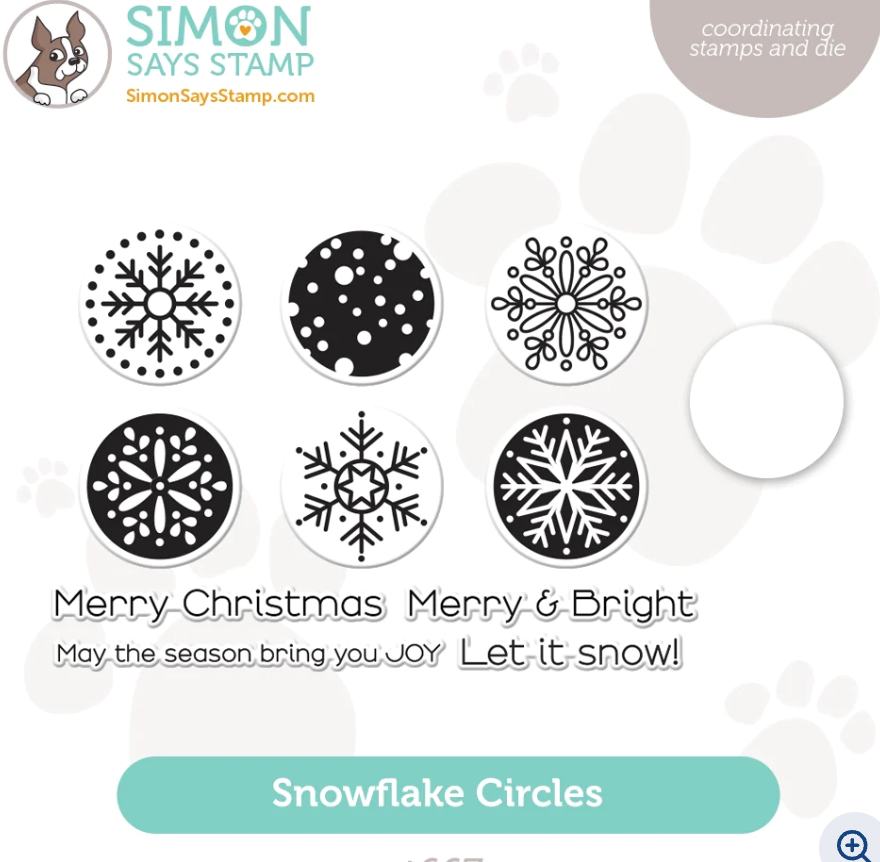
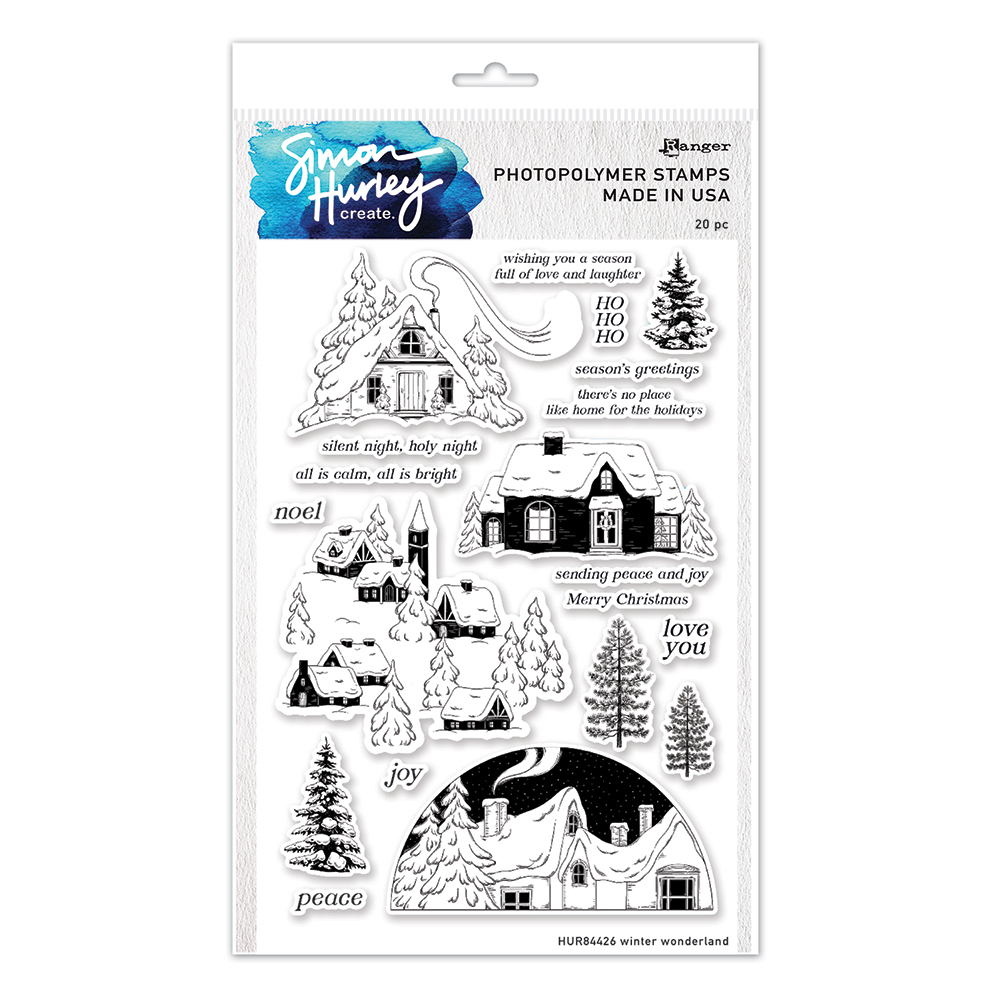
Simon Says Stamp Snowflake Circle Stamp Set
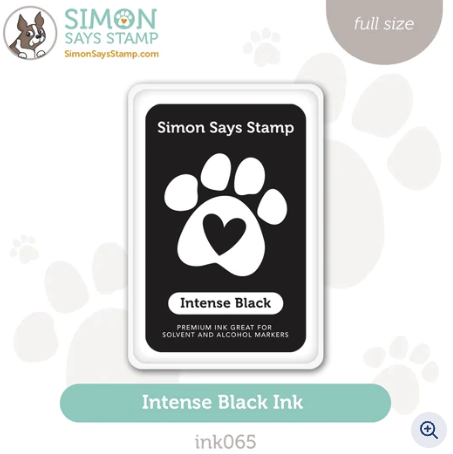
Simon Says Stamp Intense Black Ink

Neenah Astrobrights Red Cardstock
12″ Portable Fiskars Paper Trimmer
Buy From
Scor-Pal Eights Measuring & Scoring Board – 12″ X 12″
Buy From
Bearly Art Precision Craft Glue – THE ORIGINAL
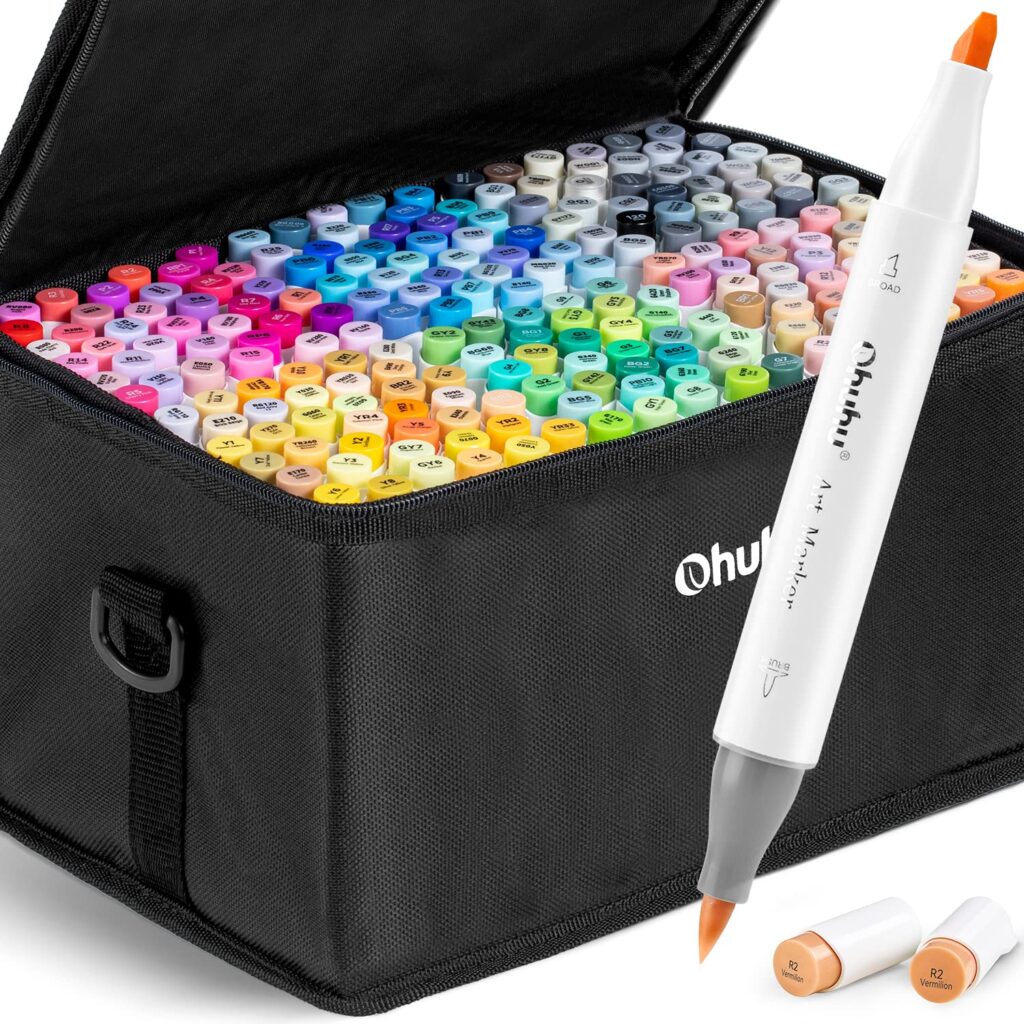
Ohuhu Alcohol Markers
Buy From

Hammermill 100lb Premium Colour Copy Colour Cardstock
Copic Sketch Alcohol Markers