IMG_7914

Let it Snow Winter-Themed Card – Kate Hadfield Designs

Hello everyone! Today, I am sharing my first post as a member of Kate Hadfield’s 2024 Creative Team!

With the busyness of the holiday season over, what better way to keep in touch with friends and family than with a winter-themed greeting card?

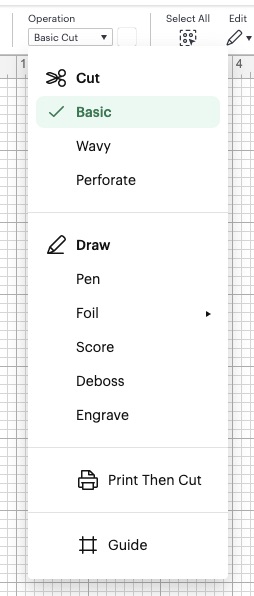
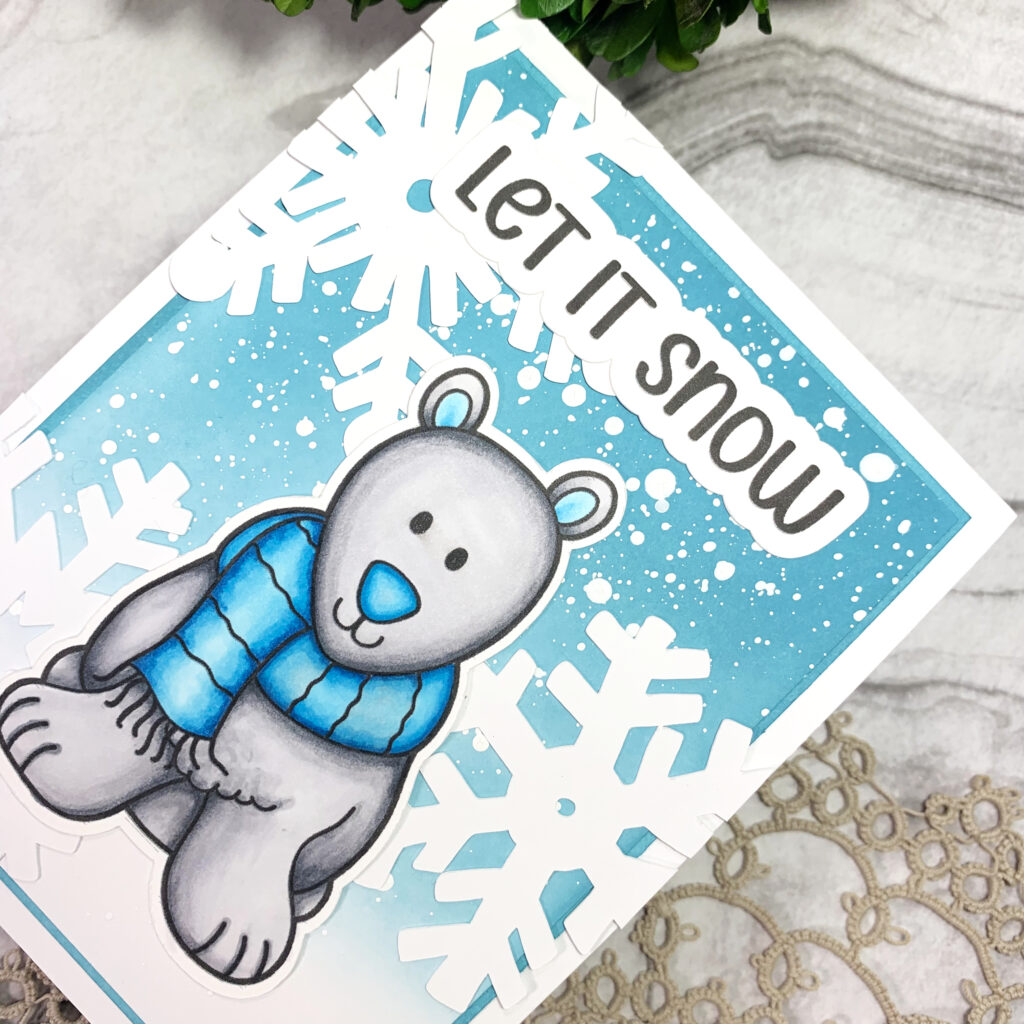
Using the “Bundled Up” digital stamp set, I first uploaded the images I wanted to use for this project into Cricut Design Space. For this card, I used the polar bear image and snowflakes 1, 2, and 3. For the snowflake images, I changed the operation of the images from “print then cut” to “basic cut” using the Edit Bar in Cricut Design Space. This way, I could cut the snowflakes from plain, white cardstock.
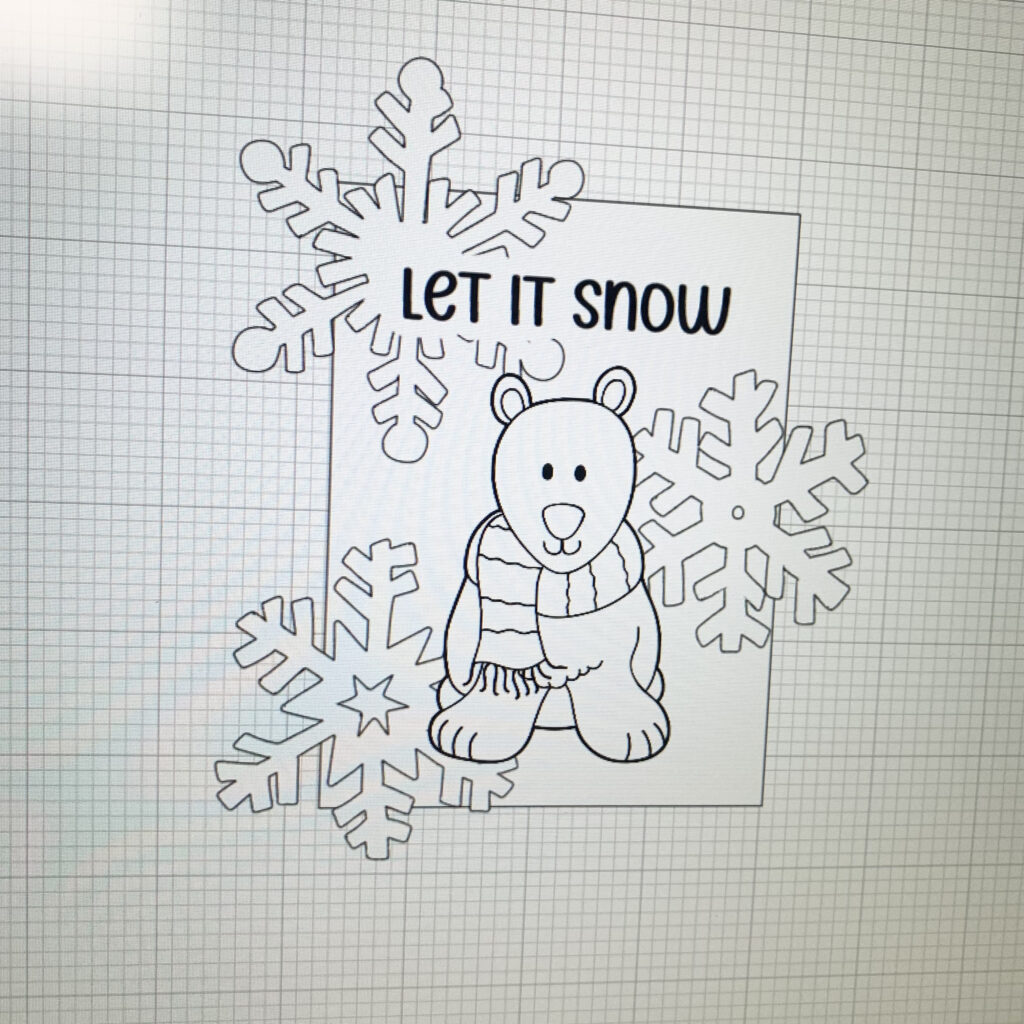
Once uploaded, I planned my card design by sizing and arranging the elements in Design Space. This helps me visualize the card’s layout better and start my project with a plan in mind. I am making a US A2-sized card measuring 5.5” x 4.25”.
Also, to compliment the planned winter theme of my card, I chose a sentiment to match.

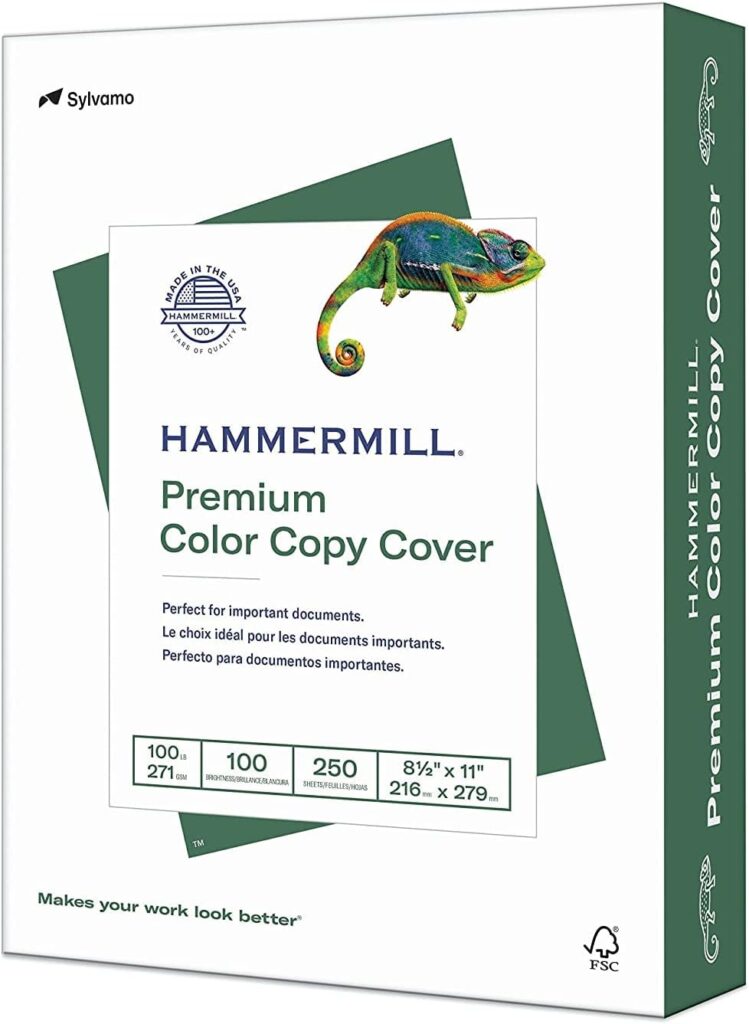
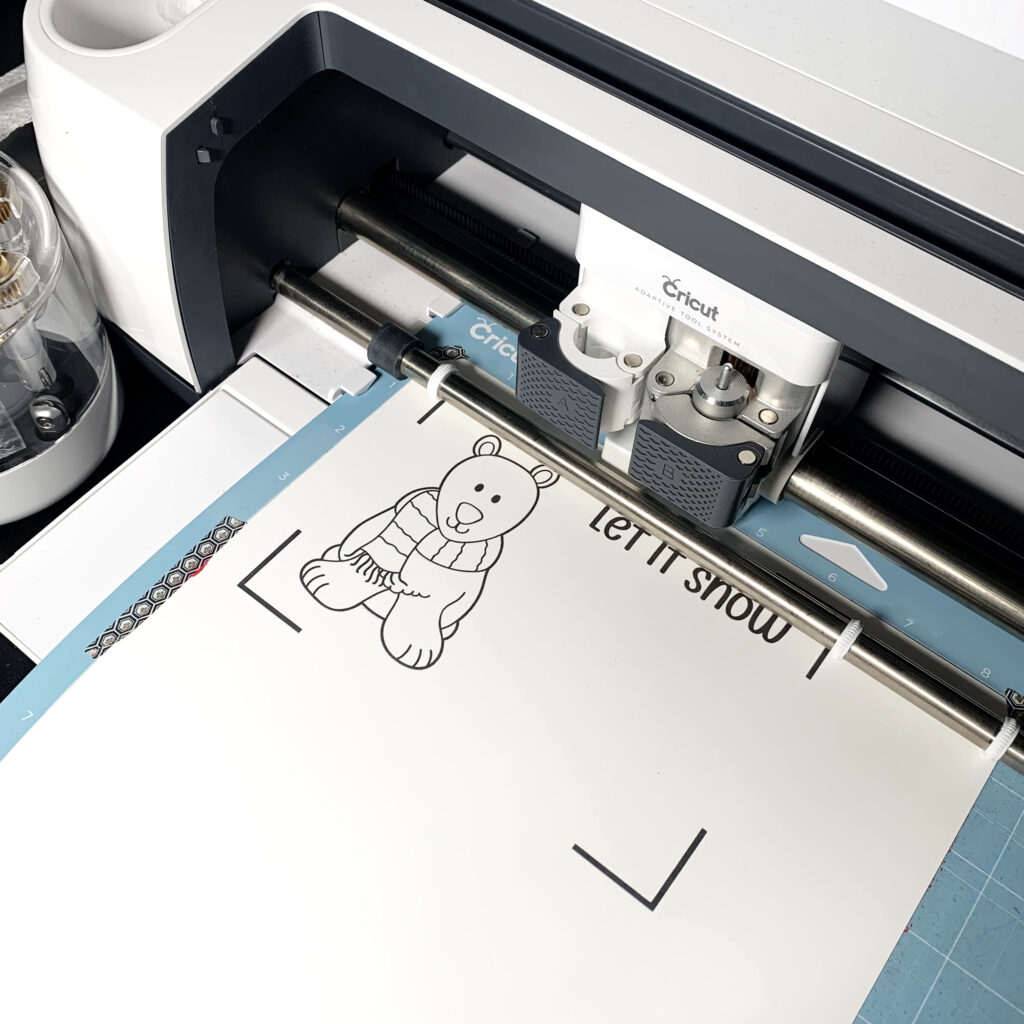
After planning and now that all the elements are ready, I used the “print then cut” feature for the polar bear image and sentiment and the “basic cut” feature for the snowflakes. I printed the polar bear image on 100lb Hammermill Cardstock – a smooth cardstock perfect for blending with alcohol markers!
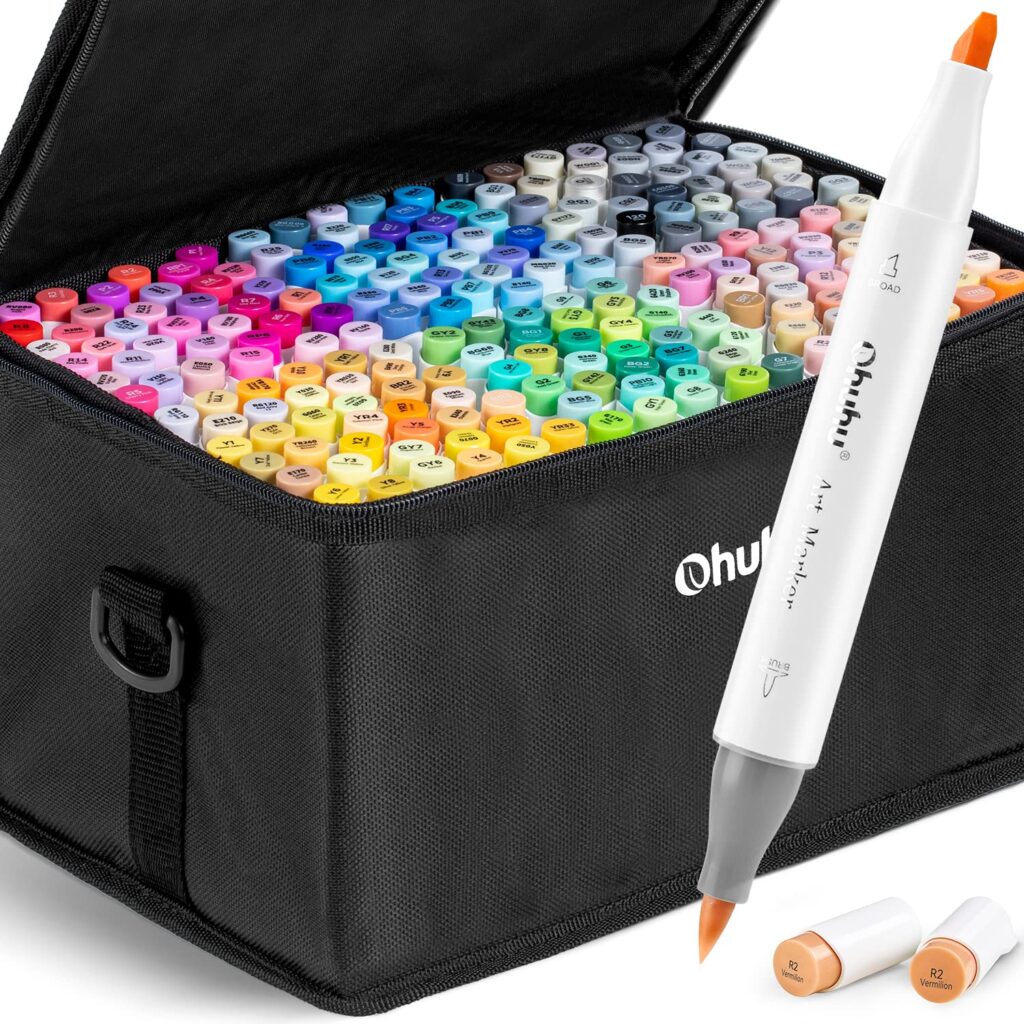
Now, on to the colouring! I used the following Ohuhu Alcohol Markers to colour the image:

Bear: CG II 00, CG2, CG5, CG II 07

Scarf, nose, and ears: B030, B050, B070, PB6

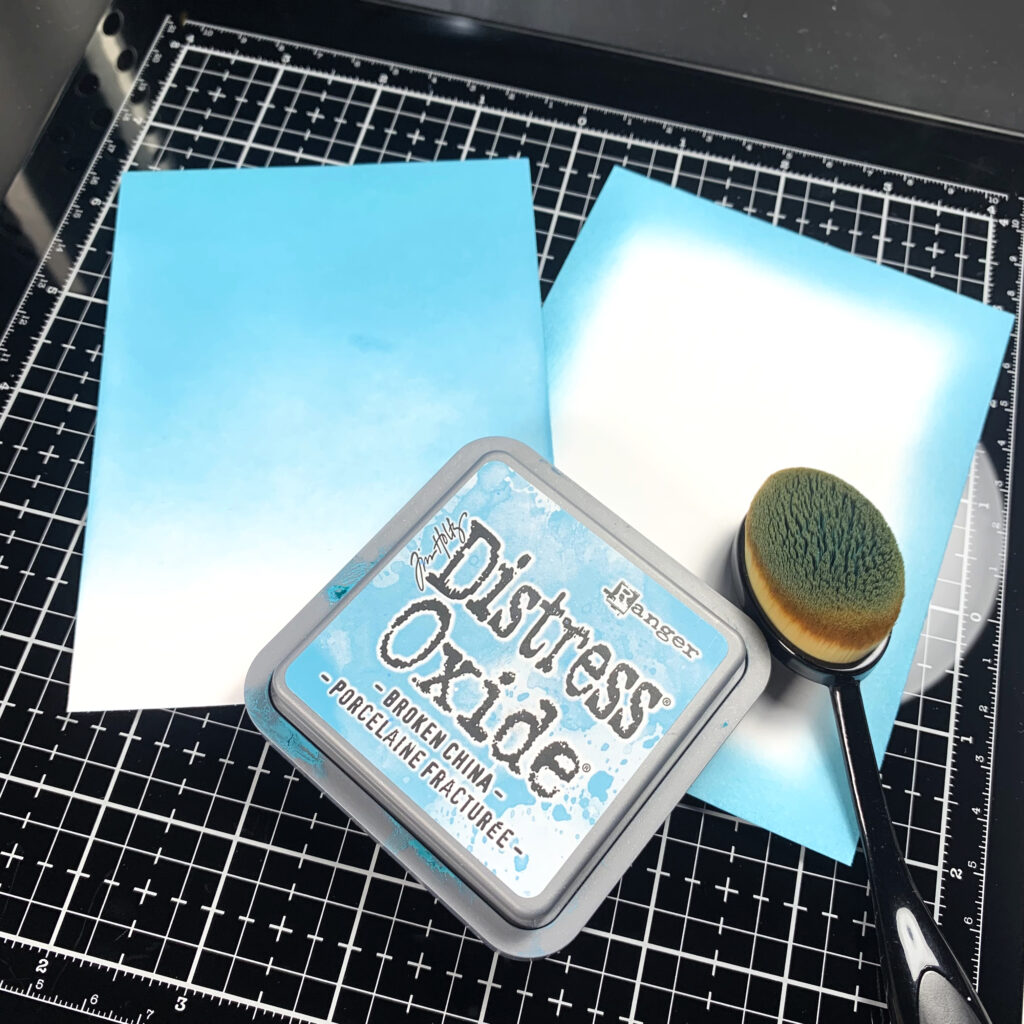
To create the card’s background, I trimmed a piece of white cardstock to be smaller than the size of my card. This card panel measures 5” x 3.75”.

I then used Broken China Distress Oxide to ink-blend a background with a subtle fade to white. Since I had my ink out, I also ink-blended a matching mat for the card. A matching piece of cardstock would also work great for this.
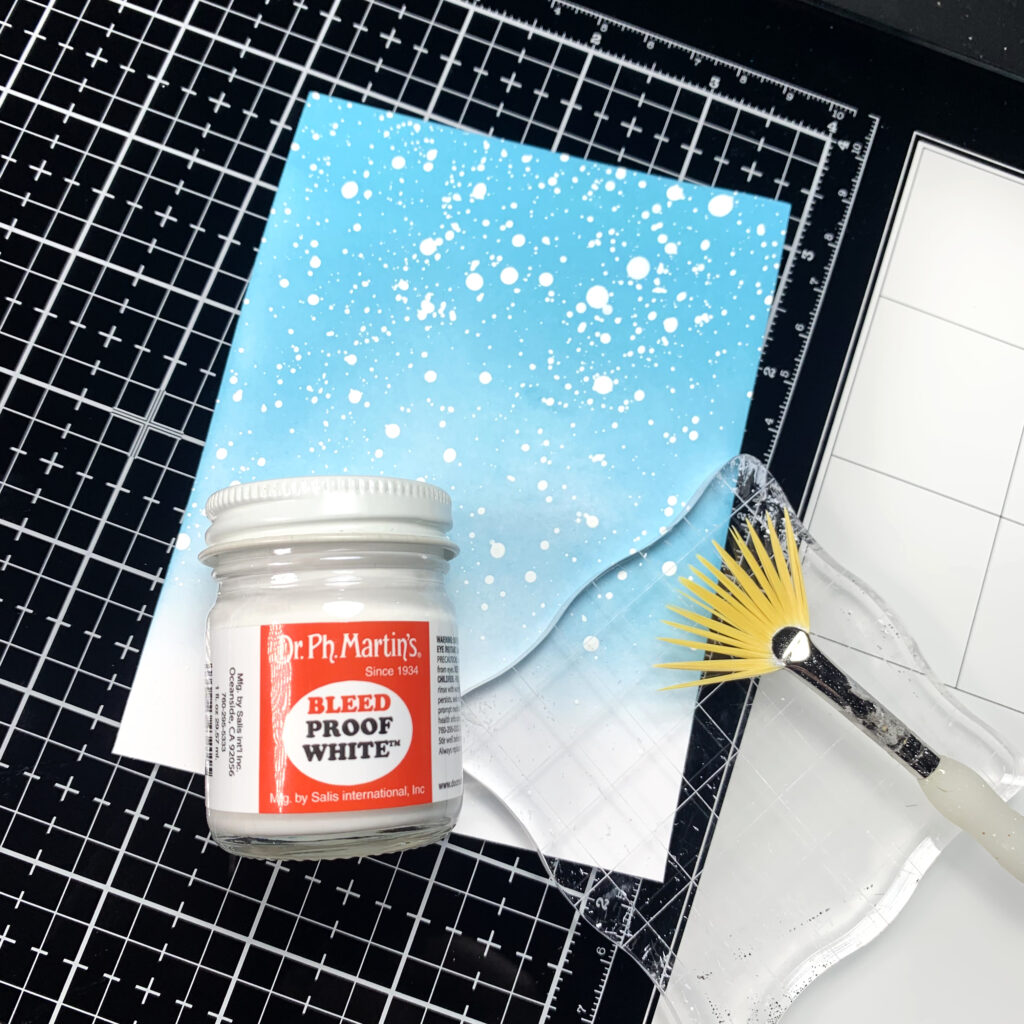
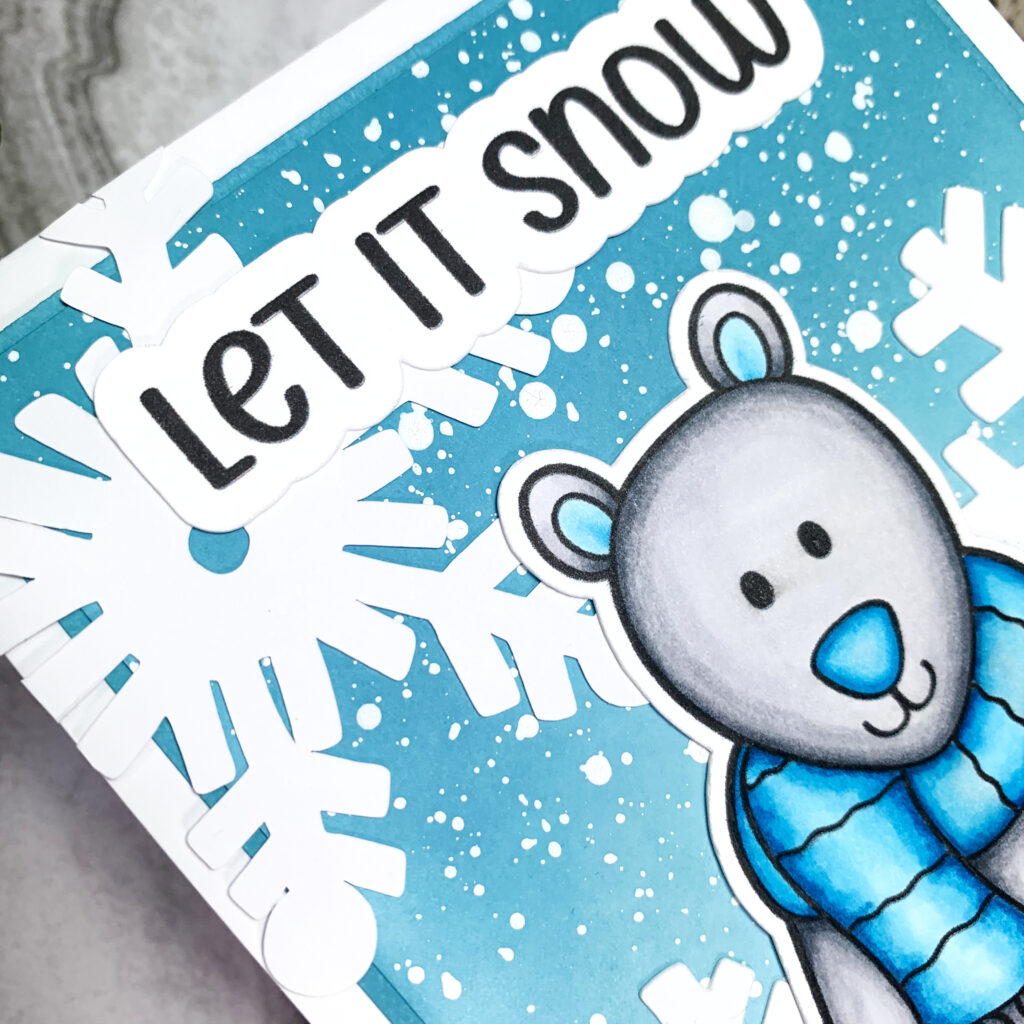
To create a snowy effect, I splattered the ink-blended background panel using white paint. It’s important to allow the paint time to dry, or a heat gun can also be used to speed up the drying process.
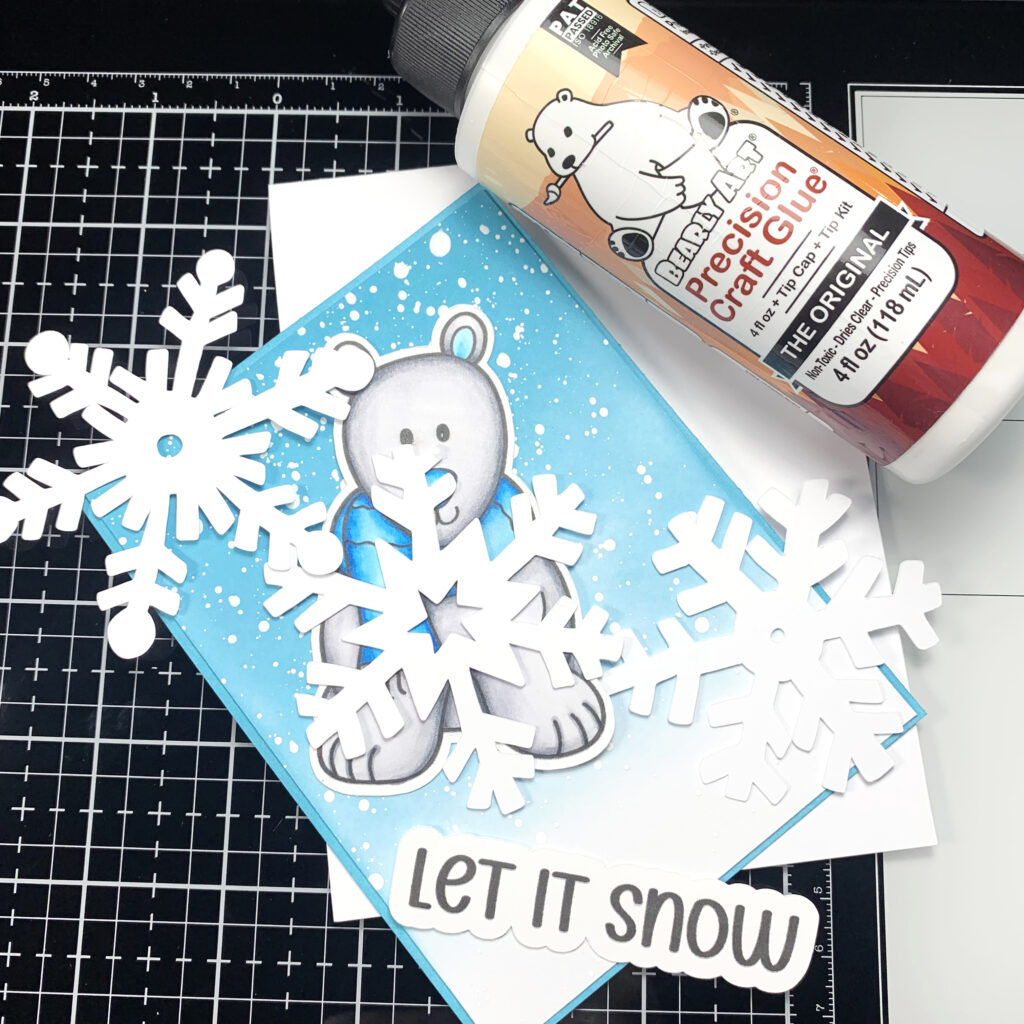
Now, it’s time to glue everything together! Using liquid adhesive, I first started by gluing the card panel to the matching mat and then the mat to the card base. From here, I could then easily glue the snowflakes before gluing the sentiment and image on top.
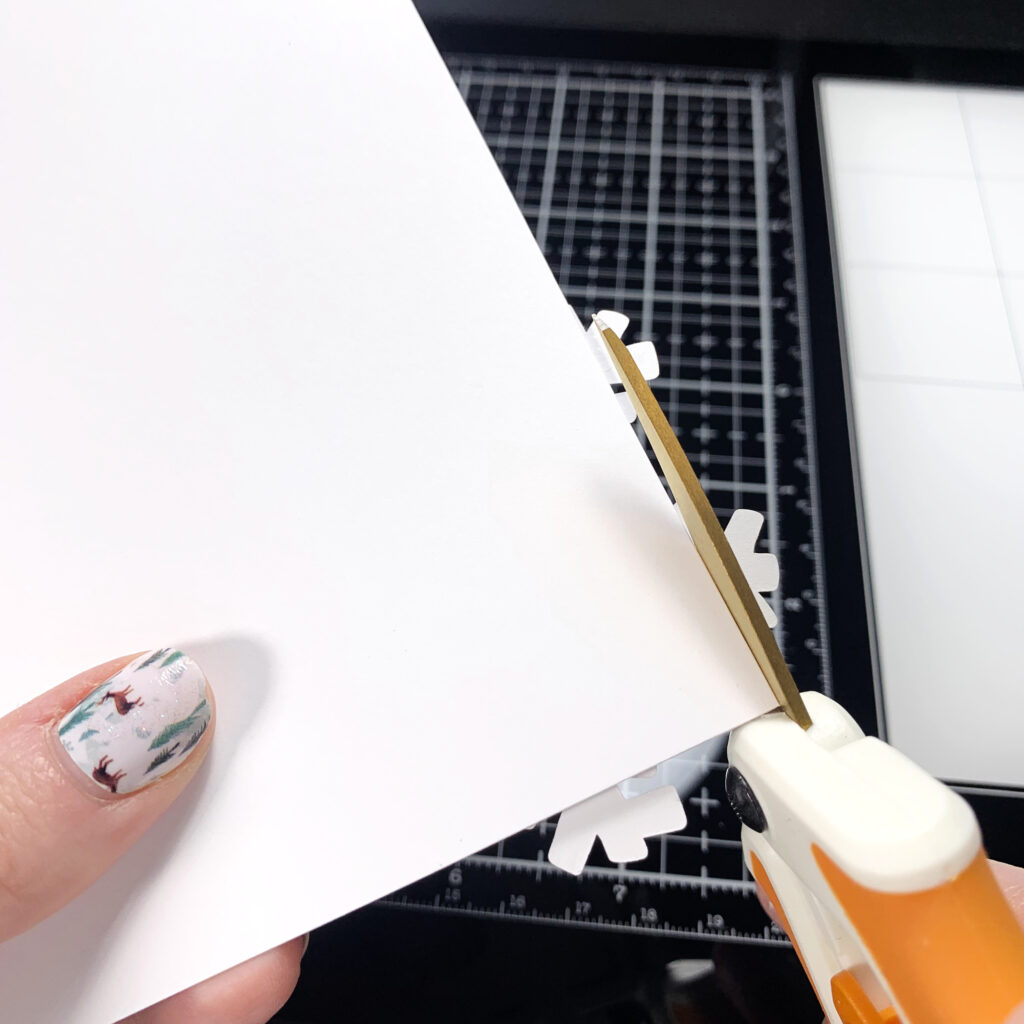
To finish the card, I trimmed the excess snowflakes overhanging it.
Ta-da! That’s the finished card project!
Thank you all for reading. I’m incredibly excited to join Kate’s creative team – I look forward to sharing my projects and crafty tutorials with all of you!

Make sure you bundle up this winter! See you next time!

Sasha


Products Used

  • Bundled Up Digital Stamp Set
  • Hammermill 100lb Cardstock
  • Basic White Cardstock
  • Ohuhu Alcohol Markers
  • Broken China Distress Oxide
  • Dr. Ph Martin’s Bleed Proof White
  • Bearly Art Glue
IMG_7144

CAS Christmas Santa Topper Card – Kate Hadfield Designs

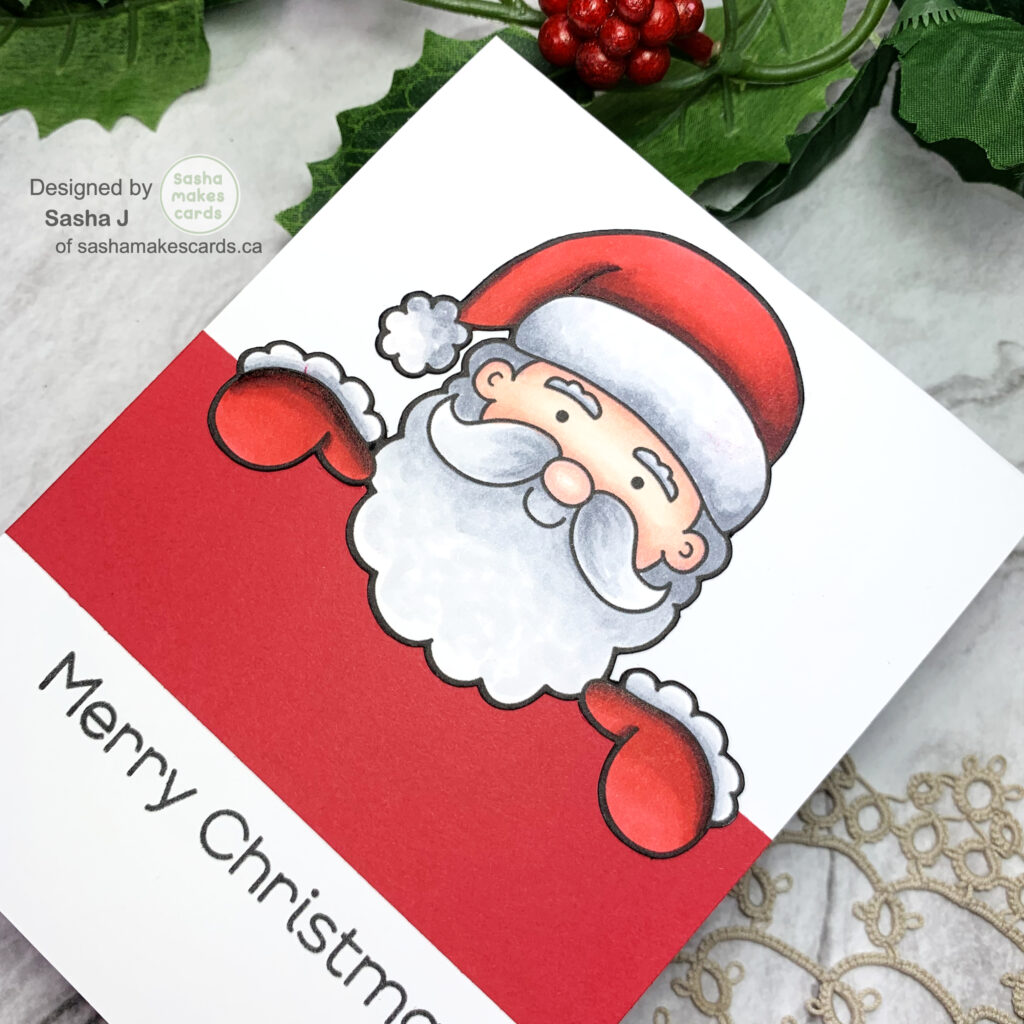
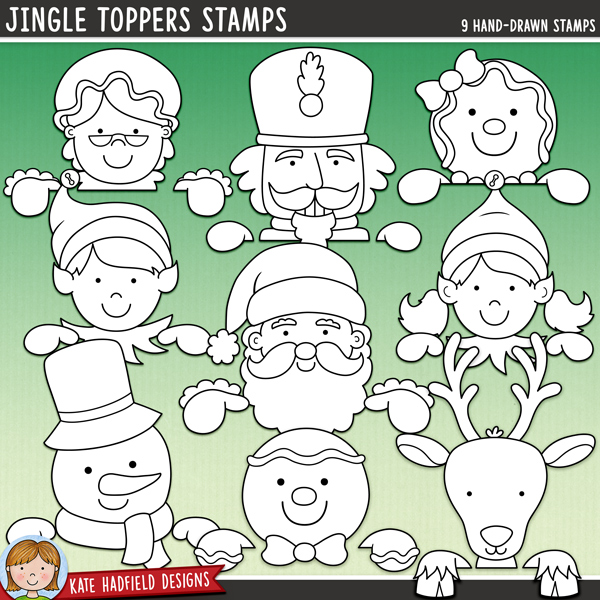
Hello friends! For Today’s card, I created a card featuring the Kate Hadfield Designs Jingle Toppers Digital Stamp Set.

After using Cricut Design Space to resize my chosen image, I used the print then-cut feature on my Cricut cutting machine to cut the Santa topper image and used the following Copic and Ohuhu alcohol markers to colour the image:

Copics:

  • Greys: C1, C3, C5

Ohuhus:

  • Reds: R1, R2, R7, R8
  • Pinks: R18, R19, R20, R110

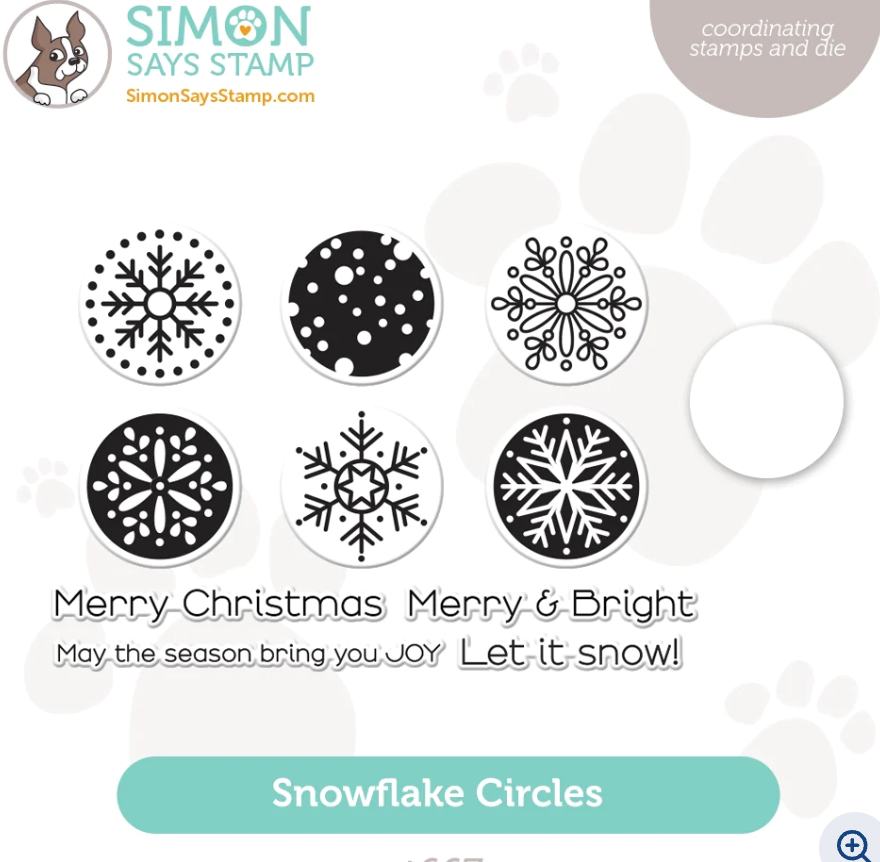
Once coloured, I cut a strip of red cardstock and stamped a sentiment from the Simon Says Stamp Snowflake Circle Stamp Set on an A2 card base.

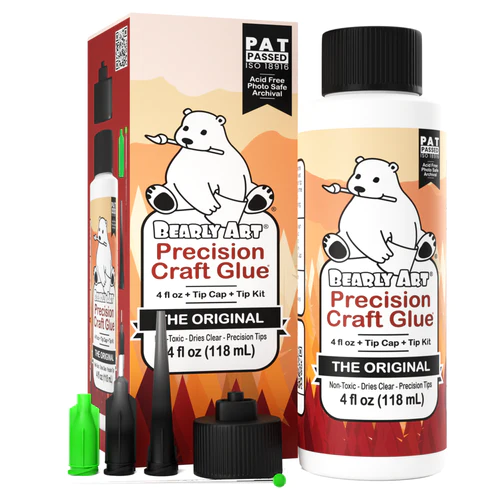
To finish, I used Bearly Art Glue to adhere my image and red cardstock to my card base.
Thanks for reading. Catch ya next time!

Sasha


Products Used

This post contains affiliate links that are of no extra cost to you. Using my affiliate links simply helps me to keep doing what I love – thank you!

Jingle Toppers Digital Stamp Set

Simon Says Stamp Snowflake Circle Stamp Set

Simon Says Stamp Intense Black Ink

Neenah Astrobrights Red Cardstock

12″ Portable Fiskars Paper Trimmer

Buy From

Scor-Pal Eights Measuring & Scoring Board – 12″ X 12″

Buy From

Bearly Art Precision Craft Glue – THE ORIGINAL

Ohuhu Alcohol Markers

Buy From

Hammermill 100lb Premium Colour Copy Colour Cardstock

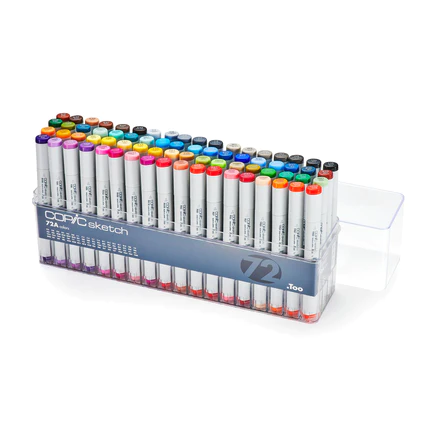
Copic Sketch Alcohol Markers

fwe

Merry Christmas Wreath Card – Kate Hadfield Designs

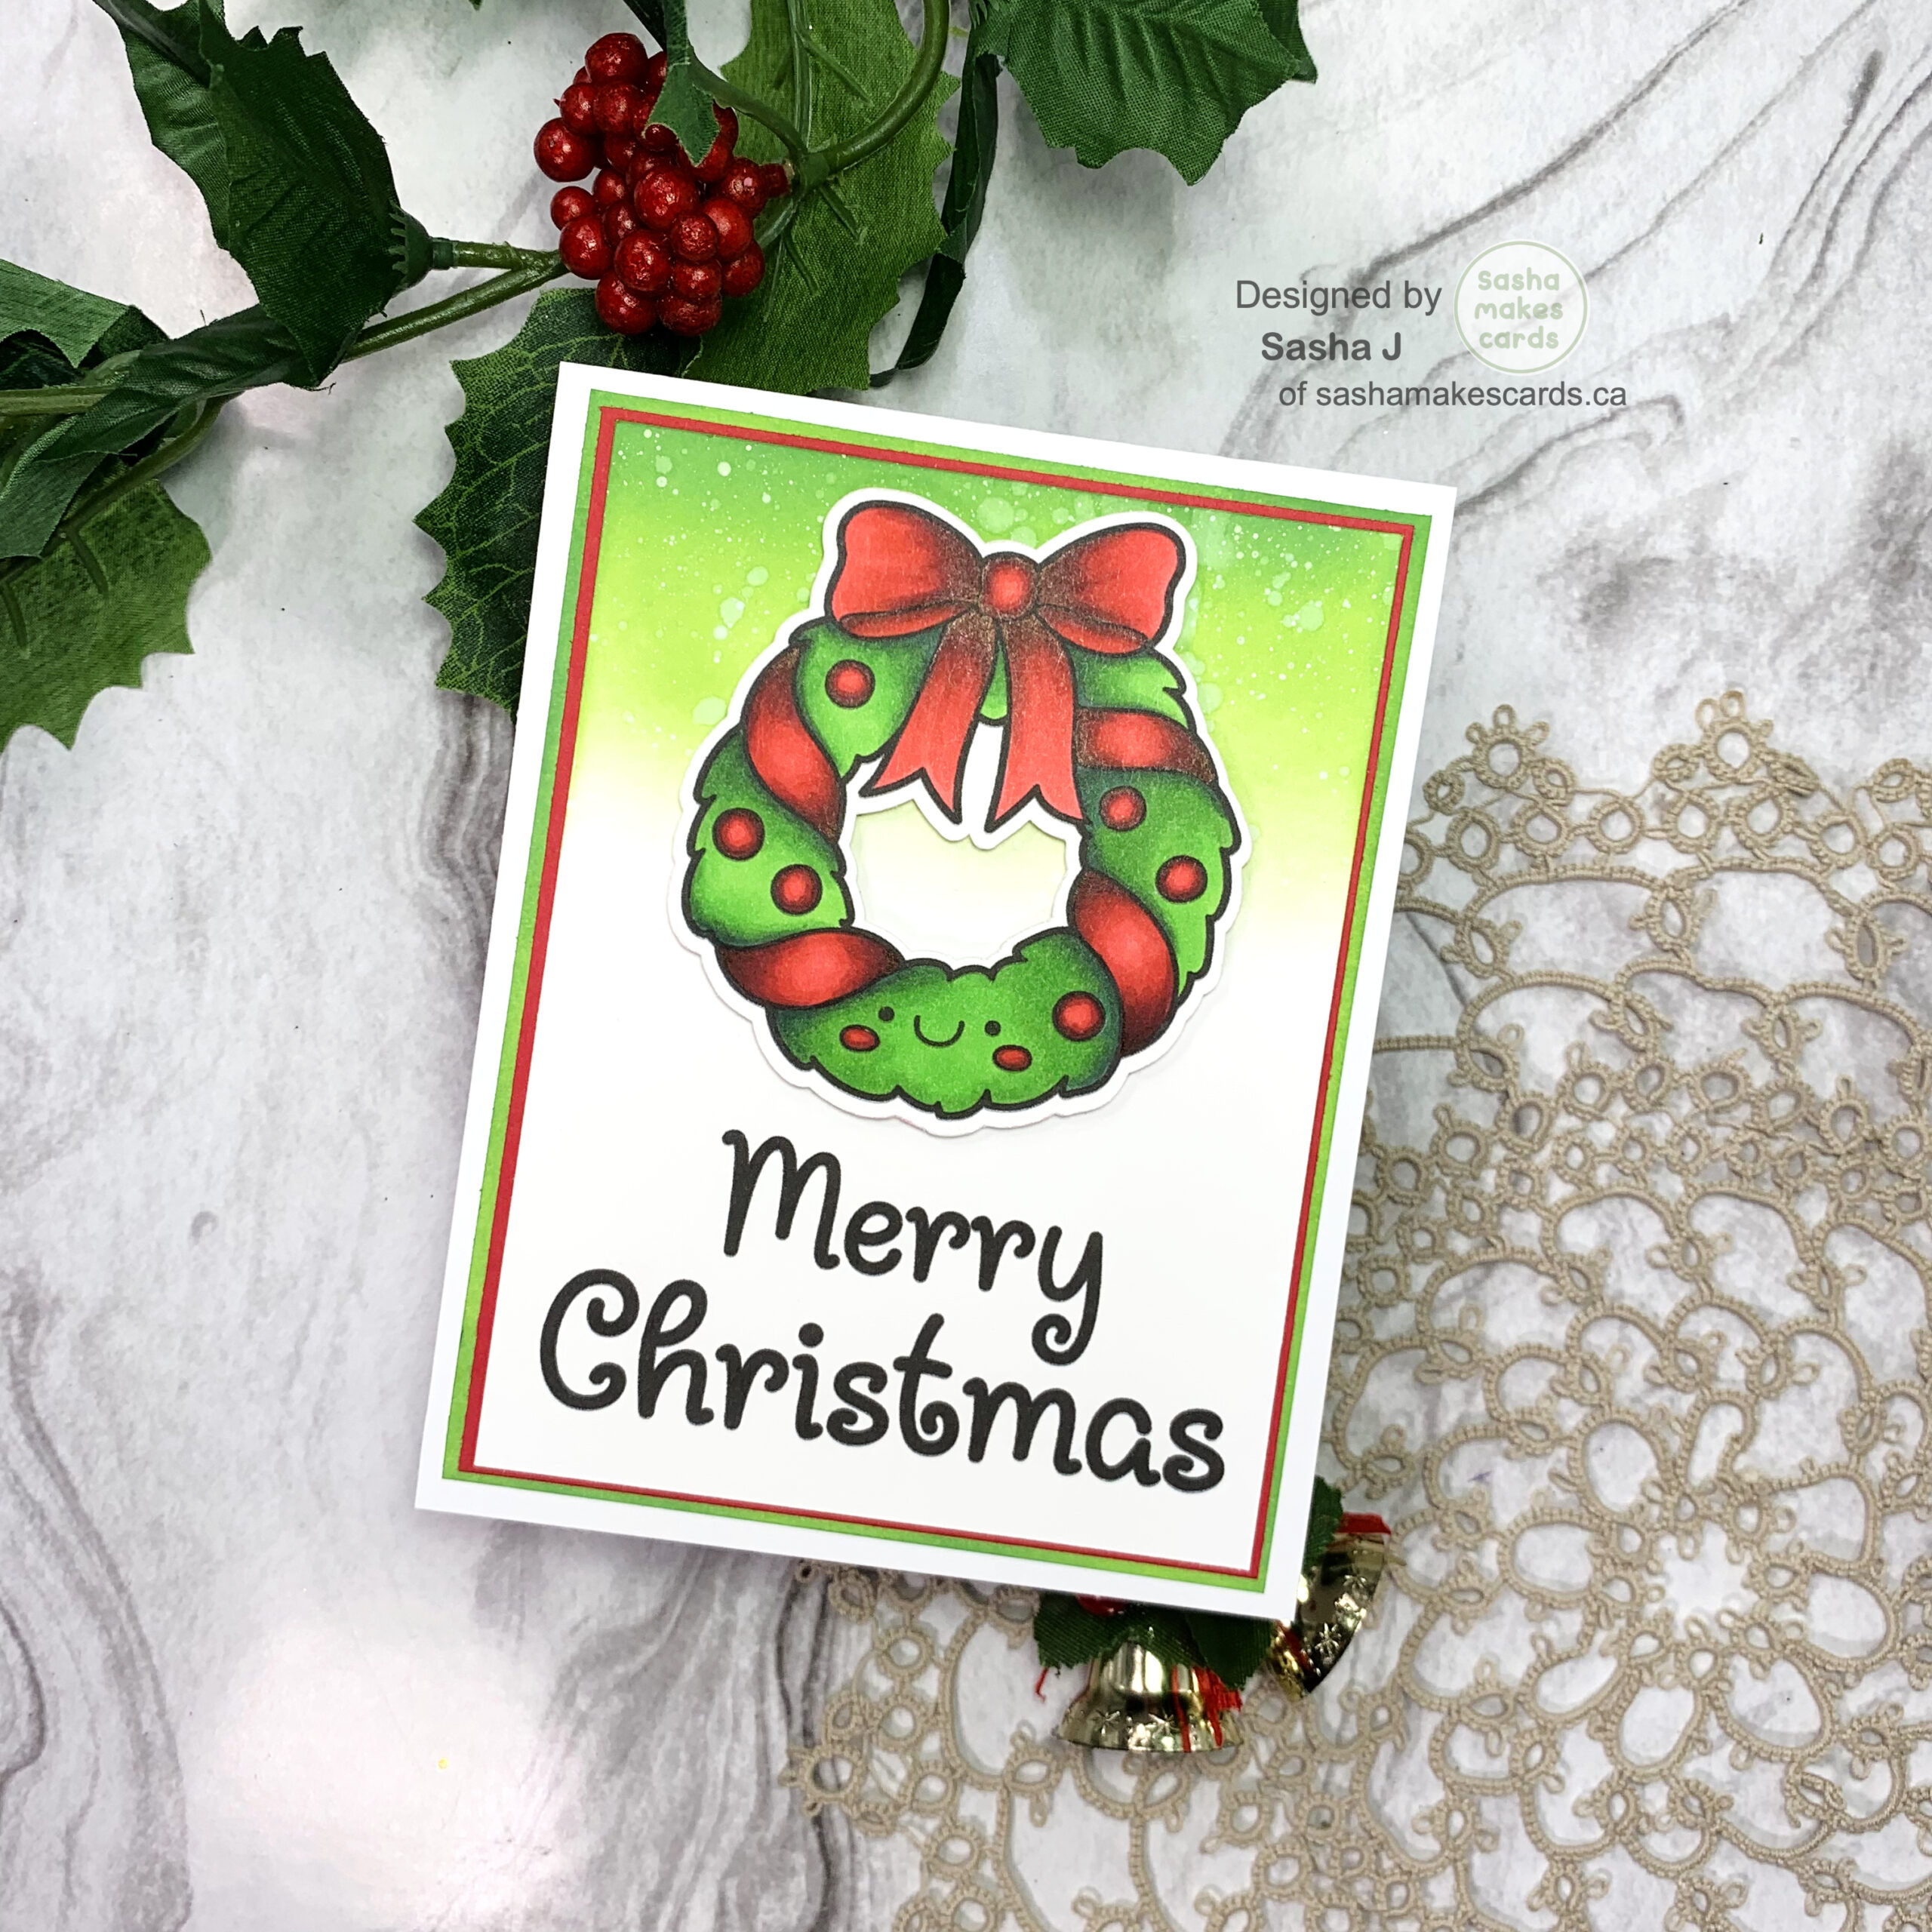
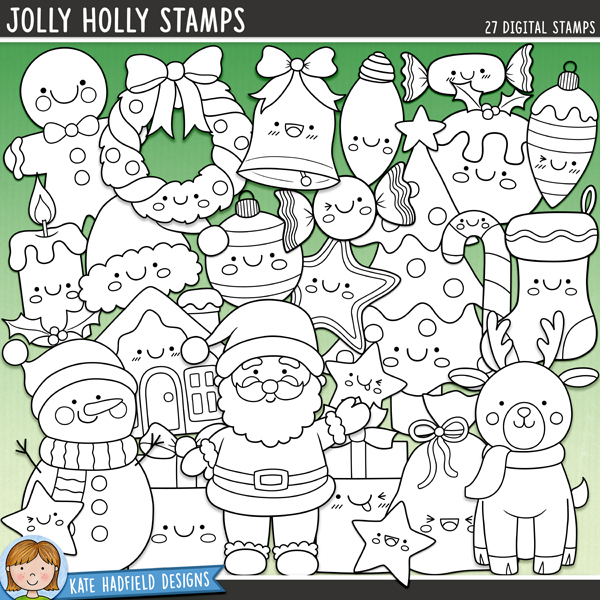
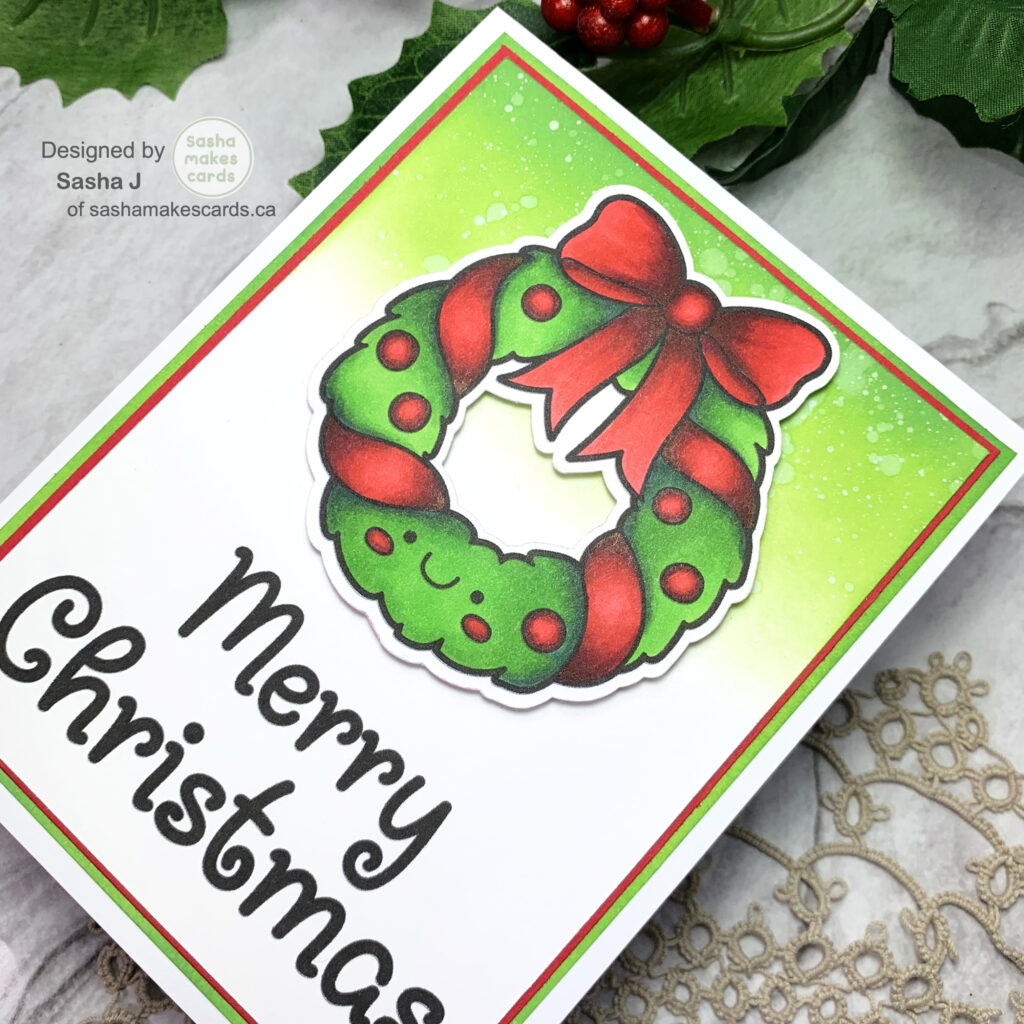
Hello friends and happy Friday! Today’s card is a fun one featuring the Jolly Holly Digital Stamp Set from Kate Hadfield Designs!

To create my card, I first started by sizing my image and making a sentiment using Cricut Design Space. Once printed on Hammermill 100lb Cardstock, I used the following Ohuhu and Copic alcohol markers to colour the image:

Ohuhus:

  • Reds: R1, R2, R7, R8
  • Greens: G7, G170, G190

Copics:

  • Greens: G28

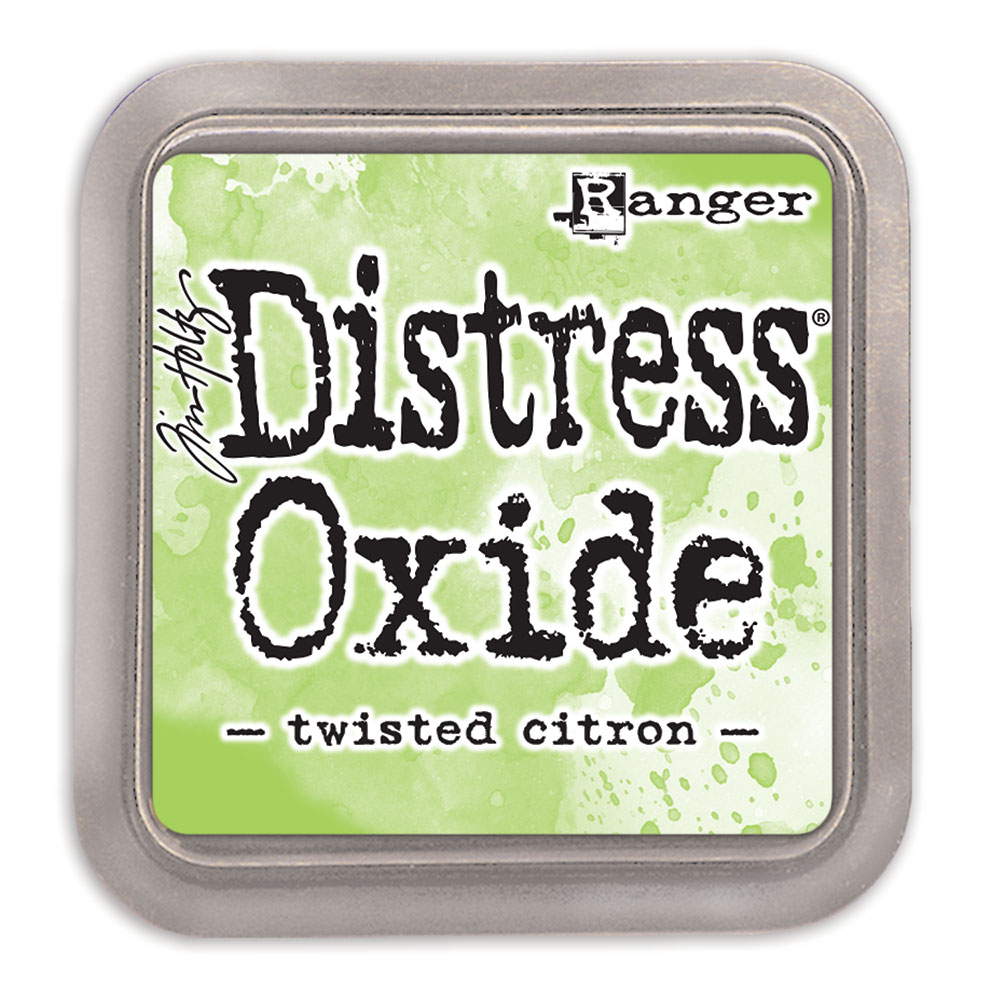
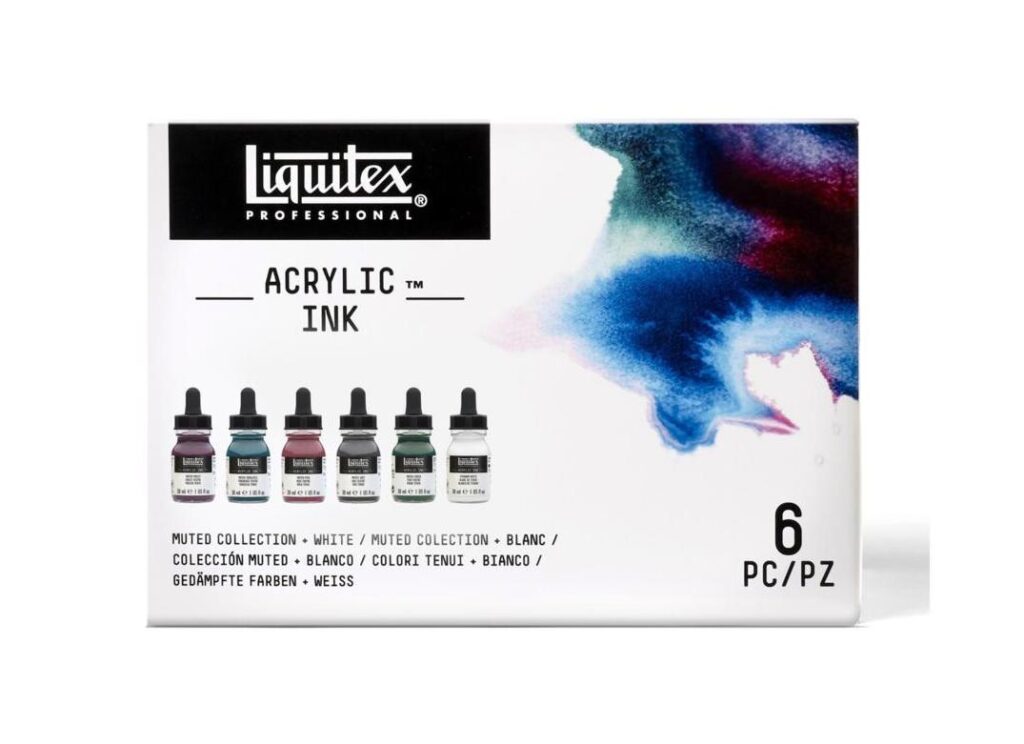
After colouring, I created a background for the card by ink-blending using Twisted Citron Distress Oxide and splattering with Liquitex Titanium White Acrylic Ink.

Using Bearly Art Glue, I finished off my card by adhering my image to the background and then adhering my background to two corresponding coloured mats to compliment the green and red of the wreath.

Thanks for reading. Catch ya next time!

Sasha


Products Used

This post contains affiliate links that are of no extra cost to you. Using my affiliate links simply helps me to keep doing what I love – thank you!

Holly Jolly Stamps

Twisted Citron Tim Holtz Distress Oxide Ink Pad

Buy From

Ohuhu Alcohol Markers

Buy From

Copic Sketch Alcohol Markers

Liquitex Titanium White Acrylic Ink

Buy From

Hammermill 100lb Premium Colour Copy Colour Cardstock

Fiskars 12″ Portable Paper Trimmer

Buy From

Scor-Pal Eights Measuring & Scoring Board – 12″ X 12″

Buy From

Bearly Art Precision Craft Glue – THE ORIGINAL

IMG_7139

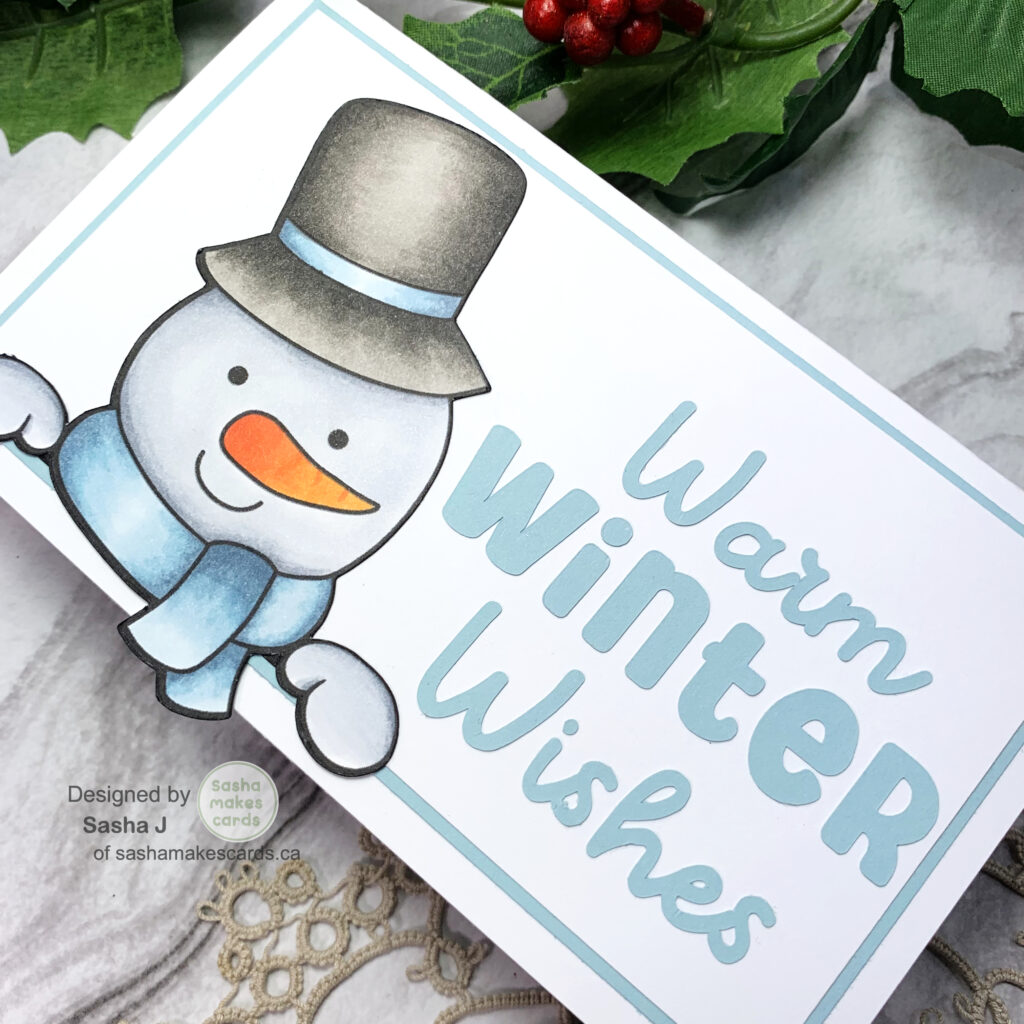
Warm Winter Wishes Snowman Topper – Kate Hadfield Designs

Hello friends! Today’s card is a mini slimline card featuring the adorable Digital Jingle Toppers Stamp Set from Kate Hadfield Designs!

After sizing my image digitally, I printed it out and used the following Copics and Ohuhu alcohol markers to colour my snowman friend:

Copics:

  • Oranges: YR04, YR07, YR09
  • Greys: C1, C3, C5, W3, W5, W7, W9

Ohuhus:

  • Blues: BG3, BGII05, MG020, MG060

As for the sentiment, I created it using Cricut Design Space and then cut it out in my desired cardstock colour.

To adhere all the elements together, I used Bearly Art Glue.

Thanks for reading. Catch ya next time!

Sasha J


Products Used

  • Kate Hadfield Designs Digital Jingle Toppers Stamp Set
  • Copics
  • Ohuhu Alcohol Markers
  • Hammermill 100lb Cardstock
  • Bearly Art Glue