Good morning and welcome to our FINAL day of
June Krafty Peeks!
Today we are revealing our last stamp set which will be releasing tomorrow afternoon at 3pm ET!
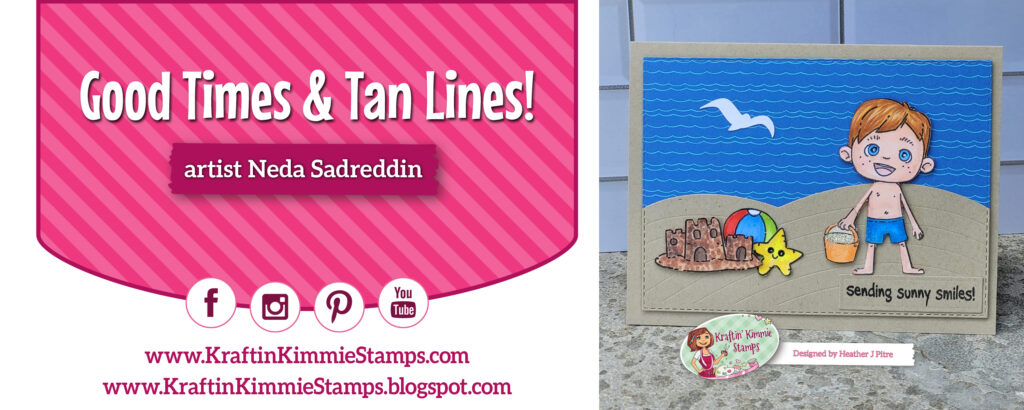
This one is from artist Neda Sadreddin and is called
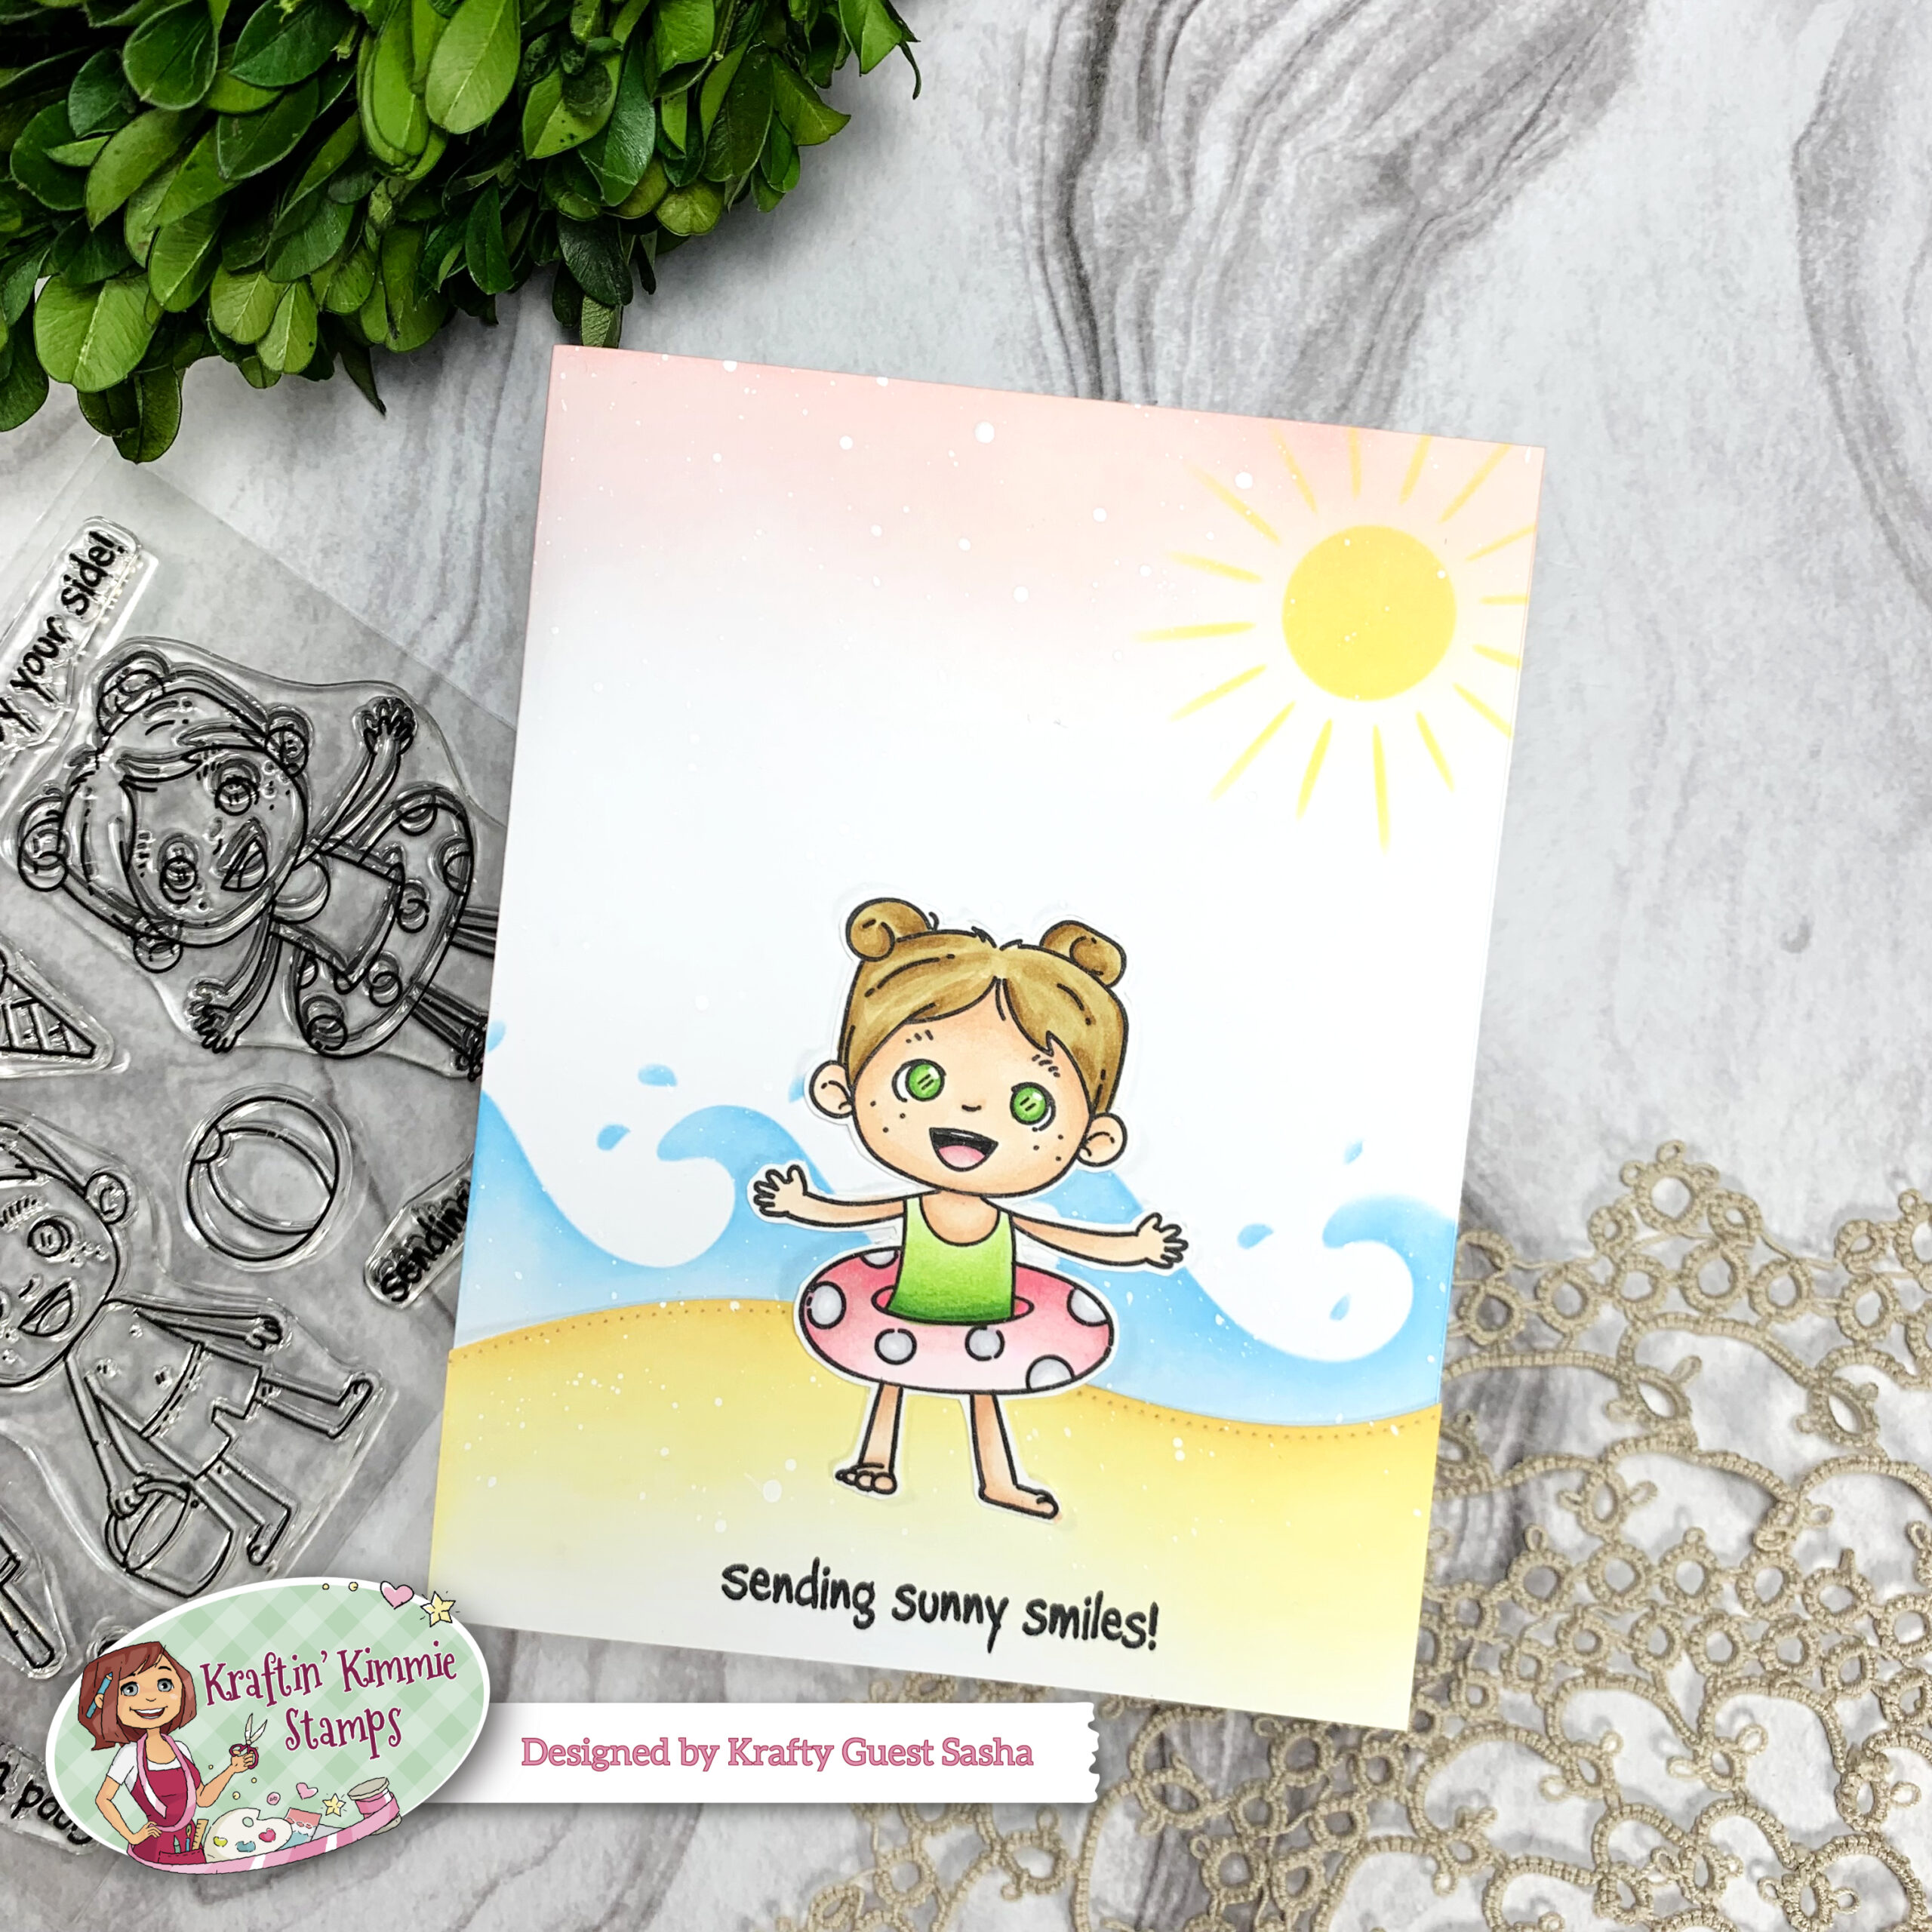
GOOD TIMES & TAN LINES!
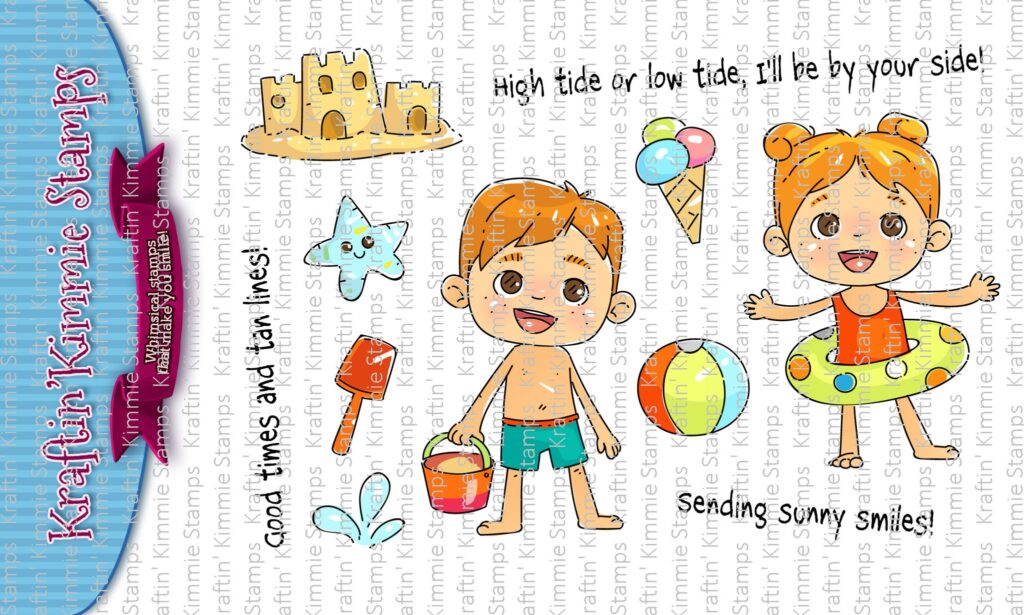
It’s the perfect summer stamp set with these adorable kiddos!
Who wants to hang out at the beach or the pool??
Let’s go splish splashing!
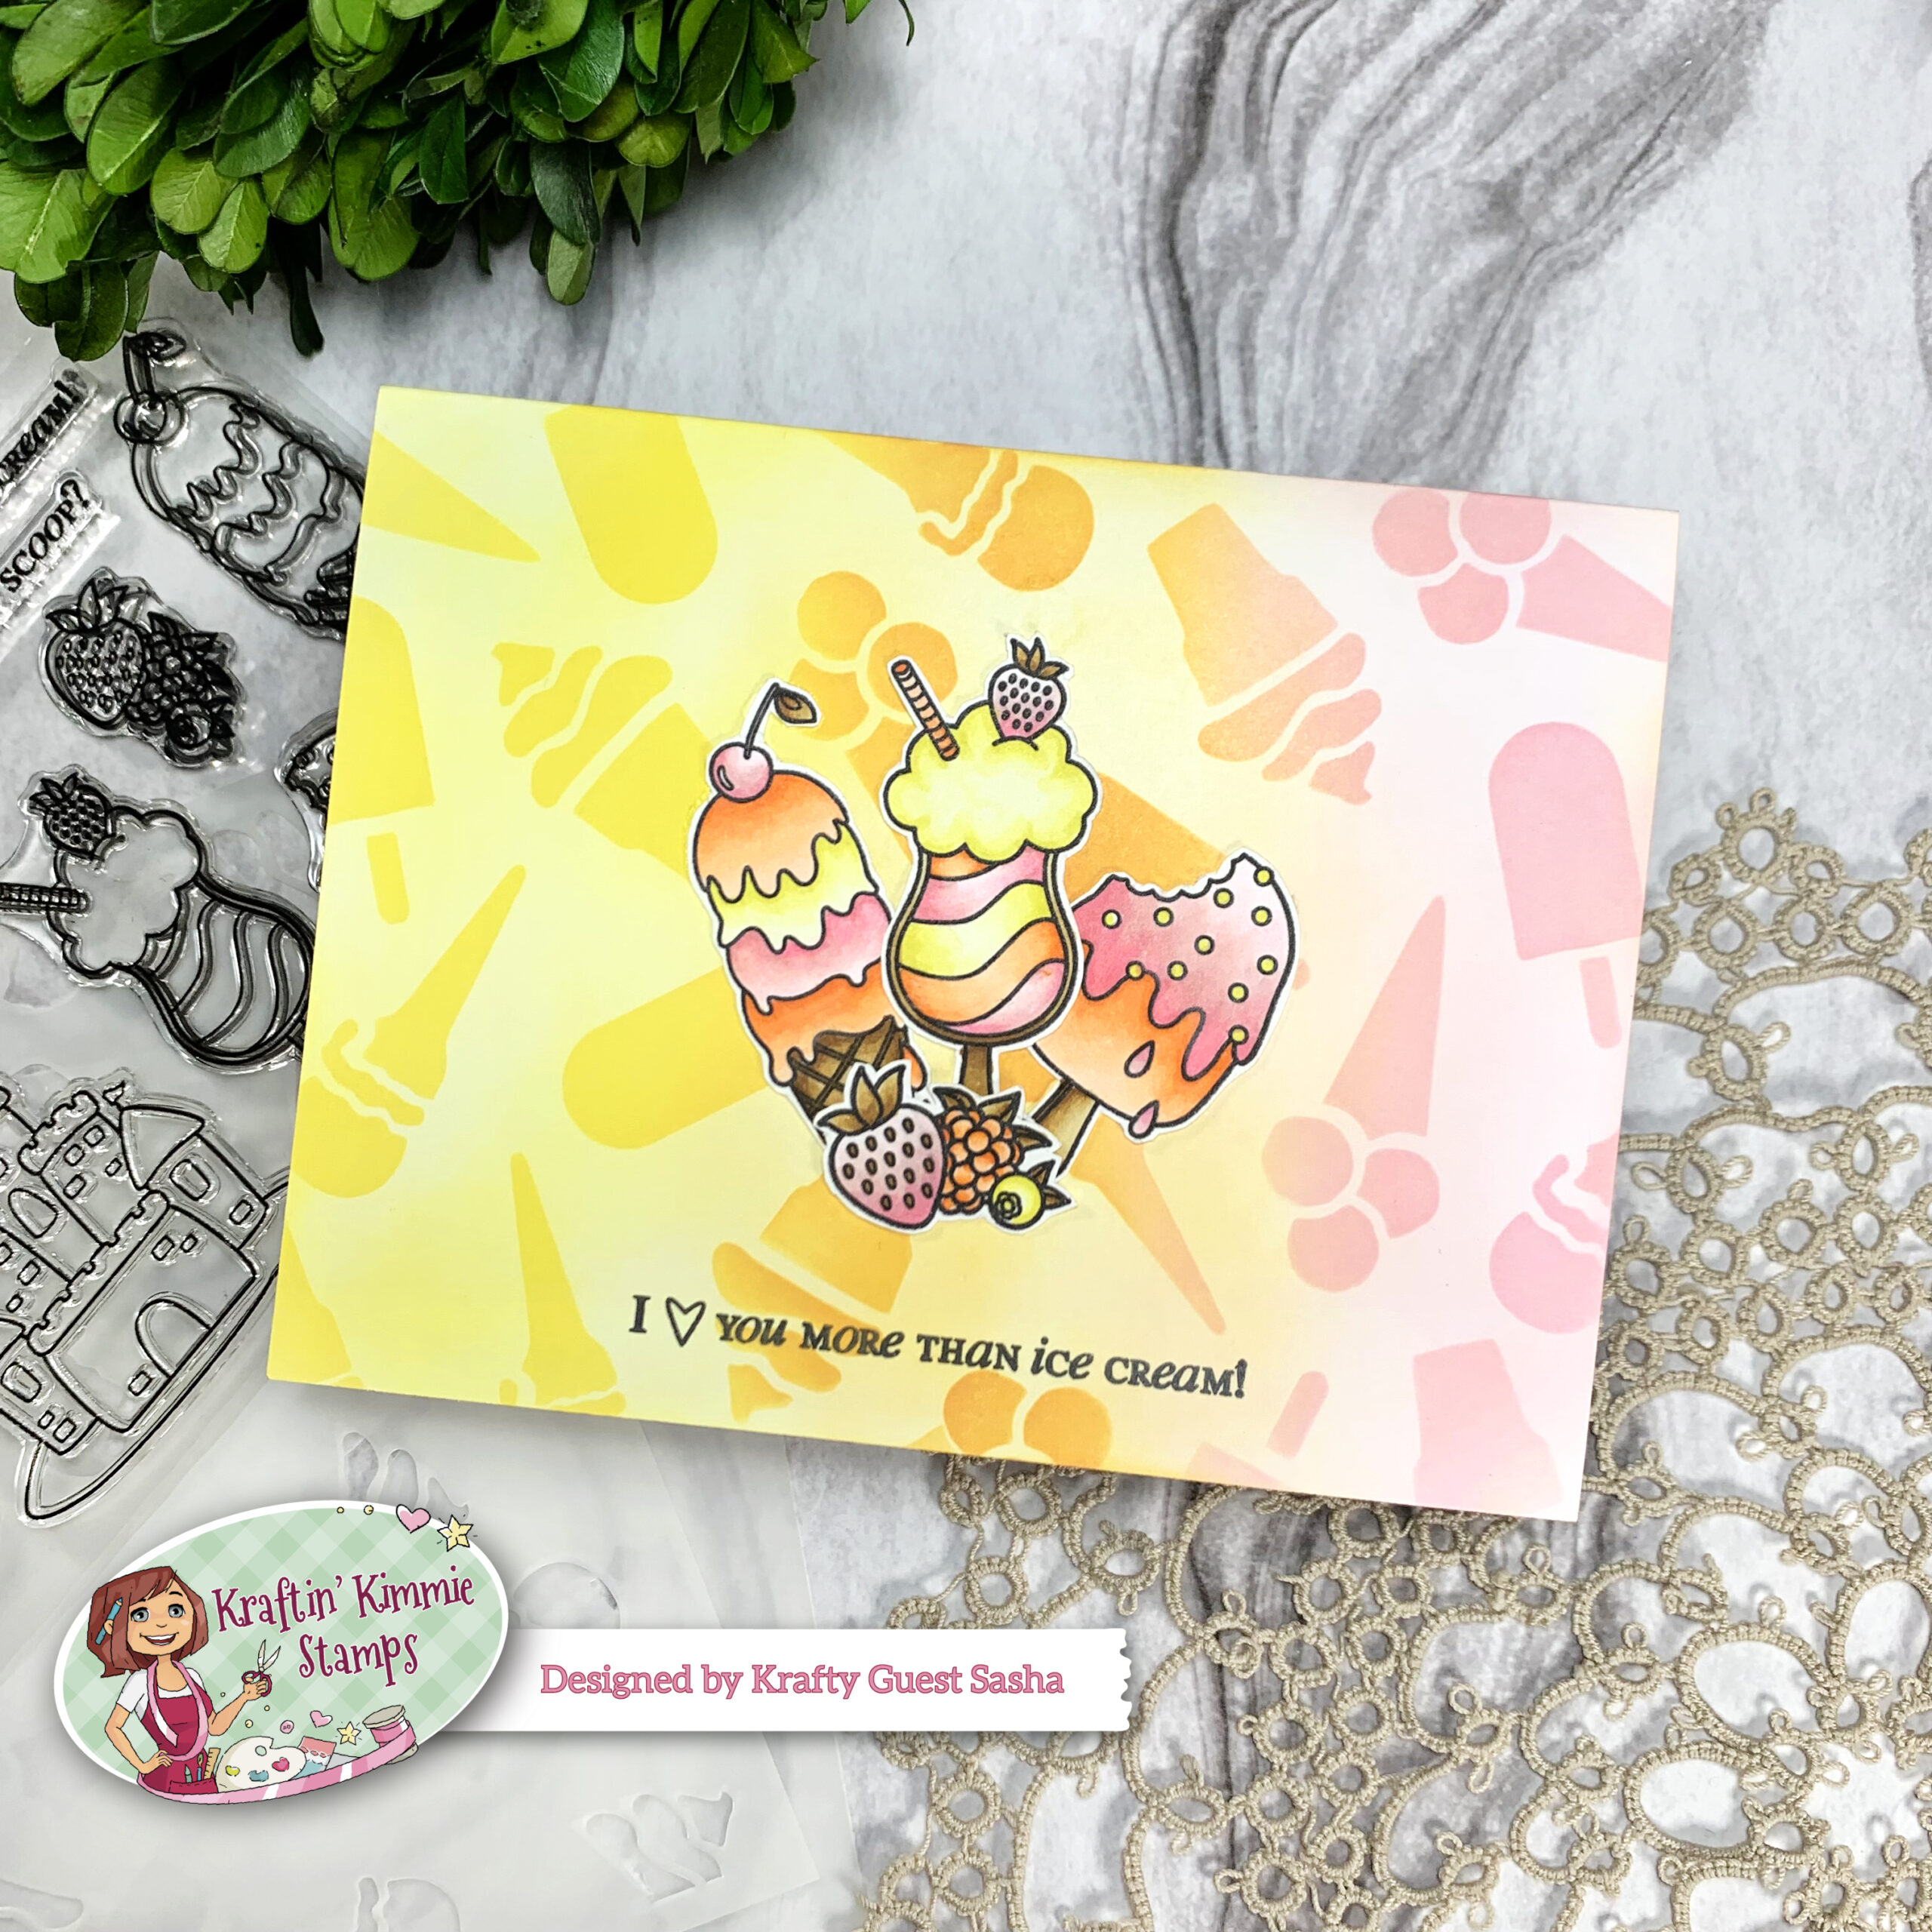
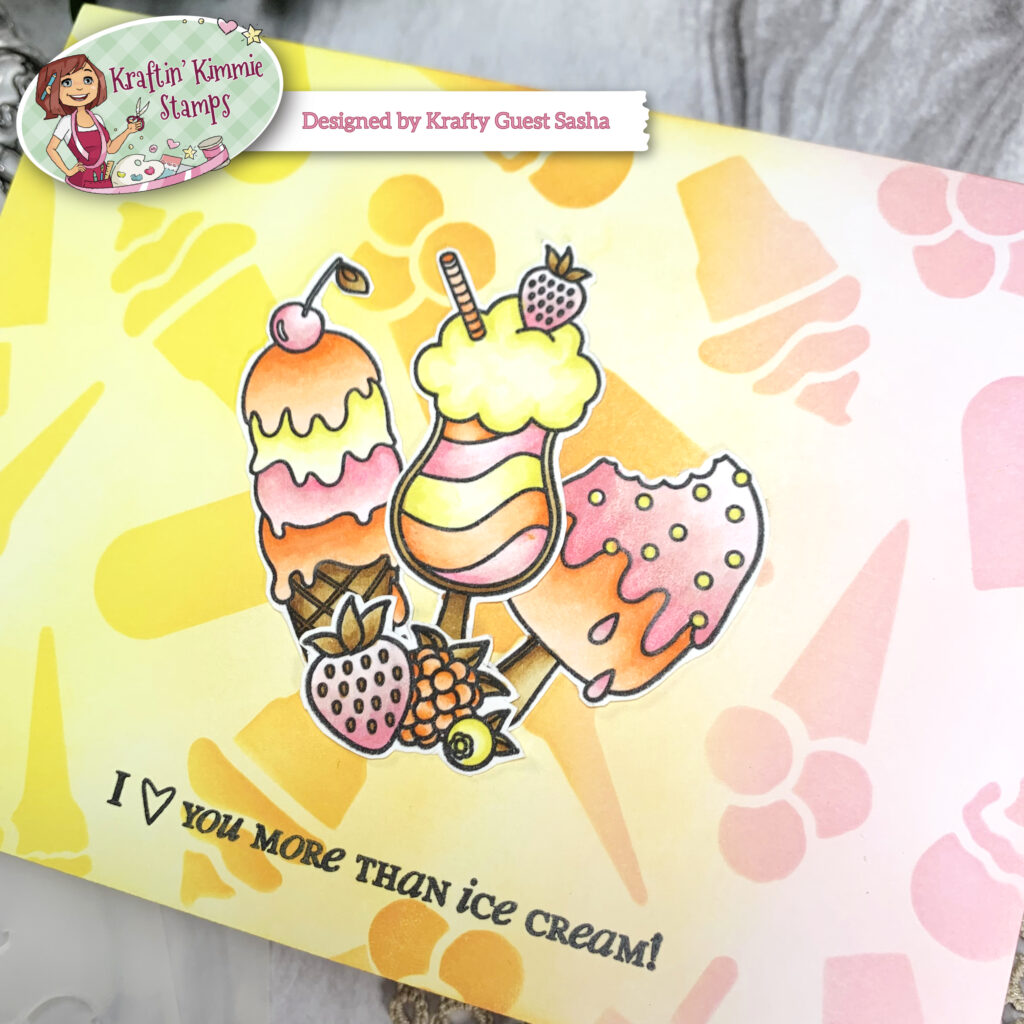
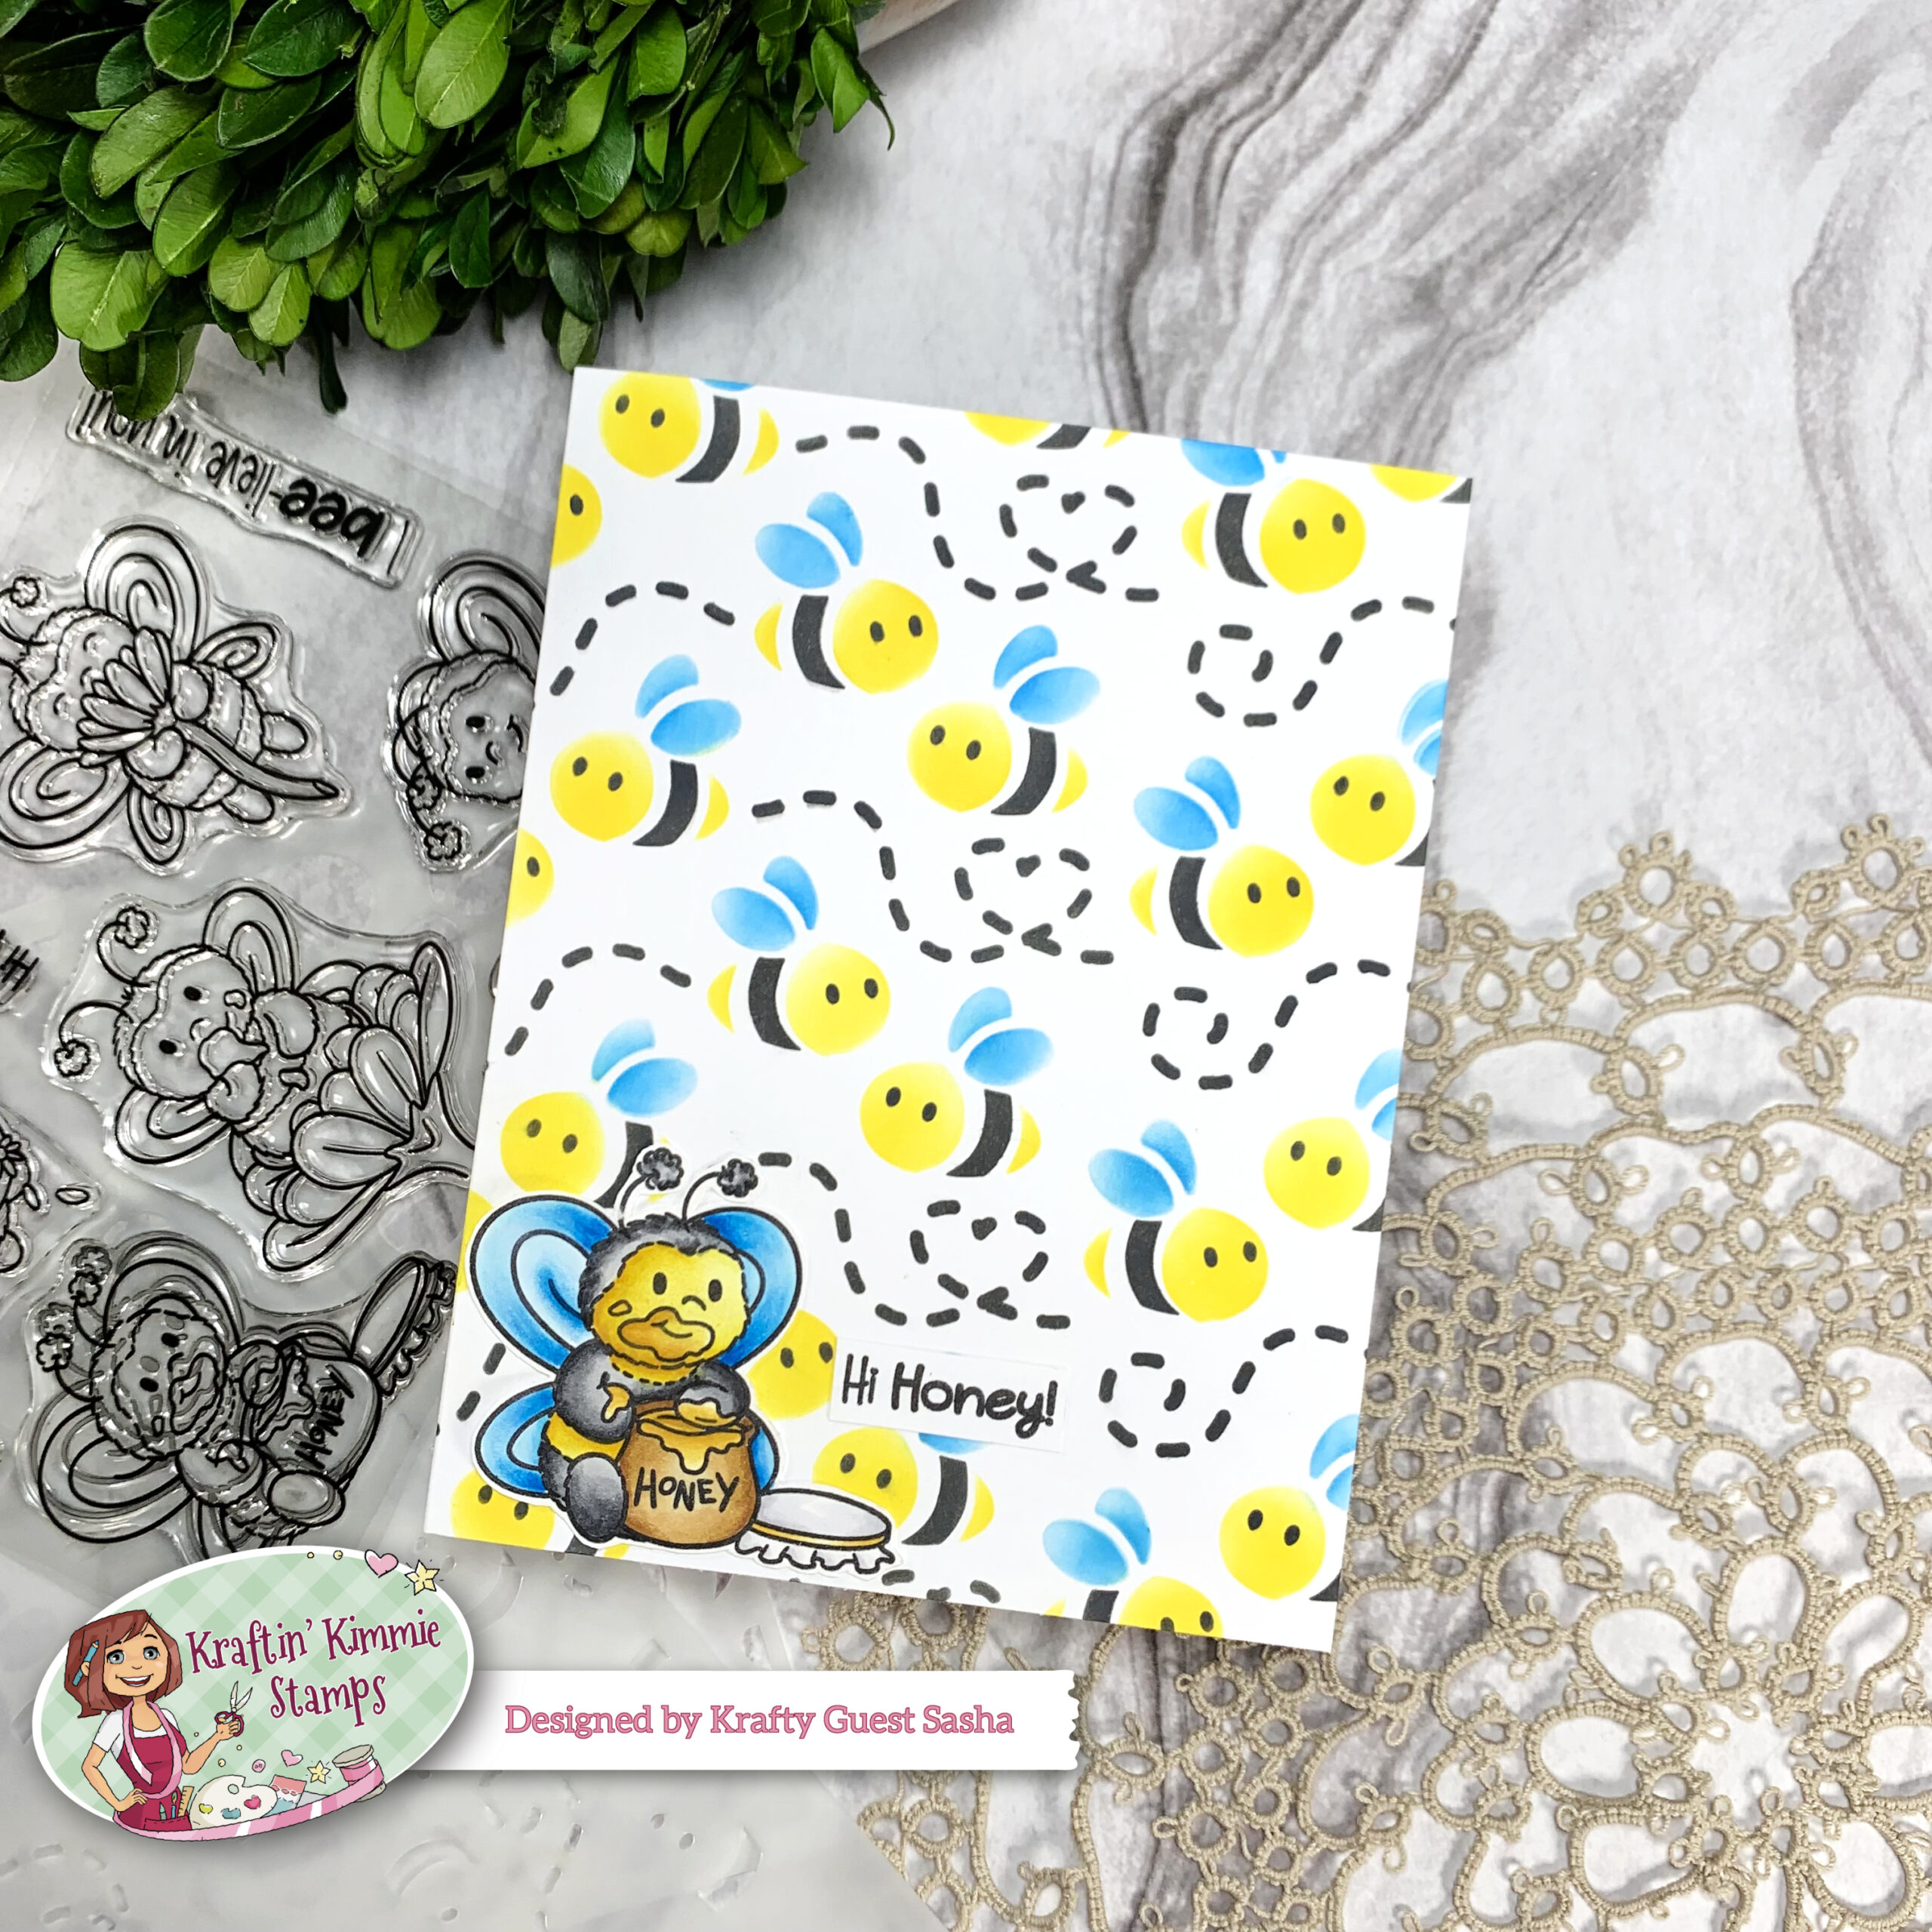
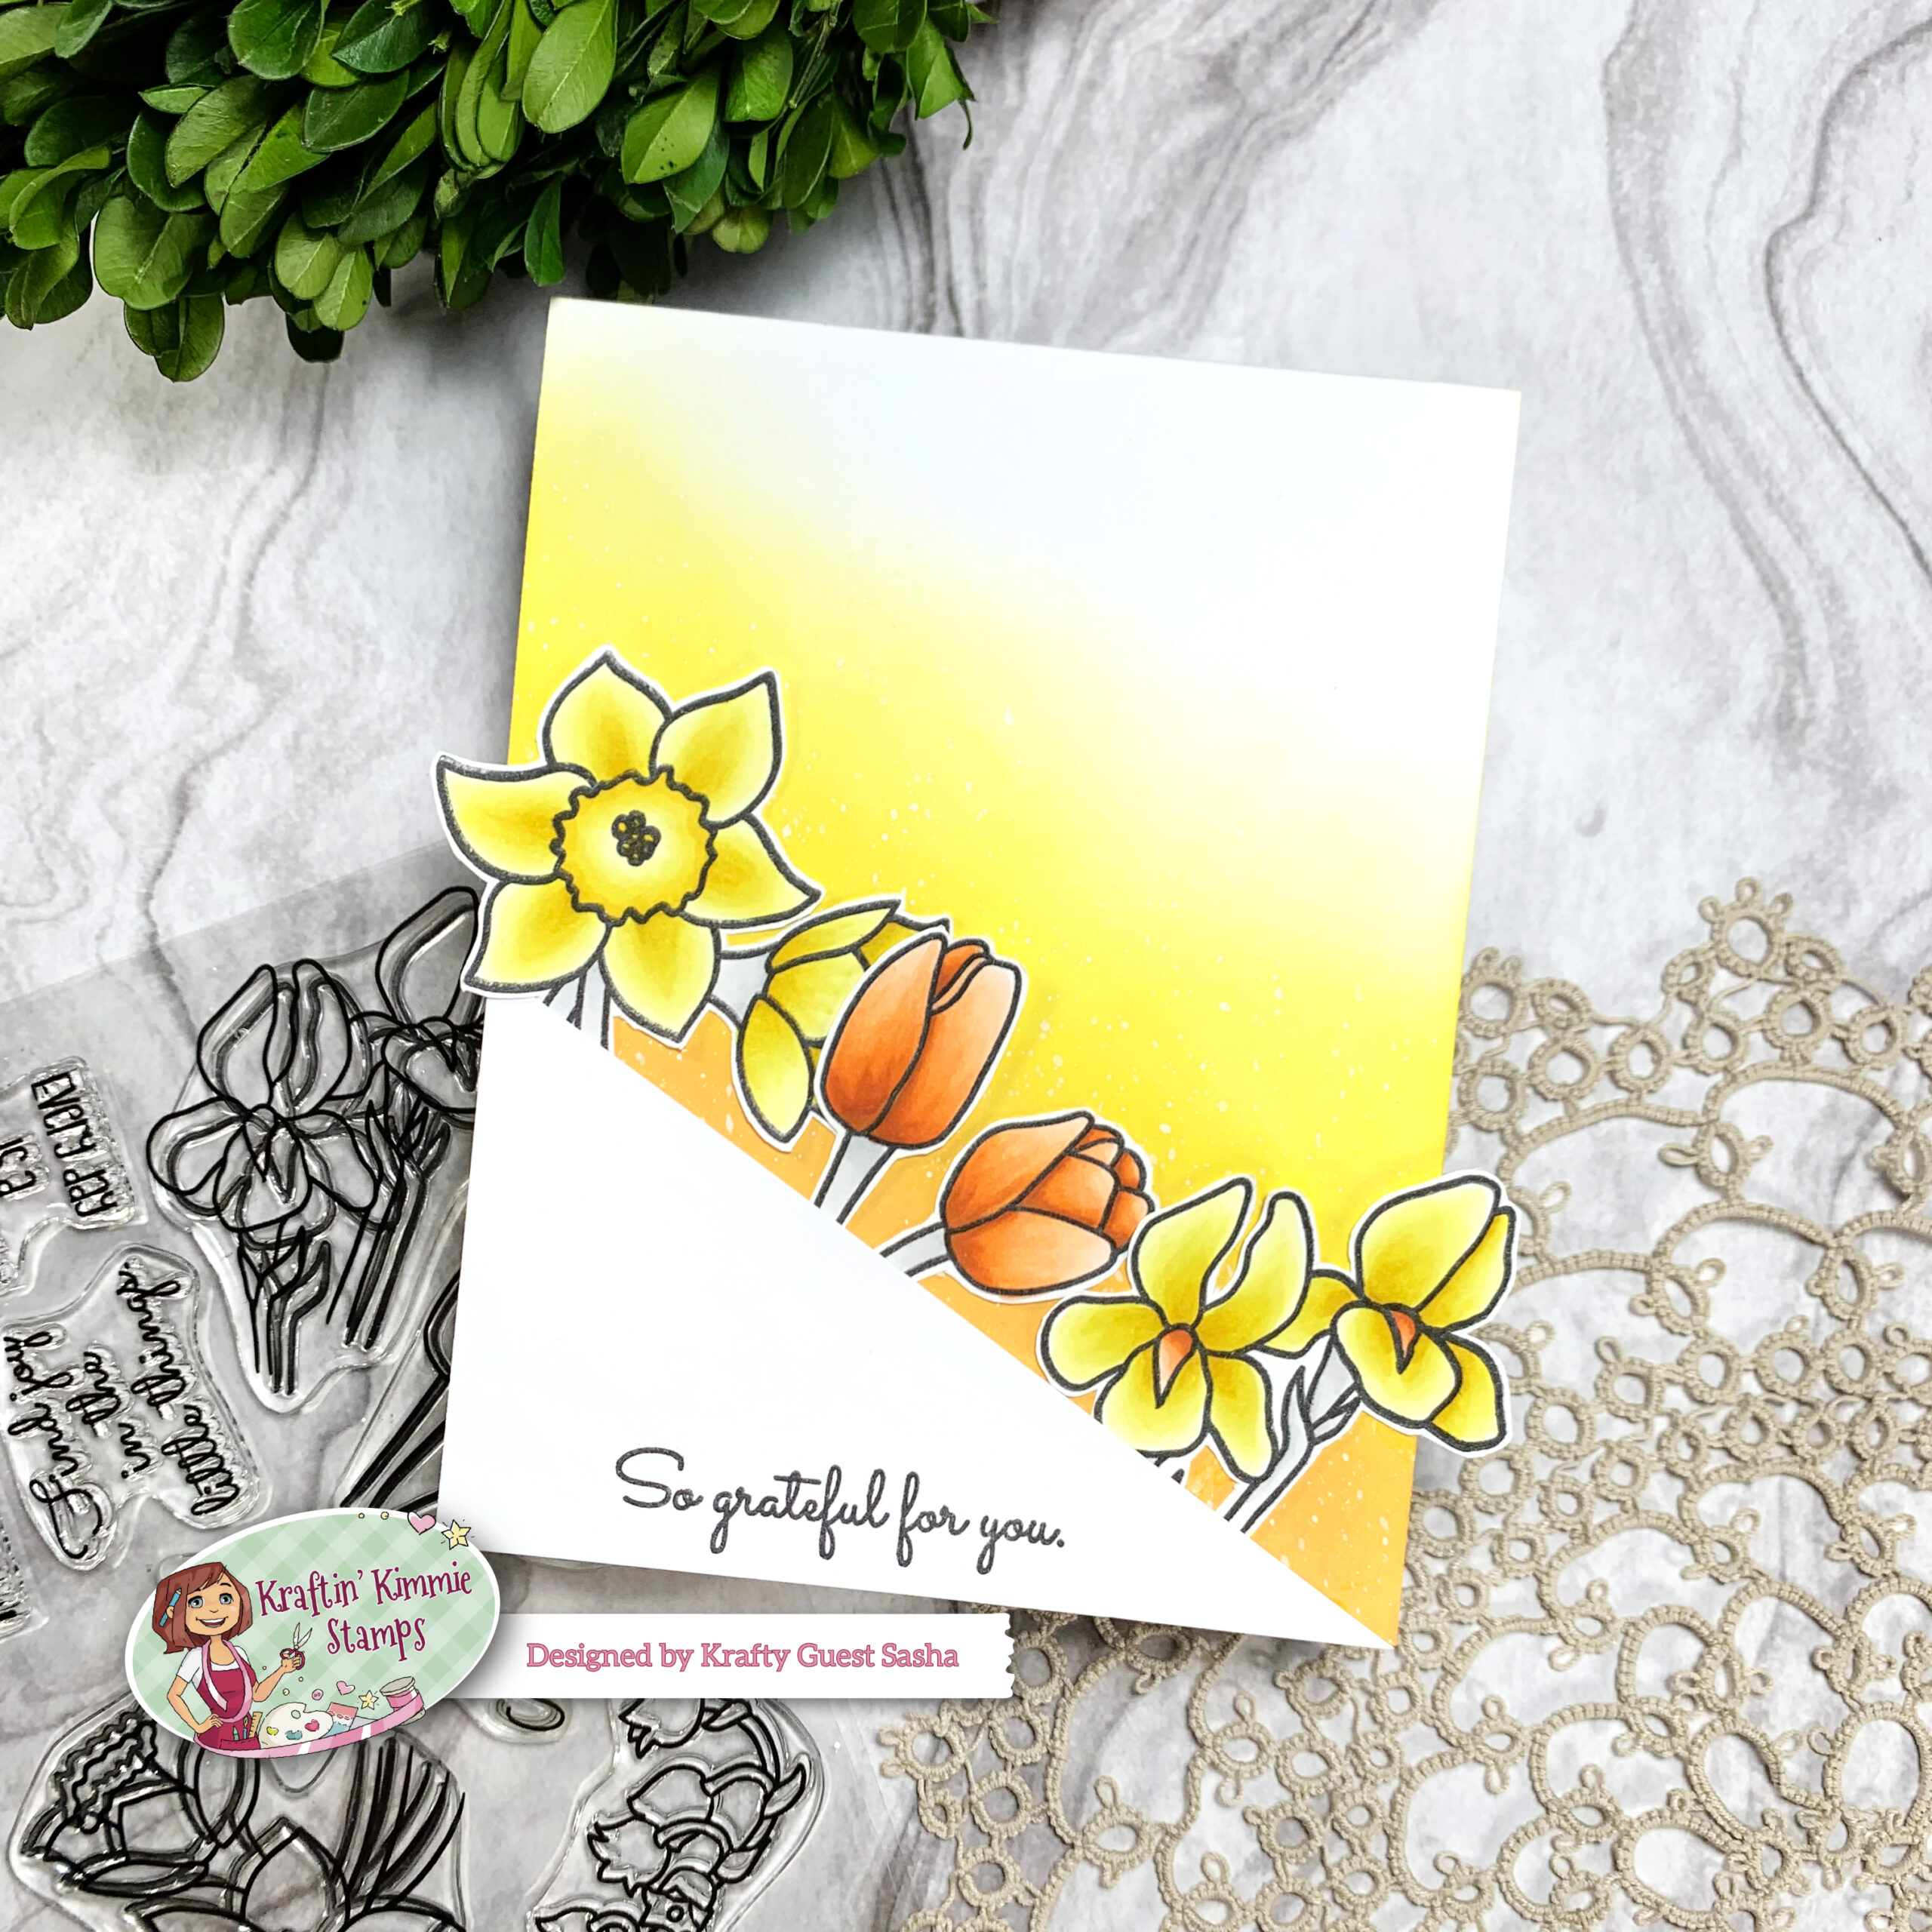
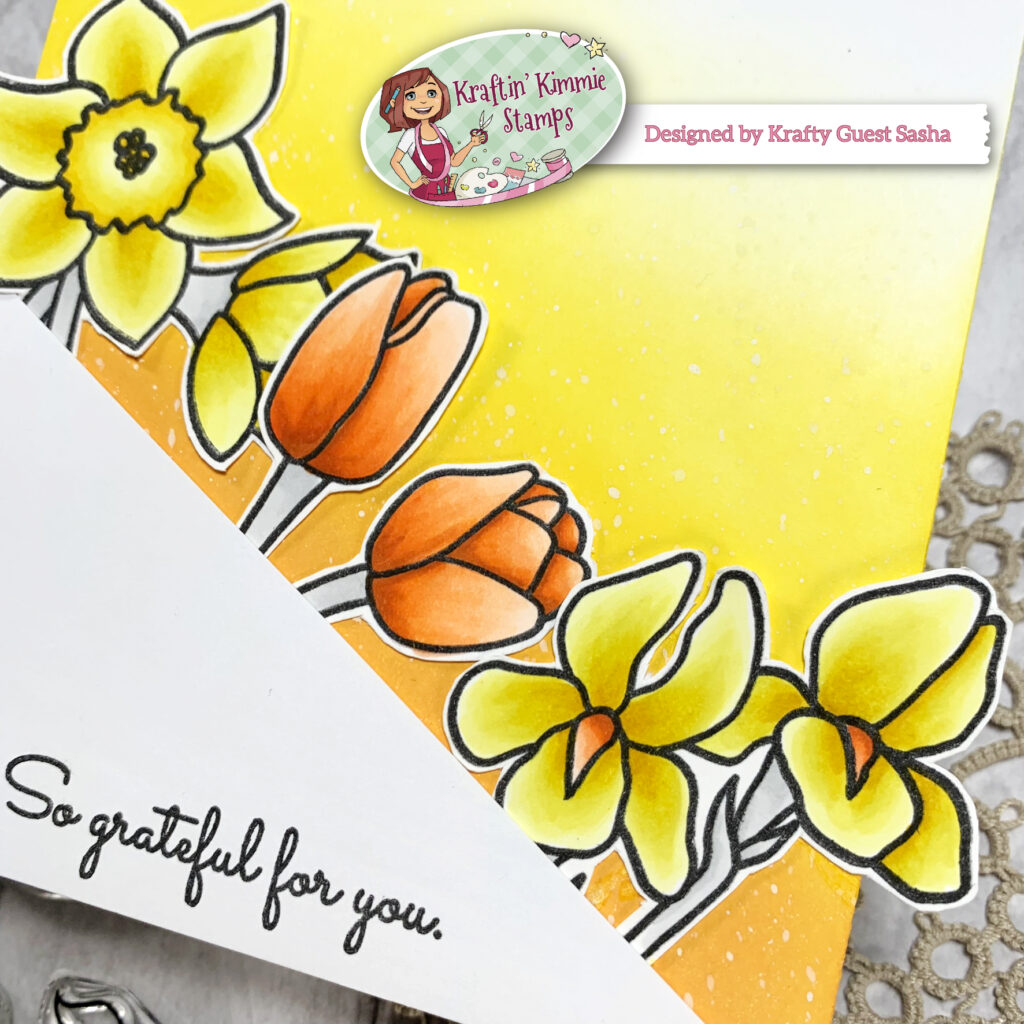
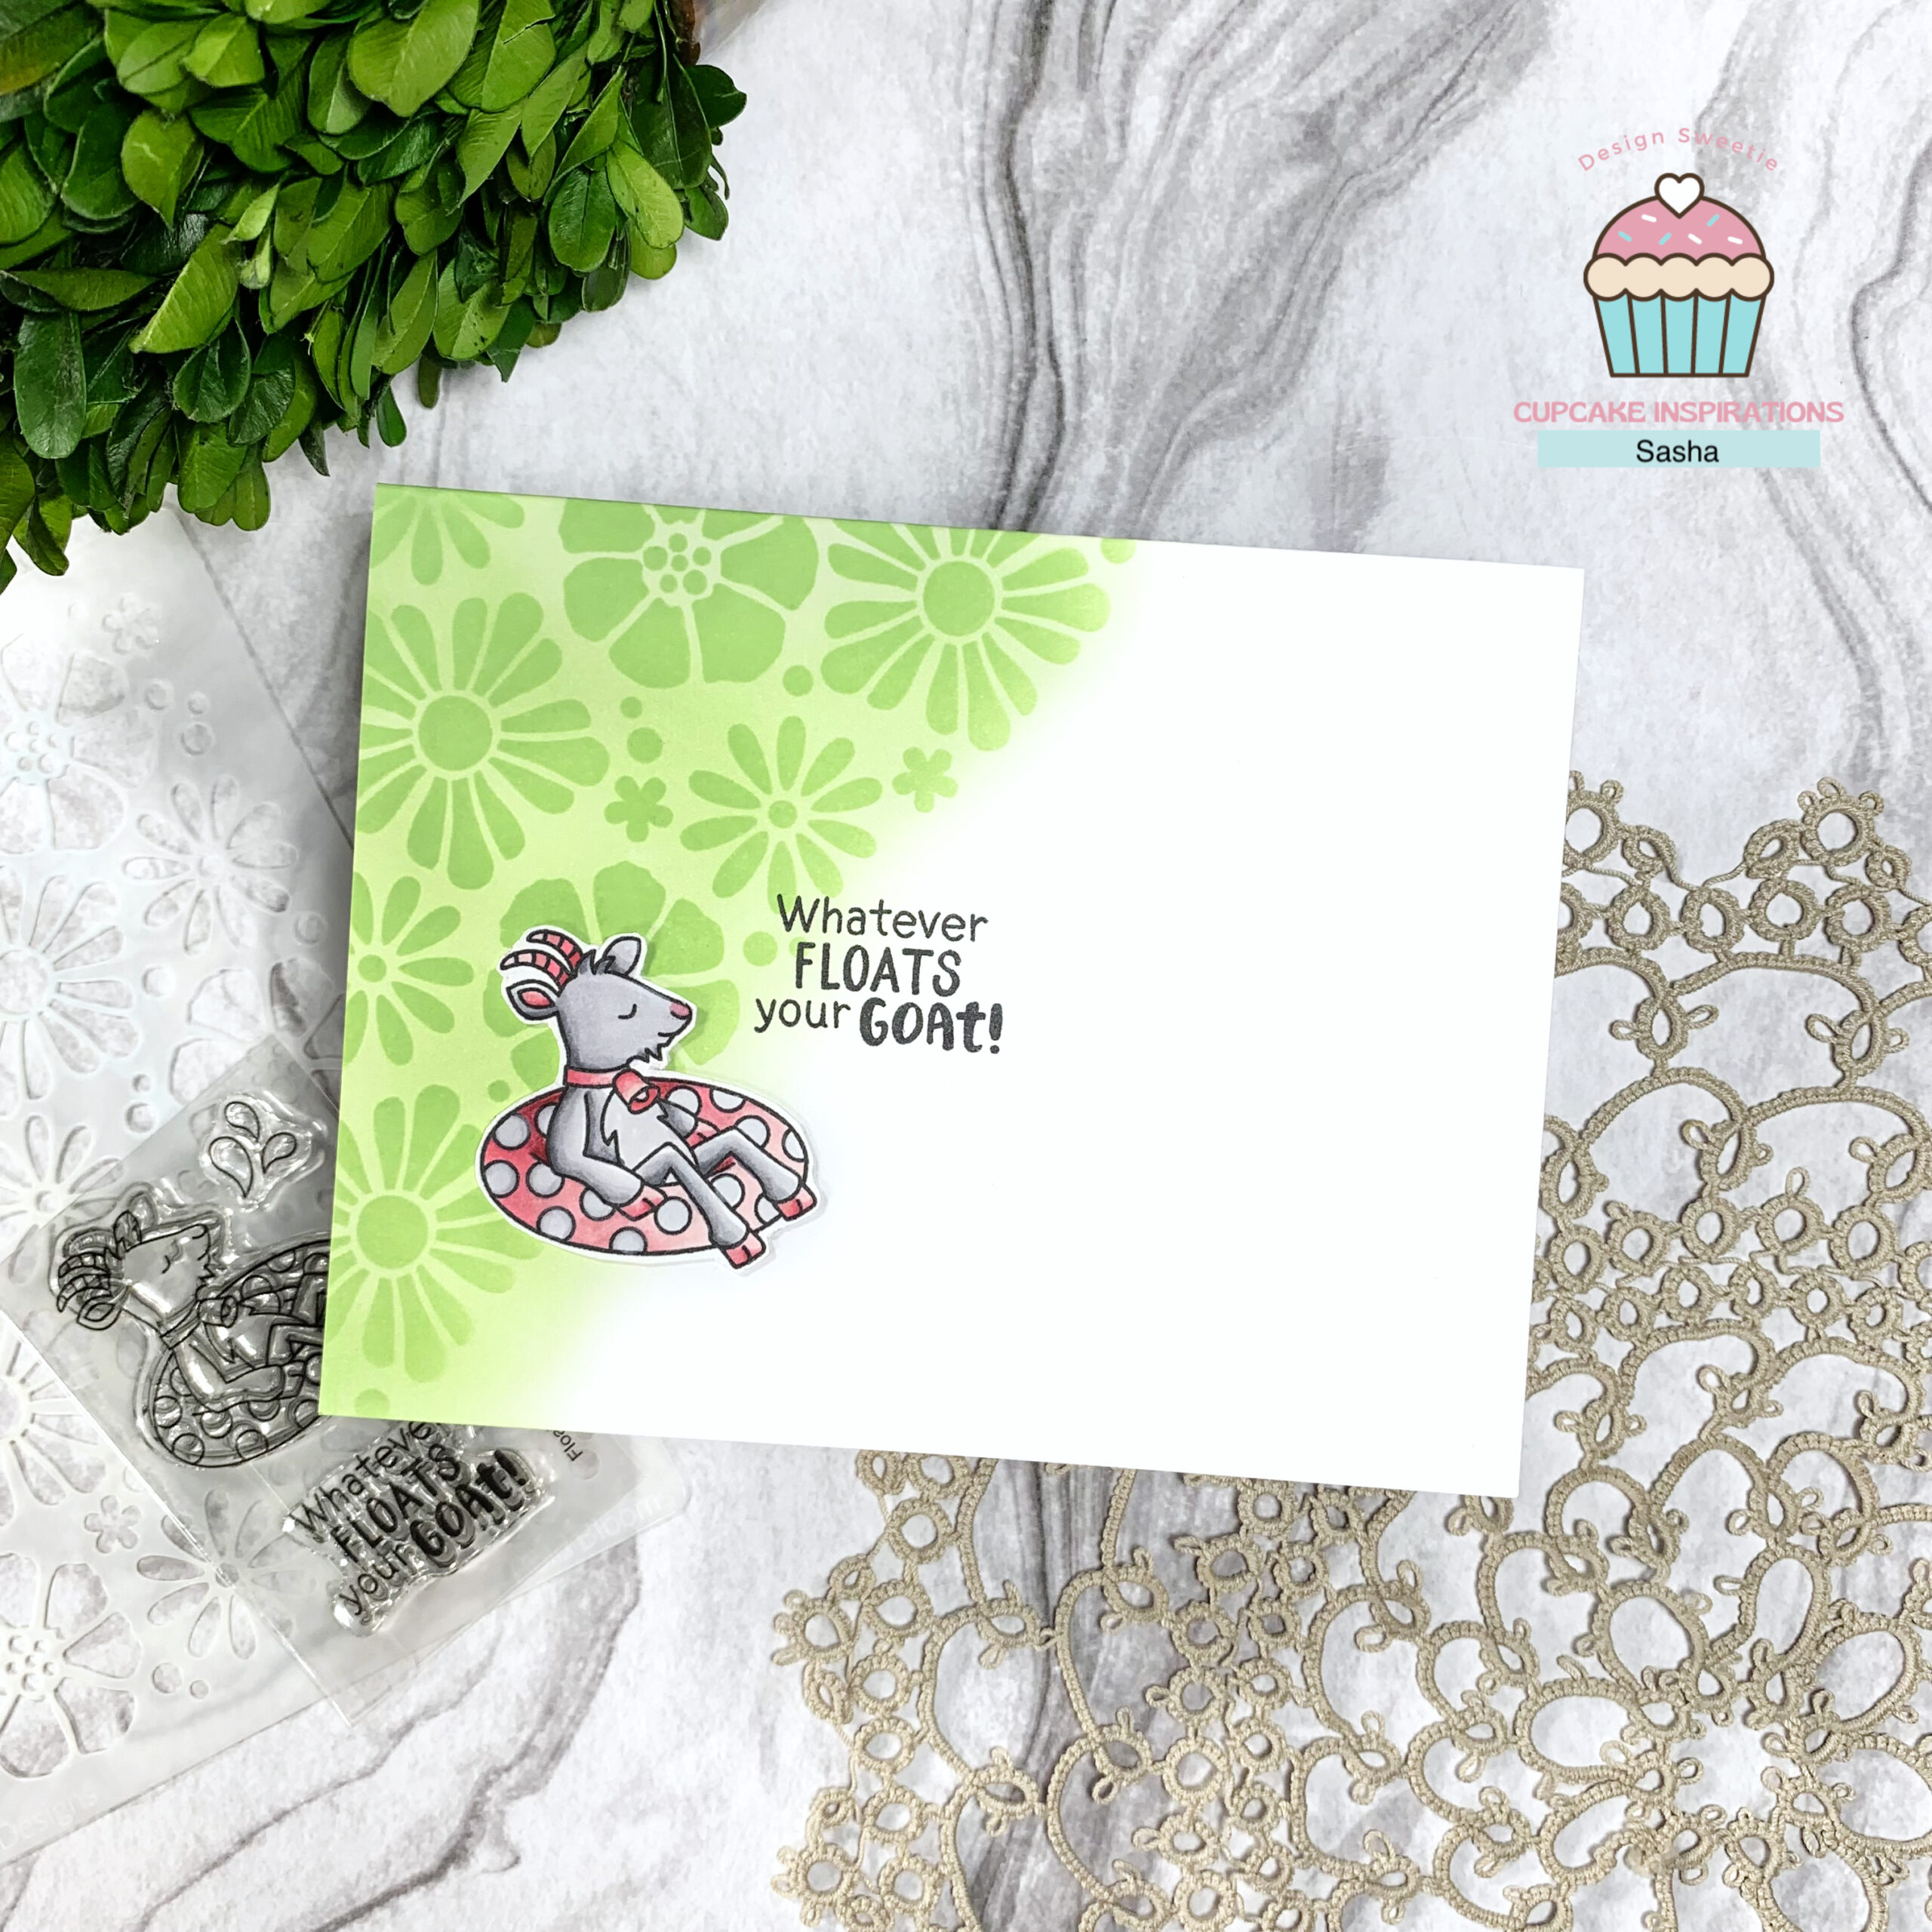
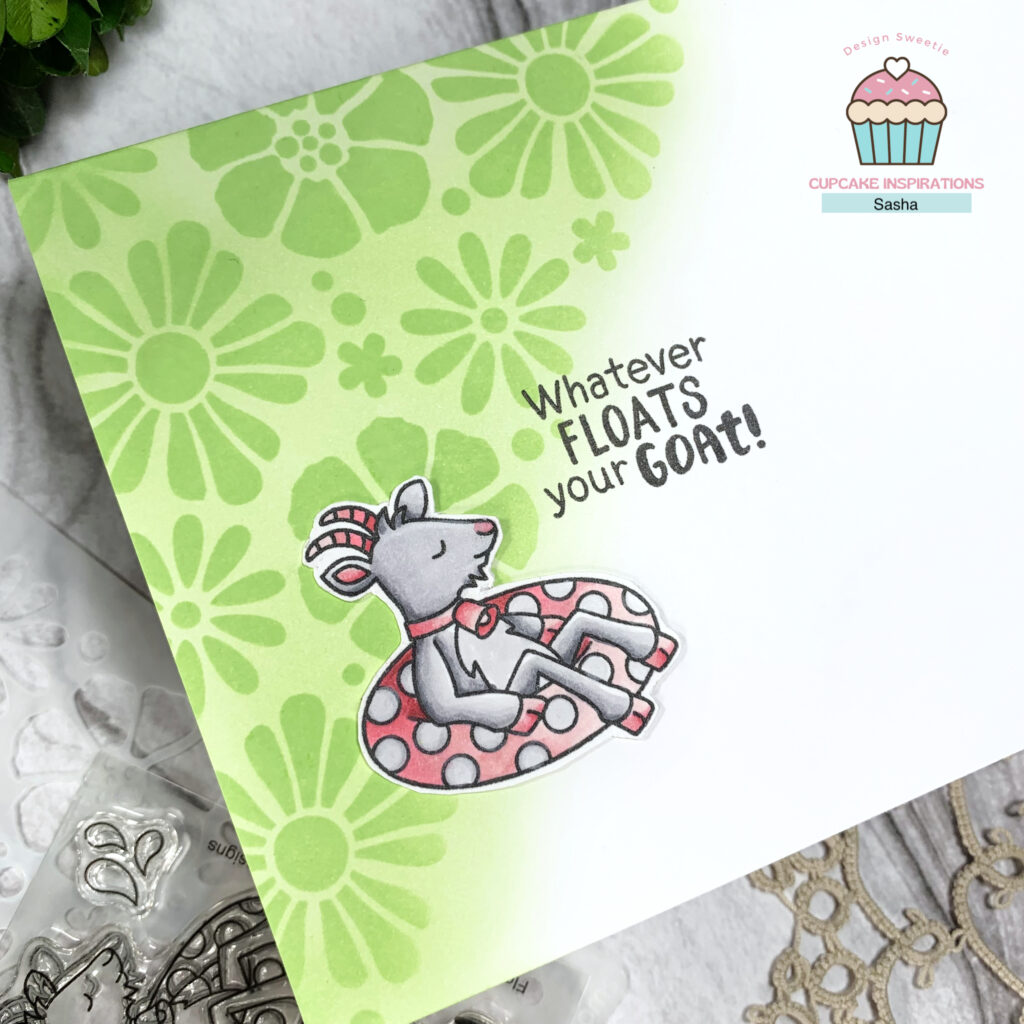
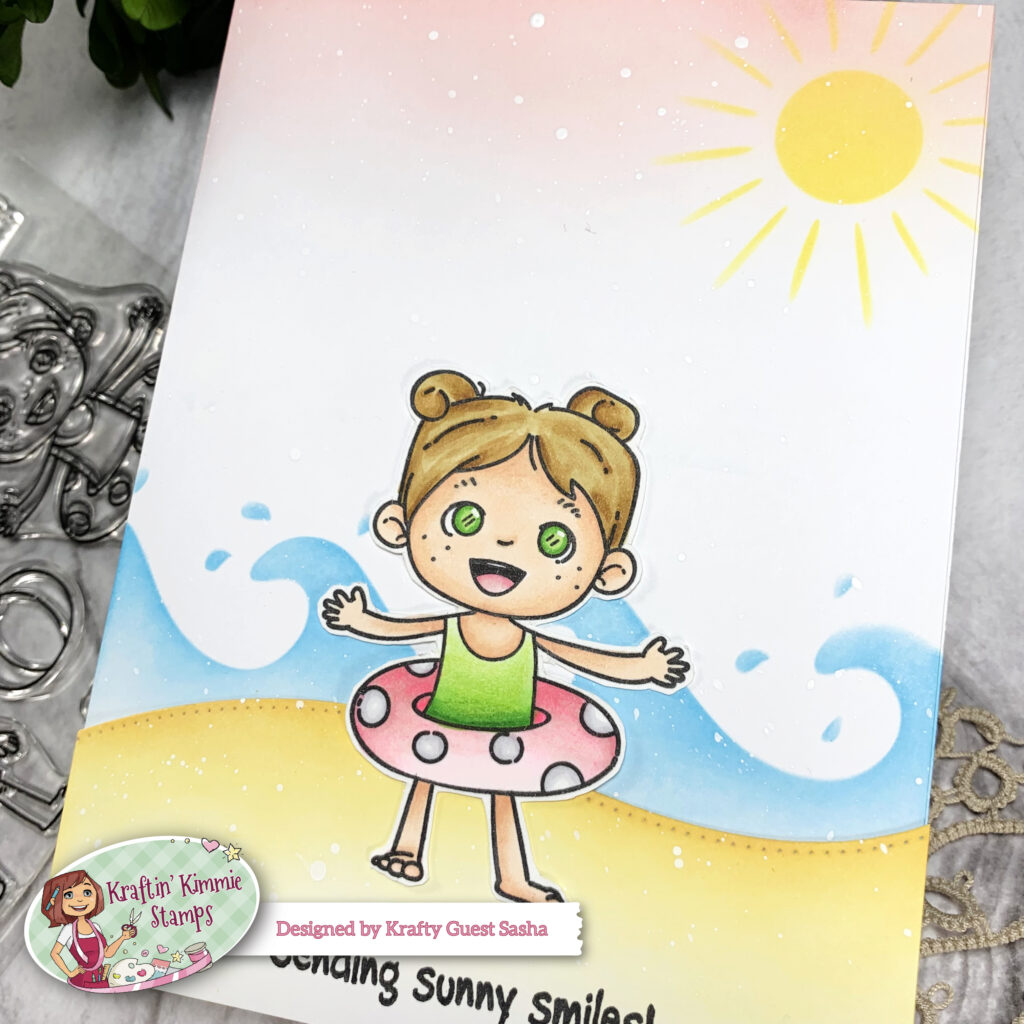
I created my card by colouring the images using Ohuhu alcohol markers and ink-blending a simple, beachy background using Distress Oxides. I used the Krafty Scenry 3 Stencil to create the waves and sun.
As you head out on today’s hop you’ll get to enjoy so many fabulous designs from our Krafty Team and Krafty Guests!
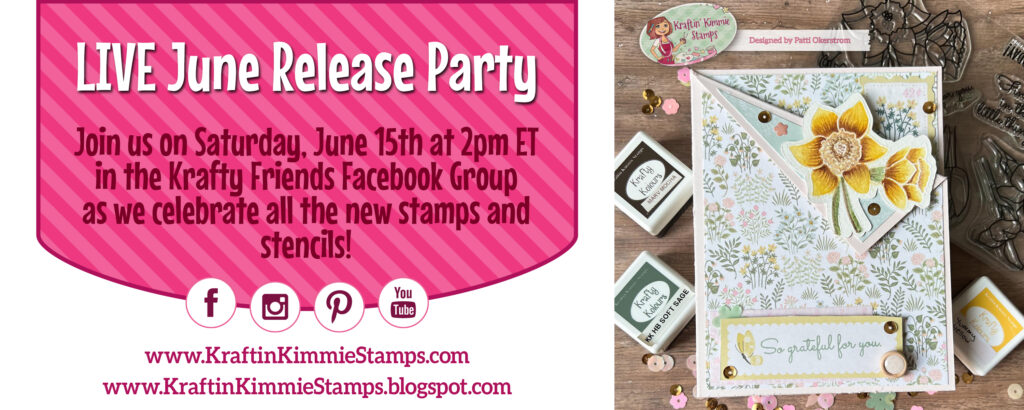
Be sure to join us at 2pm ET in the Krafty Friends Facebook GroupKrafty Friends Facebook Group TOMORROW for our LIVE June Release Party! You’ll get to see lots of samples and we’ll celebrate all the new goodies! OH and you’ll have a chance to WIN a prize!
Happy hoppin’!