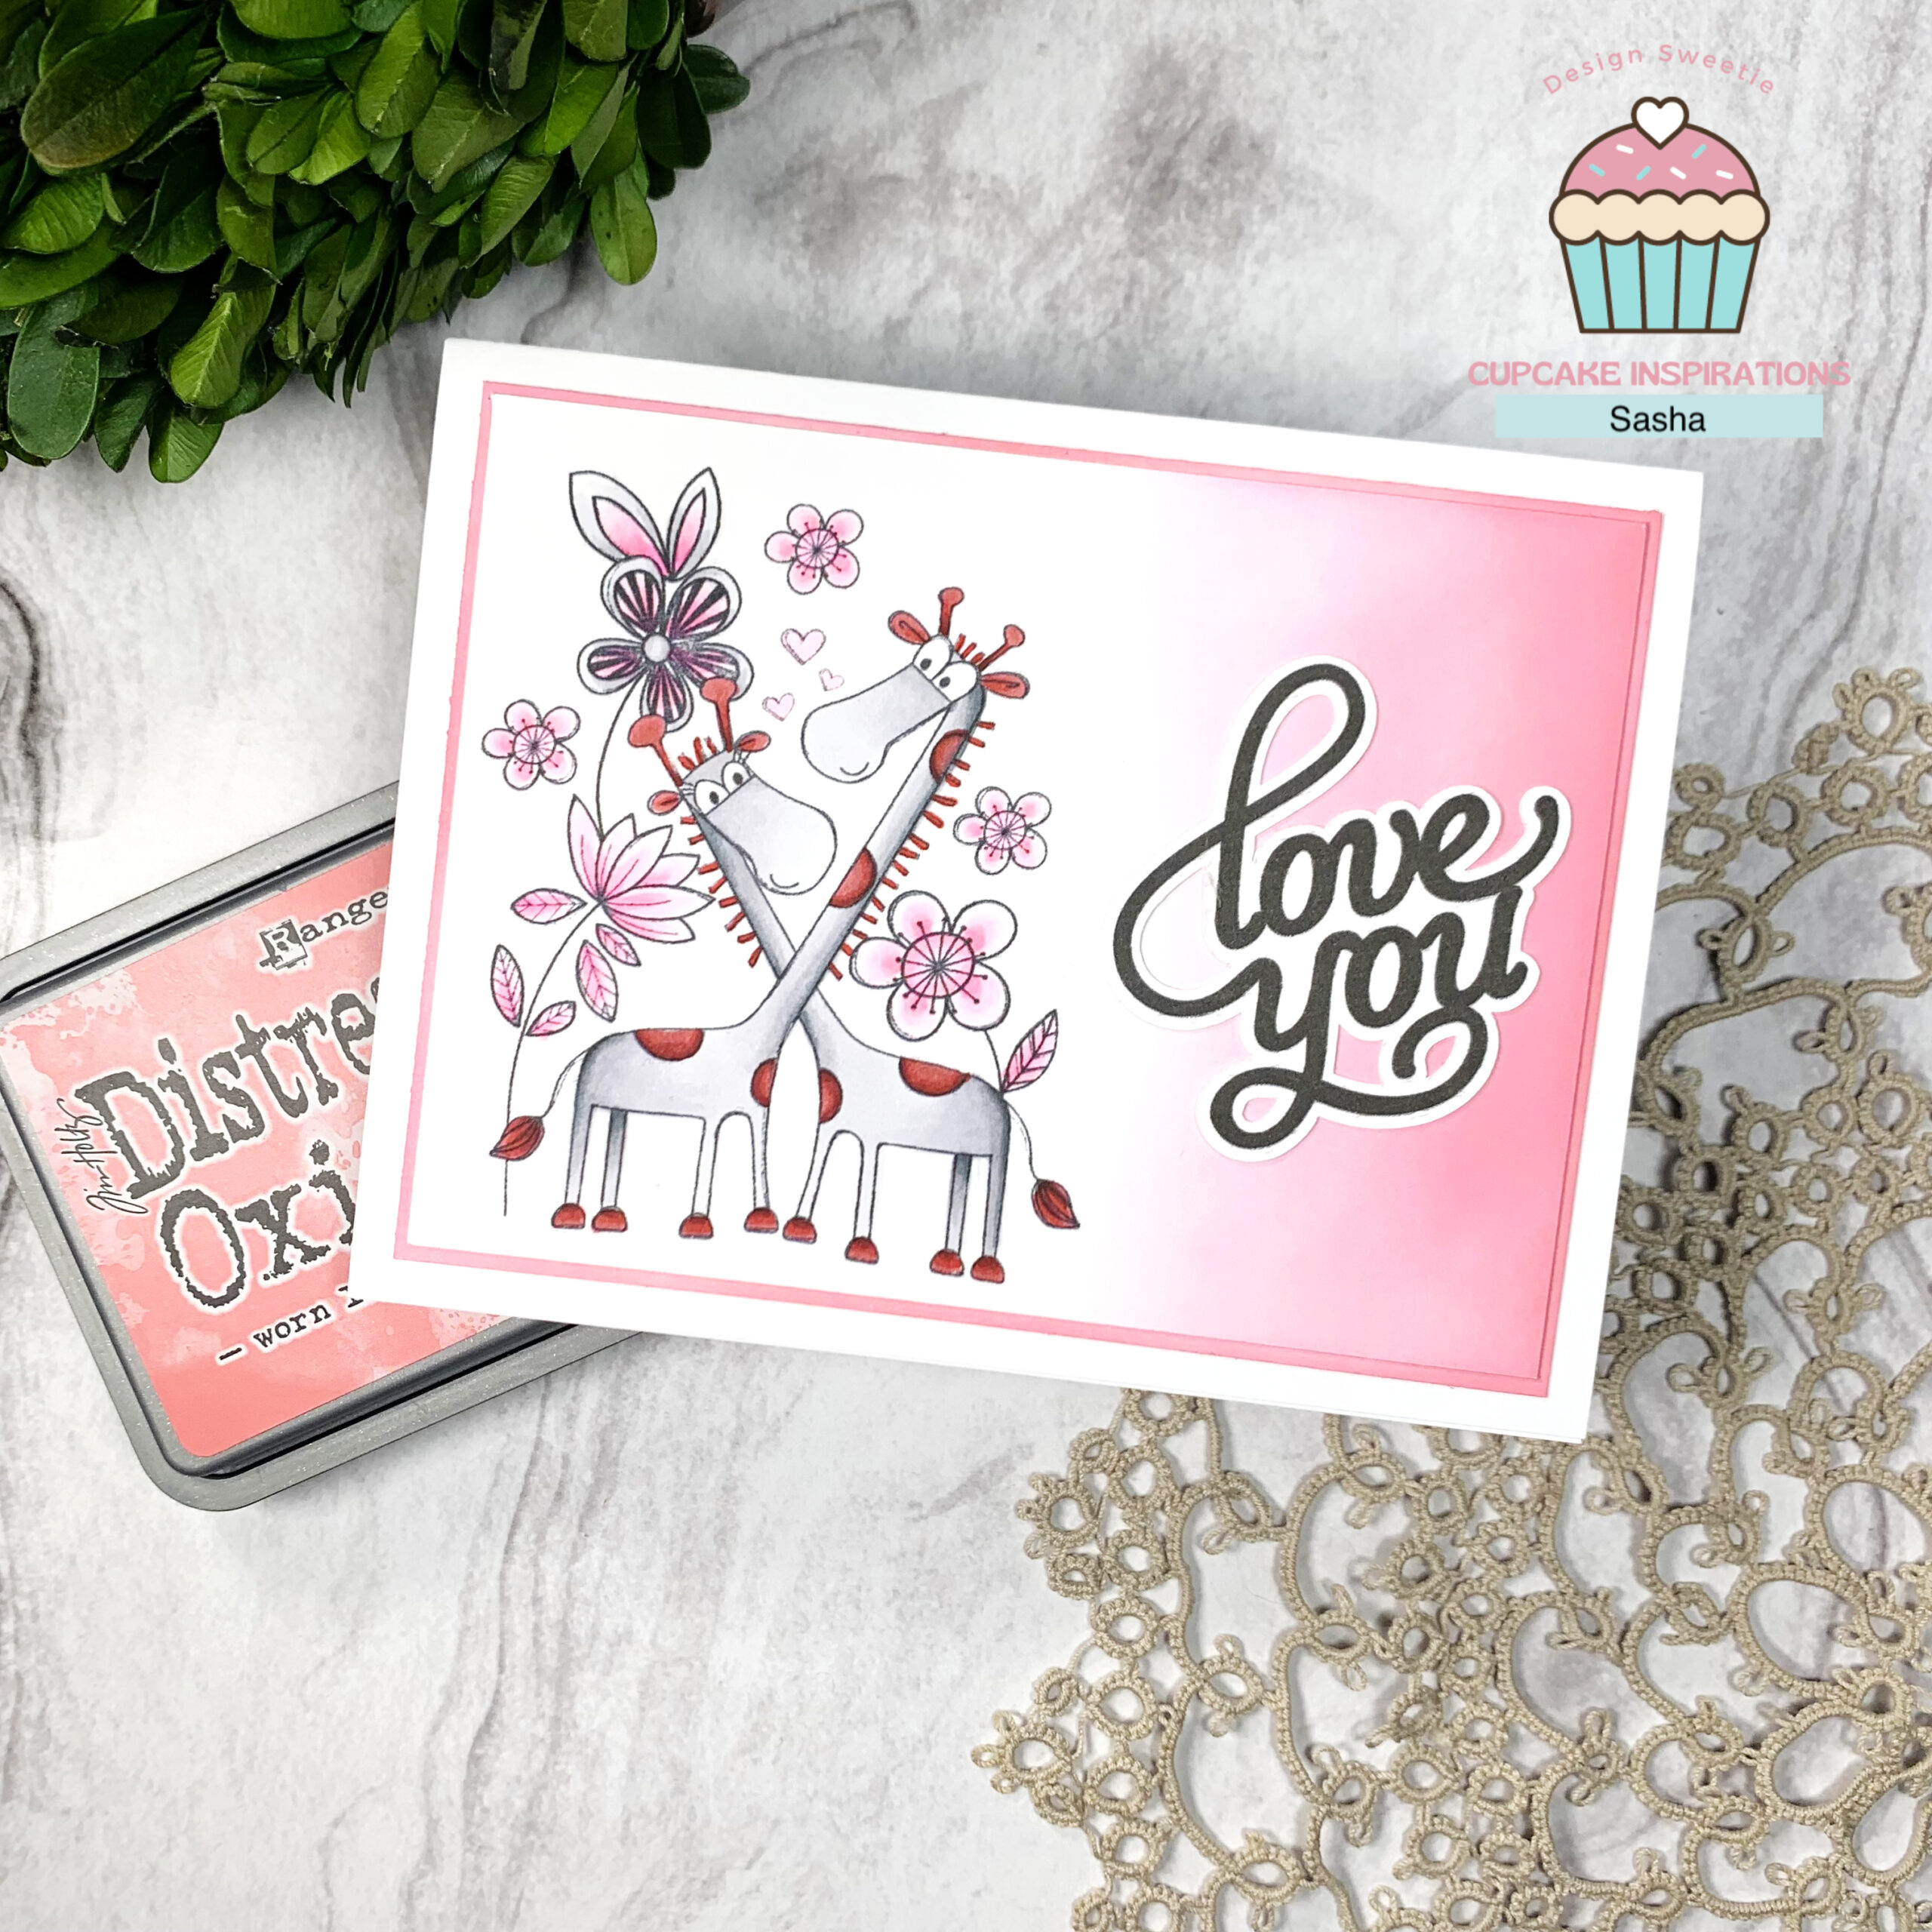
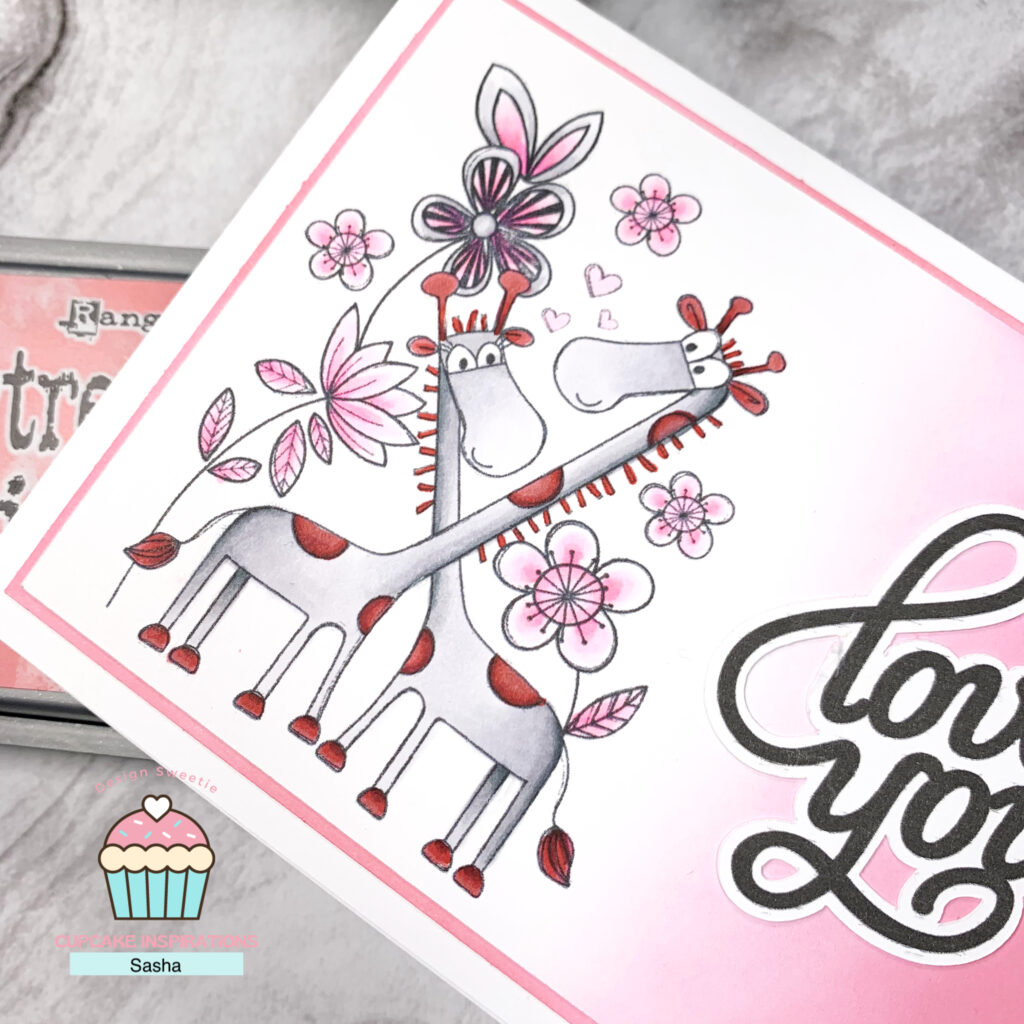
Hello, friends! This is your reminder that there is still time for Cupcake Inspirations Challenge #587. Challenge #587 is a colour challenge, and the colours you must use are red, pink, and white. This challenge is also being sponsored by All Dressed Up! I have created my card featuring the Kiss for Valentine Digital Stamp.
I first printed the image (along with a matching sentiment) and coloured it using the following Ohuhu alcohol markers:
Pinks: R14, R15, RV010, RV030, RV130
Reds: R1, R2, R8
Greys: CGII00, CG2, CG5
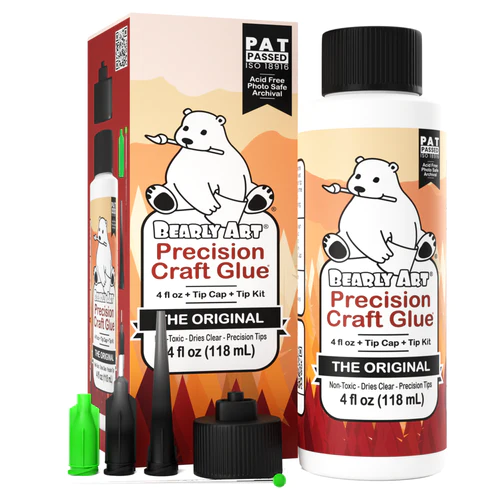
Once coloured, I simply ink-blended some Worn Lipstick Distress Oxide onto the background and glued everything together using Bearly Art Glue.
Be sure to head on over to the Cupcake Inspirations Challenge Blog to submit a card for a chance to win a sweet prize from our amazing sponsor!
Thanks for reading. Catch ya next time!
Sasha
Products Used
This post contains affiliate links that are of no extra cost to you. Using my affiliate links simply helps me to keep doing what I love – thank you!
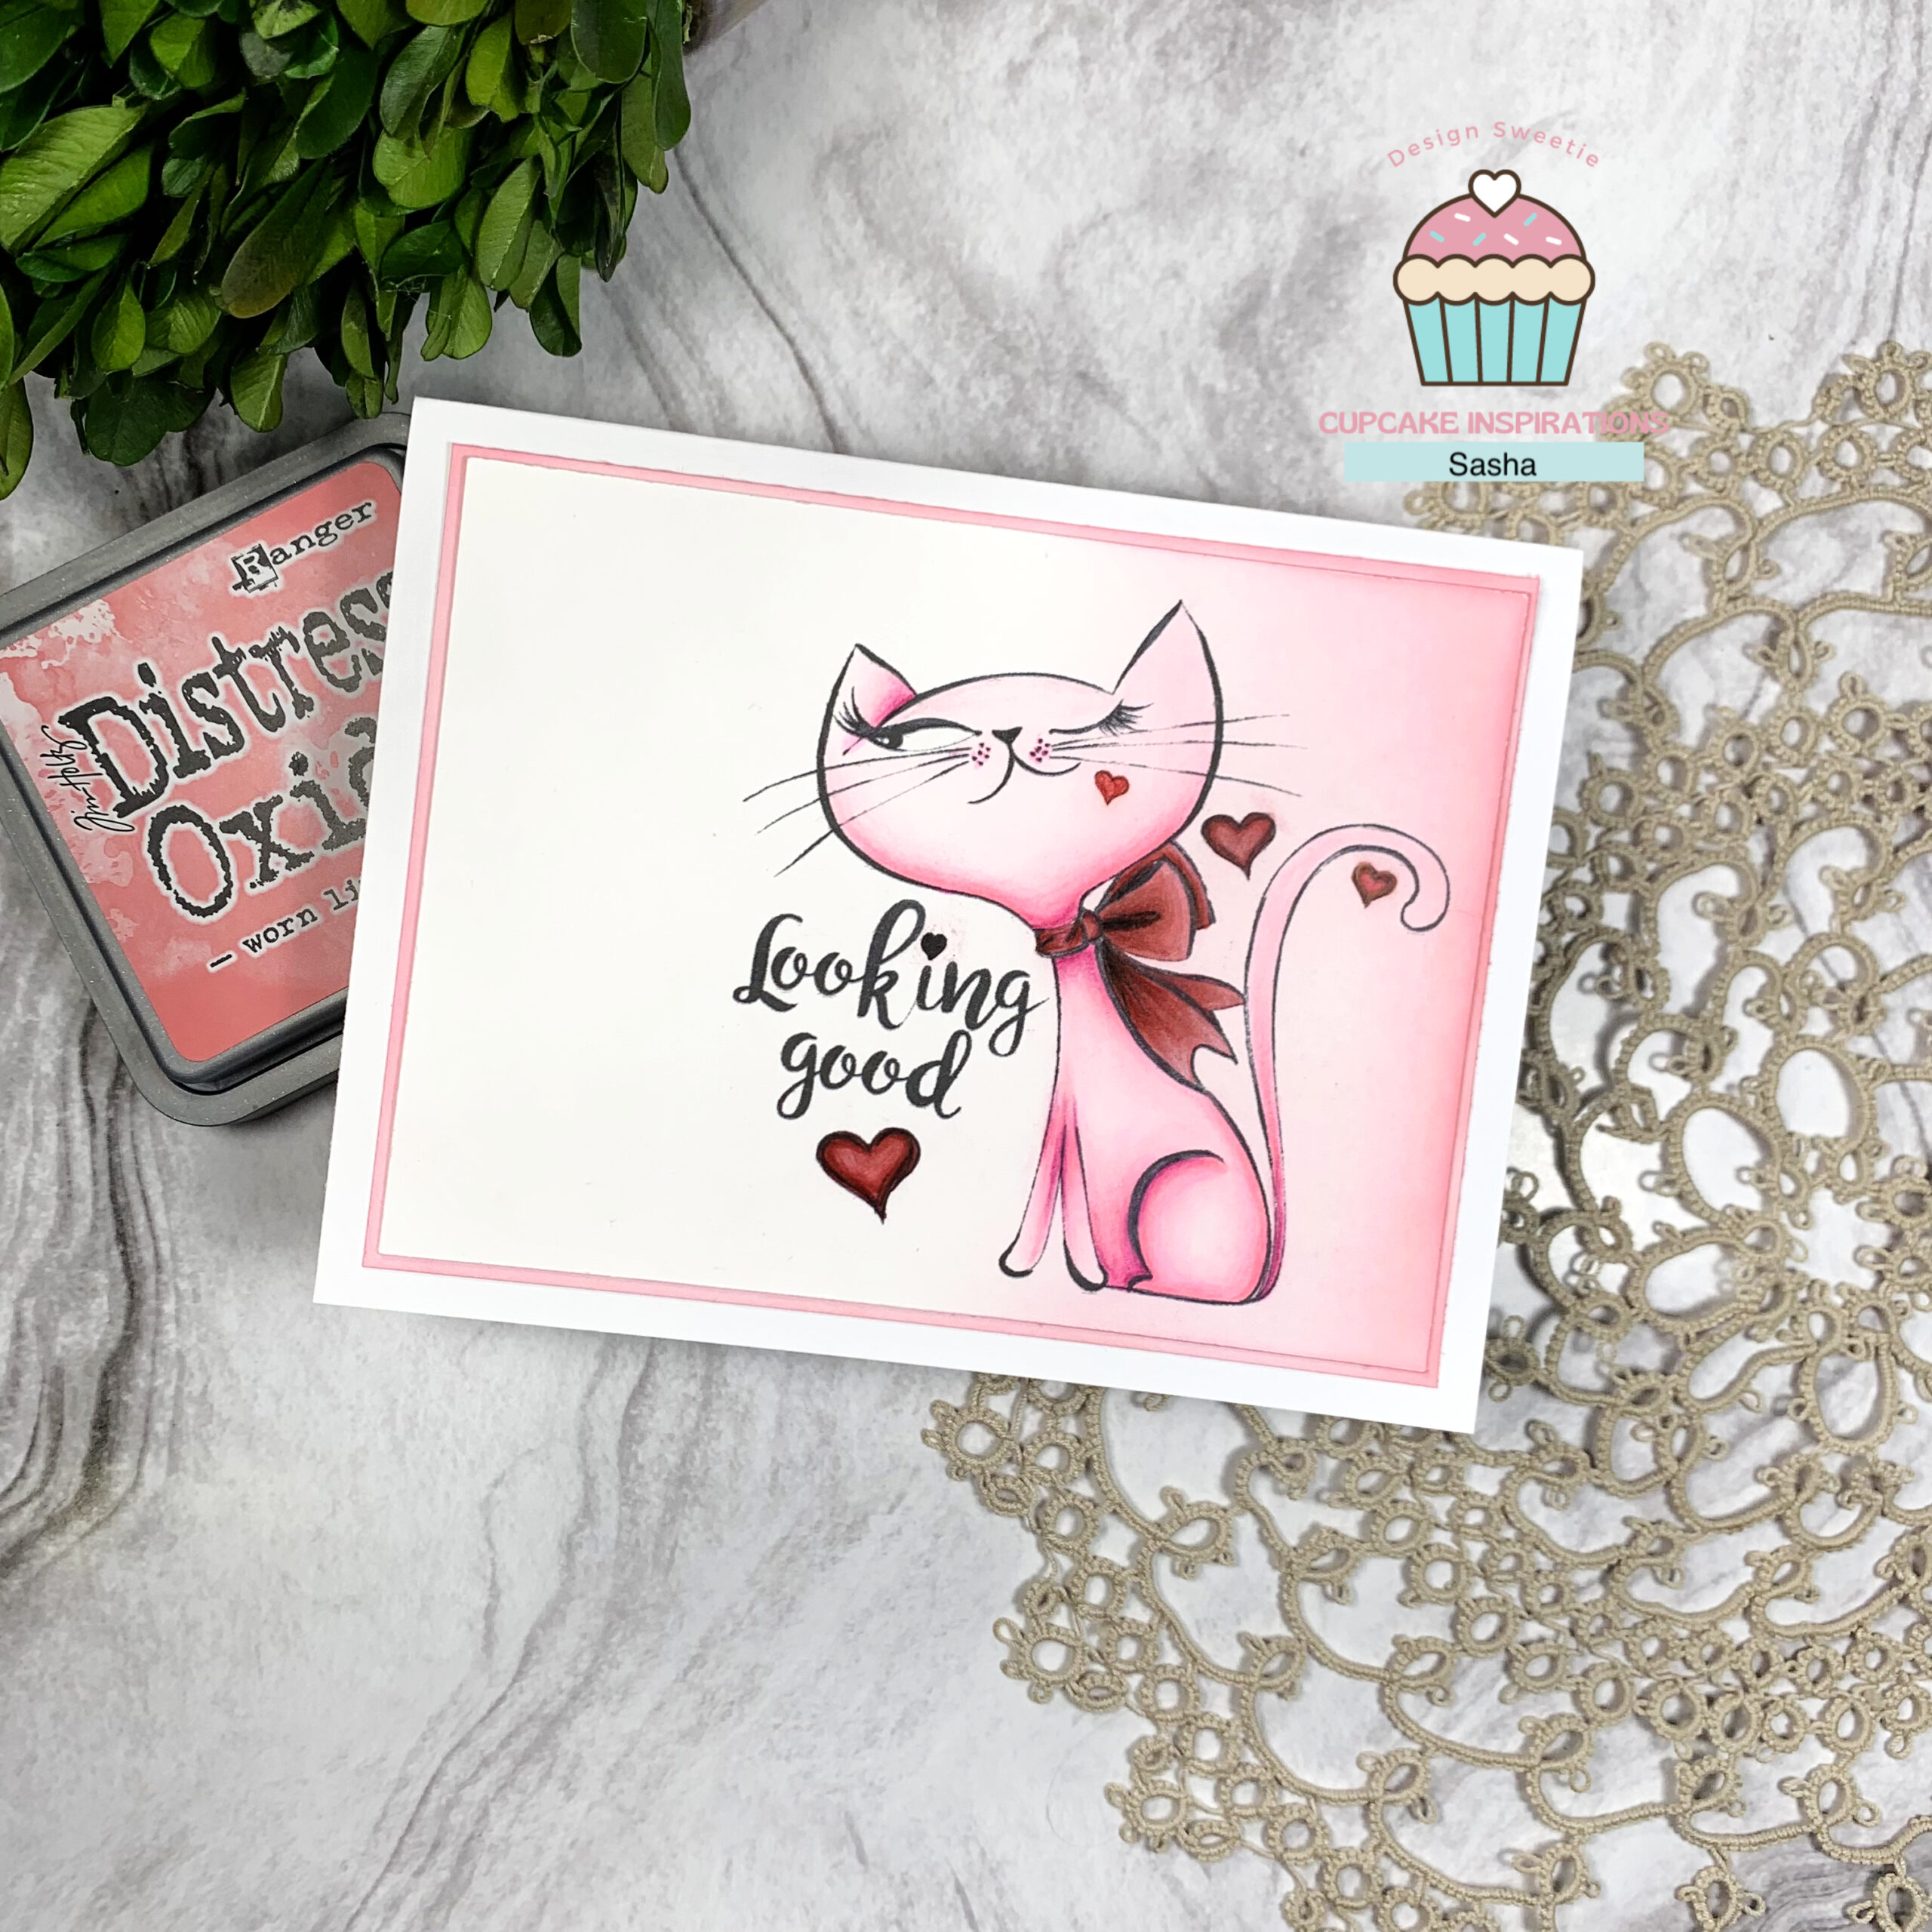
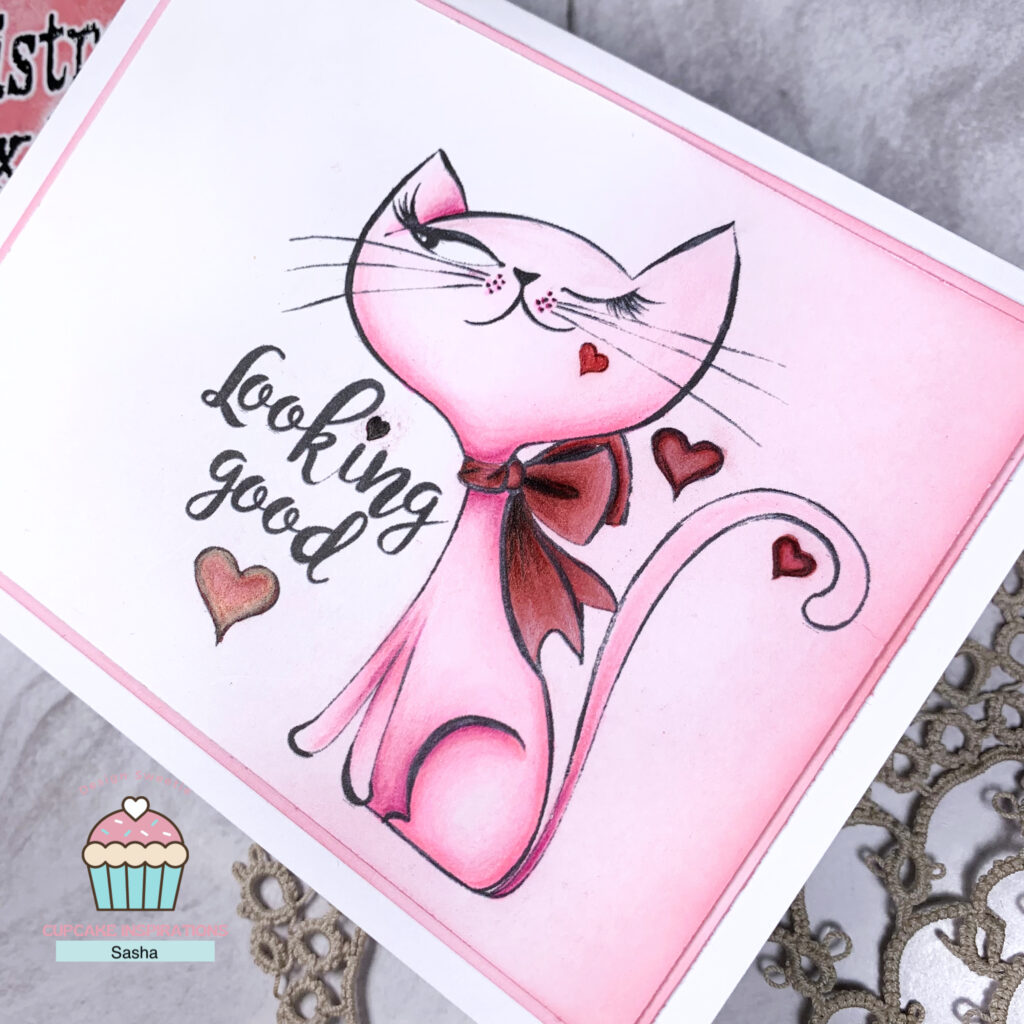
Hello friends! Today is the start of a new challenge over on the Cupcake Inspirations Challenge blog! Challenge #587 is a colour challenge, and the colours you must use are red, pink, and white. This challenge is also being sponsored by All Dressed Up! I have created my card featuring The Cats Whiskers Digital Stamp.
I printed the image and then coloured using the following Ohuhu Alcohol Markers:
Pinks: R14, R15, RV010, RV030, RV130
Reds: R1, R2, R8
I also used some Prismacolor Pencil crayons to add some more depth and colour to my coloured image.
To add some more colour to the card, I used Worn Lipstick Distress Oxide.
Be sure to head on over to the Cupcake Inspirations Challenge Blog to submit a card for a chance to win a sweet prize from our amazing sponsor!
Thanks for reading. Catch ya next time!
Sasha
Products Used
This post contains affiliate links that are of no extra cost to you. Using my affiliate links simply helps me to keep doing what I love – thank you!
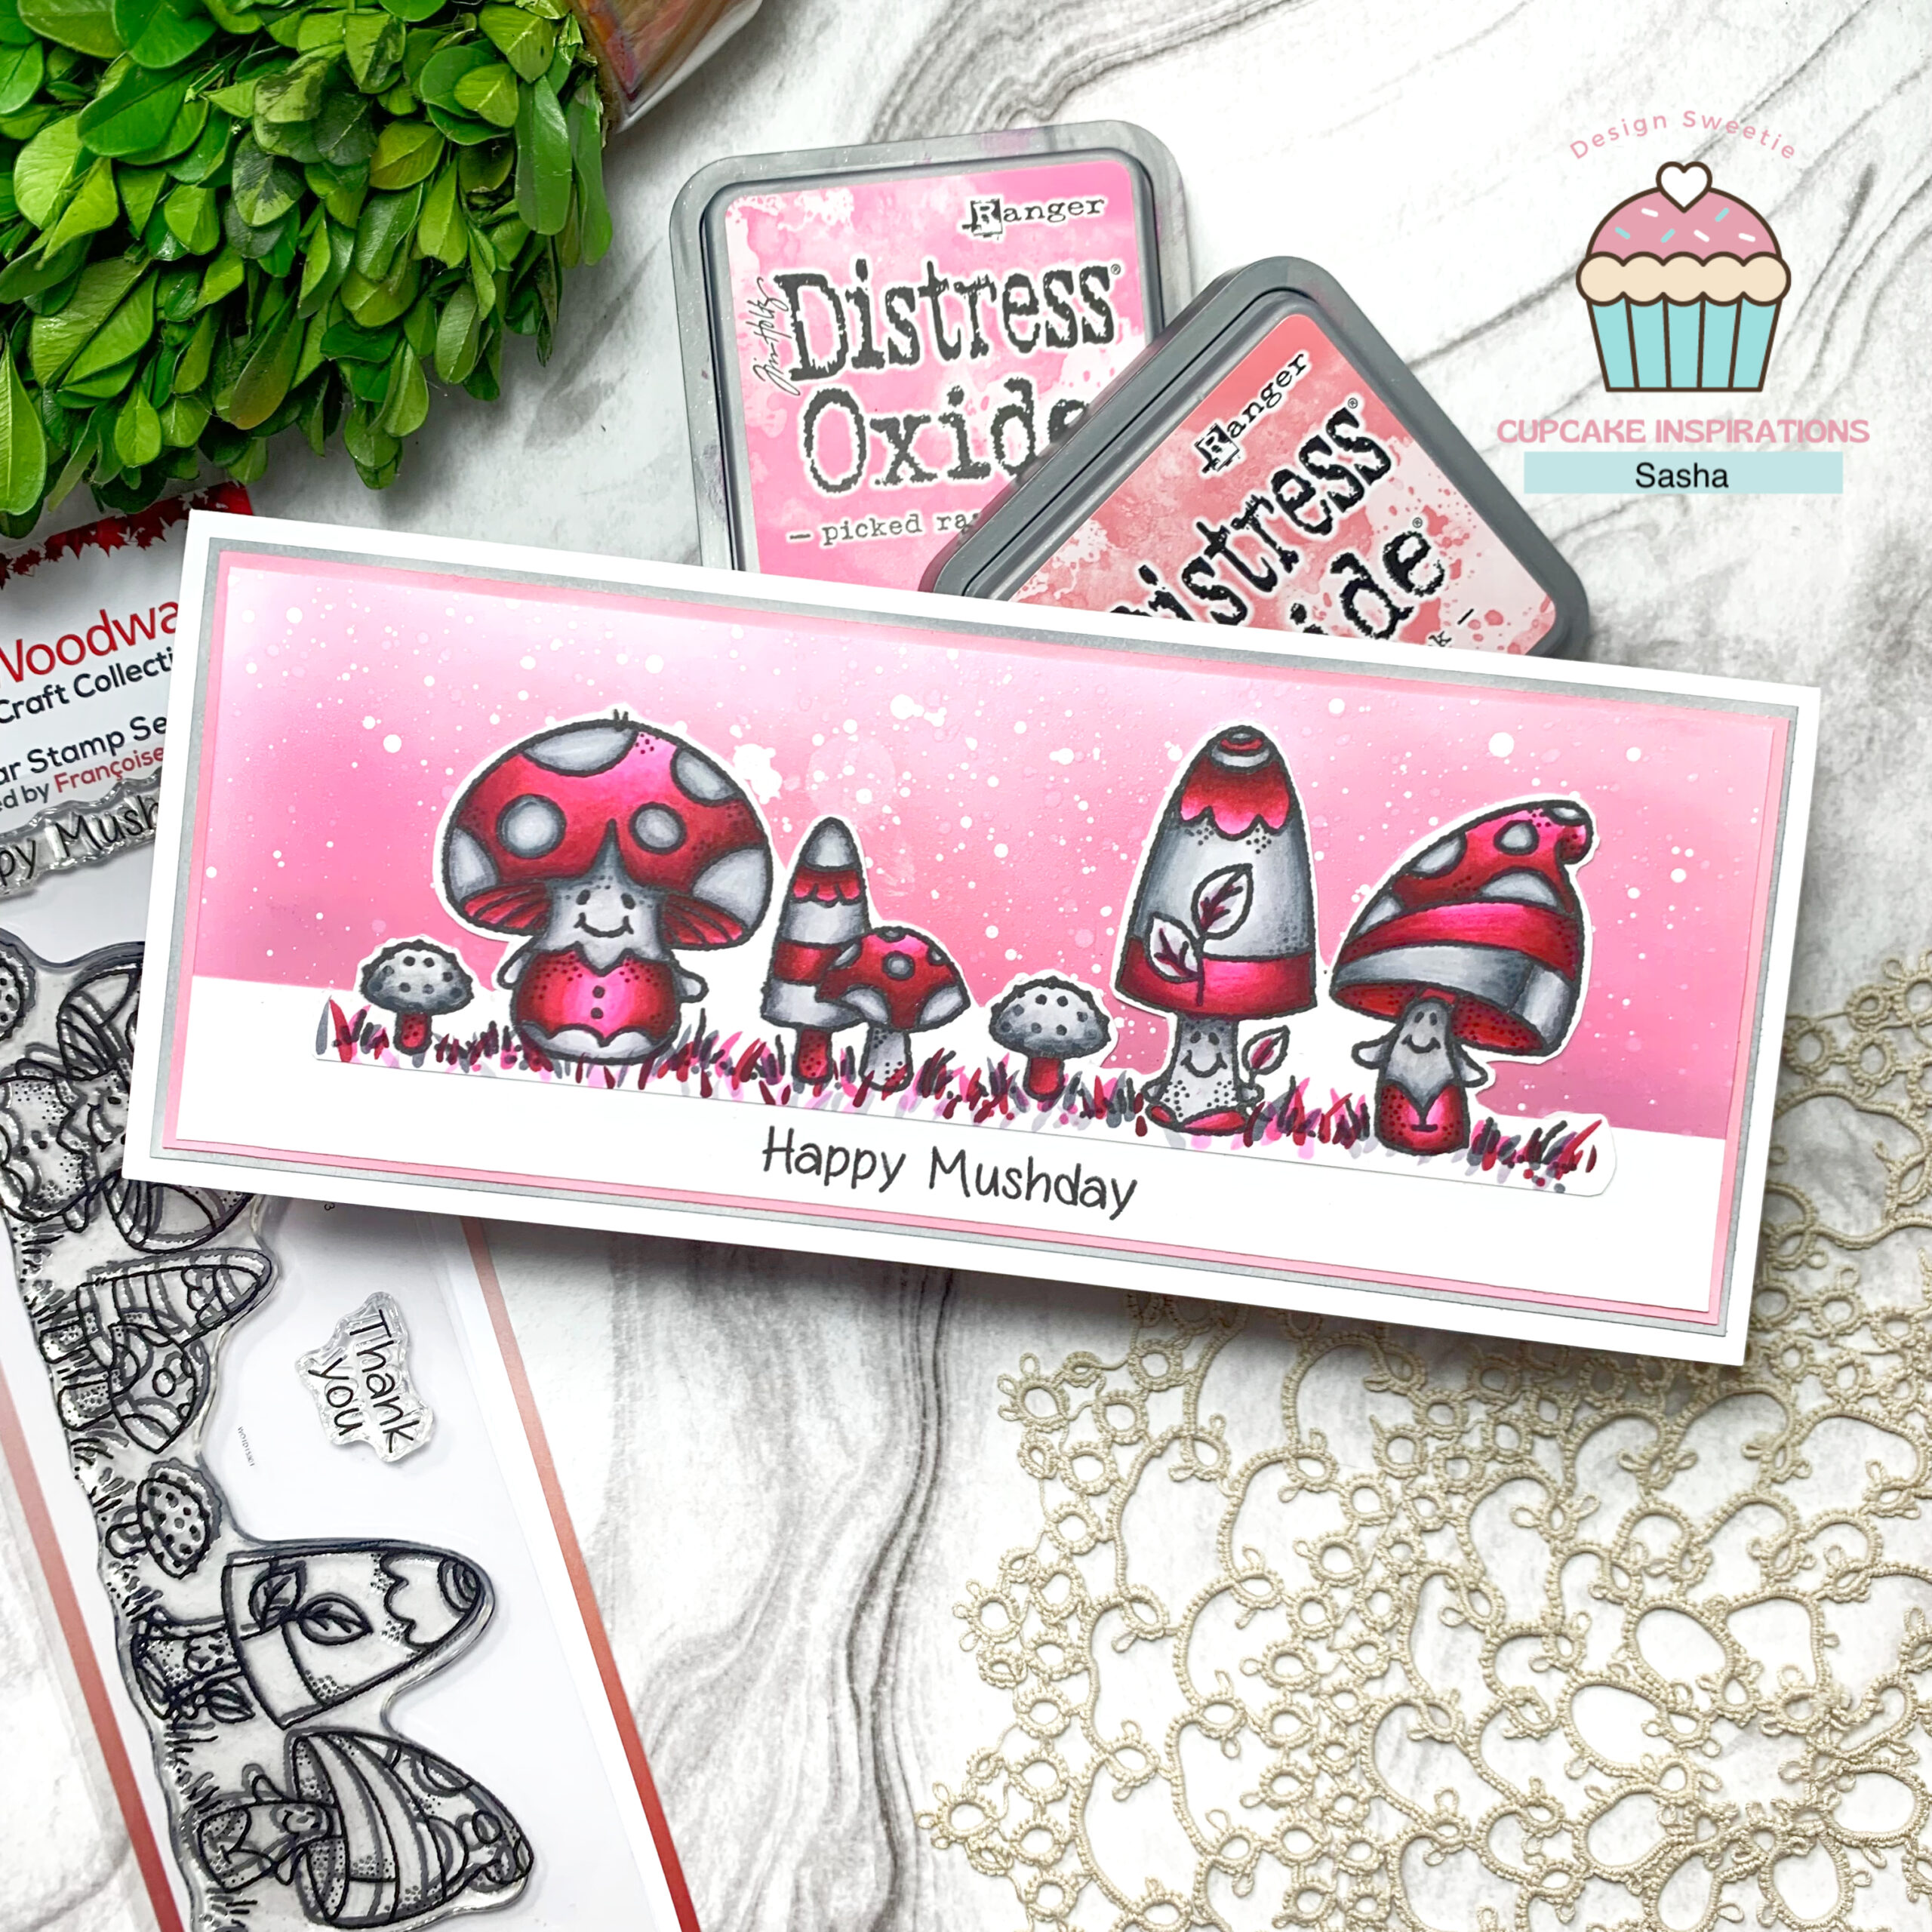
Hello, friends! This is your reminder that there is still time for Cupcake Inspirations Challenge #586. The theme for this challenge is Fairy Tale.
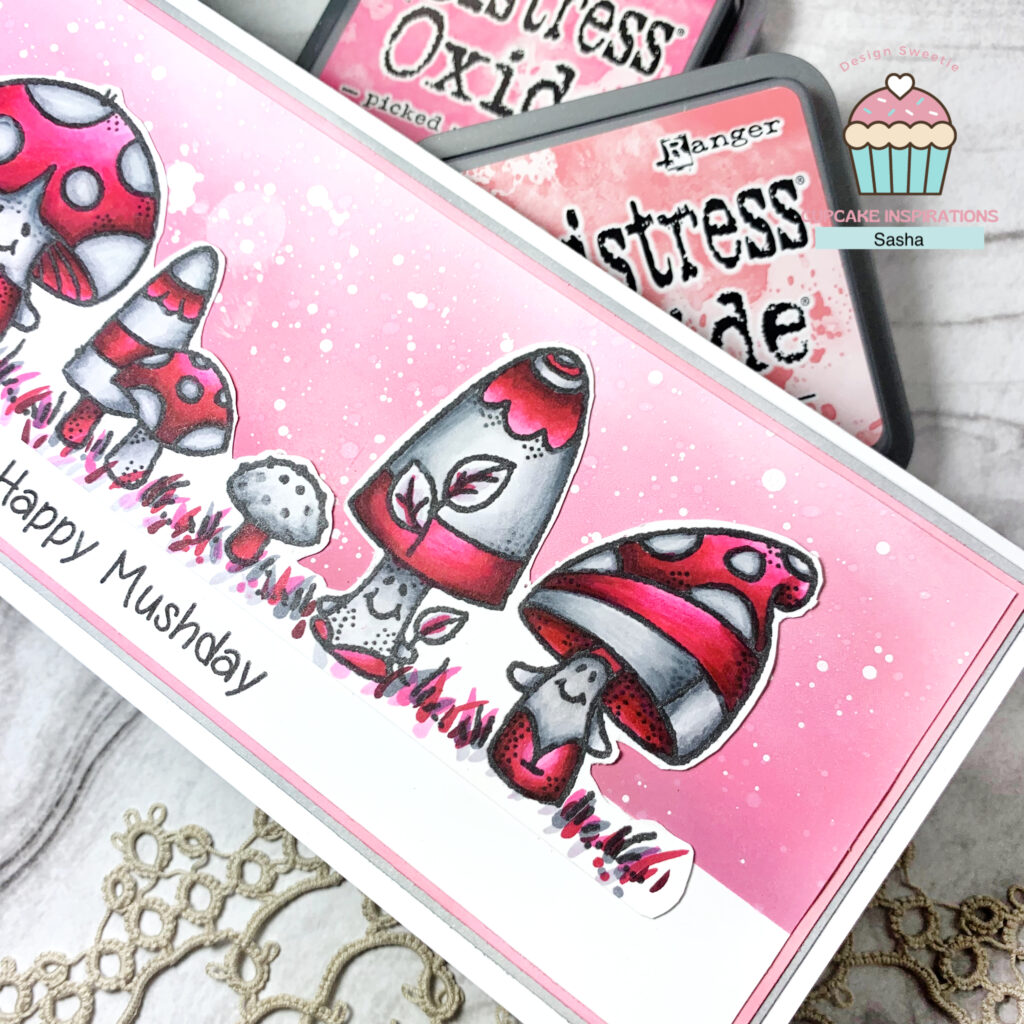
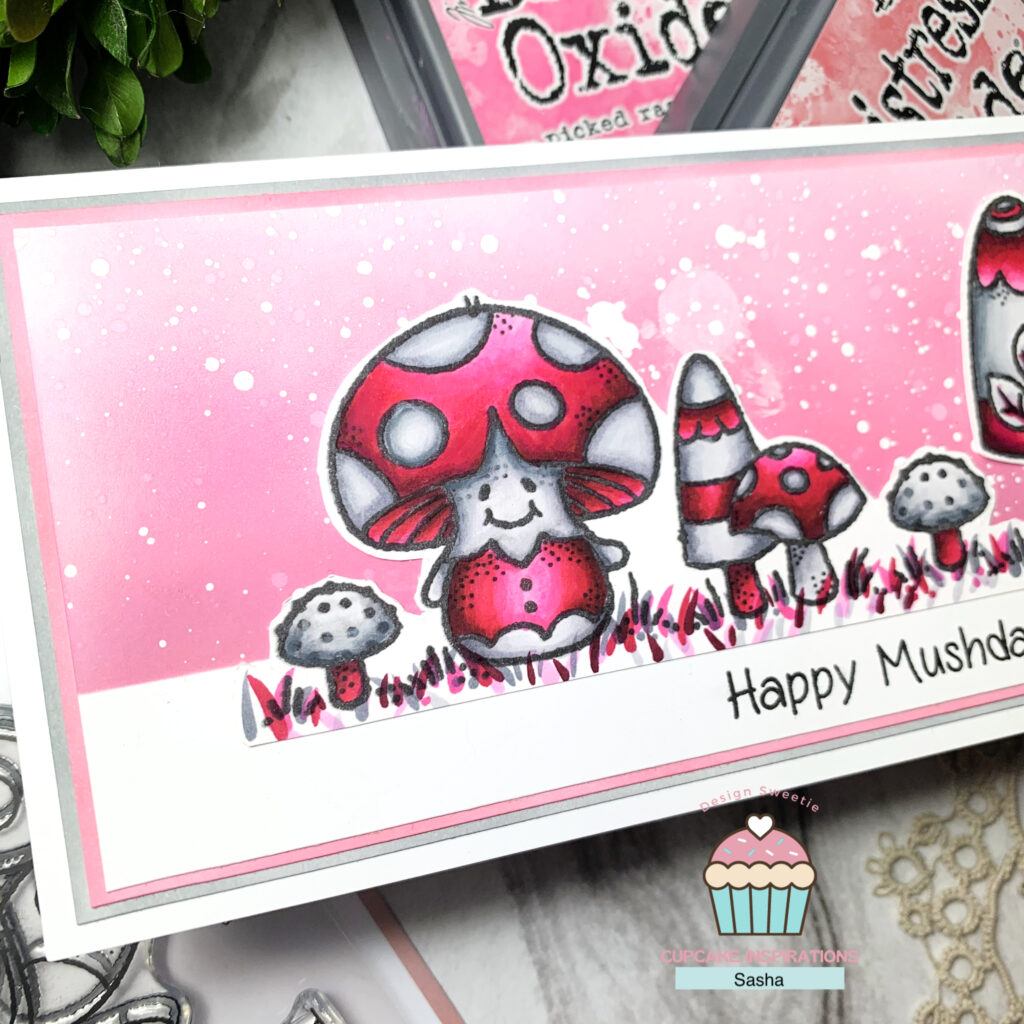
I created my card featuring the Mushy Friends Stamp from the Woodware Craft Collection by Creative Expressions.
I used the following Ohuhu Alcohol Markers to colour the image:
Reds/Pinks: R4, R6, R7, R8, RV280, RV320
Greys: CGIIOO, CG2, CG5
As for the background, I used Worn Lipstick and Picked Raspberry Distress Oxides to create a pink gradient before splattering with Dr. Ph Martin’s Bleed Proof White.
Be sure to head on over to the Cupcake Inspirations Challenge Blog to submit a card and participate in the current challenge!
Thanks for reading. Catch ya next time!
Sasha
Products Used
This post contains affiliate links that are of no extra cost to you. Using my affiliate links simply helps me to keep doing what I love – thank you!
WoodWare Craft Collection Mushy Friends Stamp Set by Creative Expressions
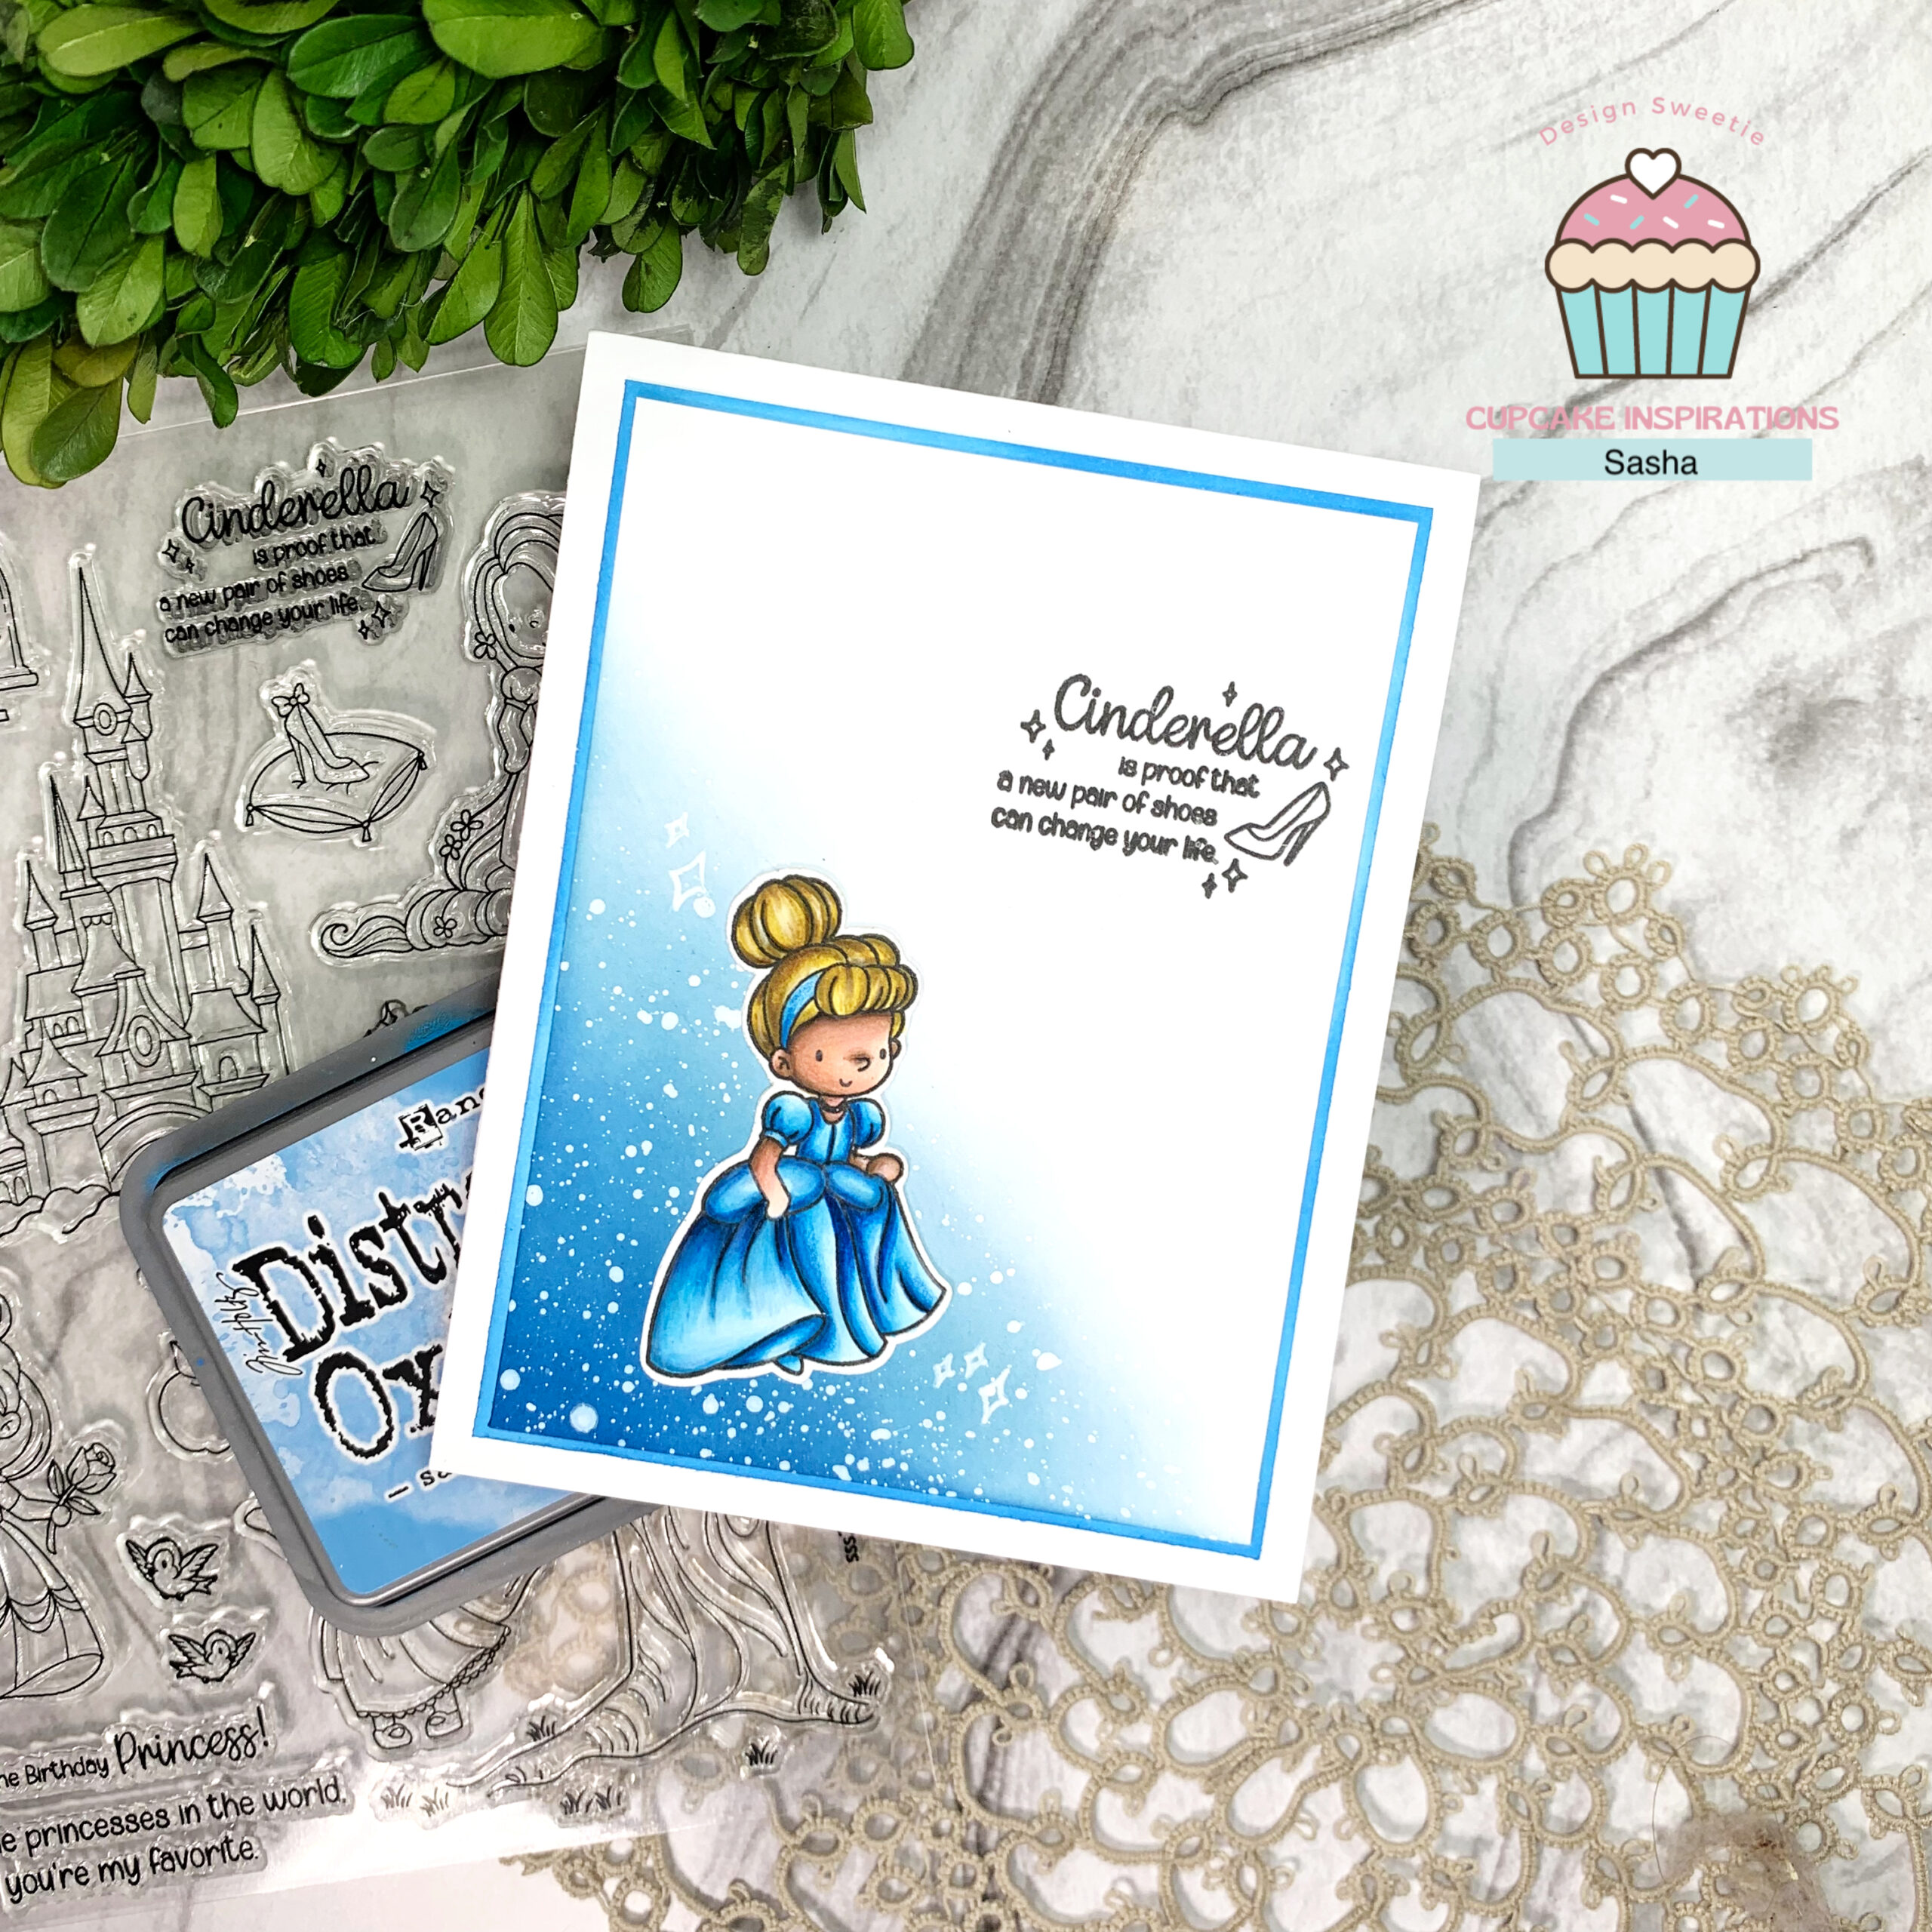
Hello friends! Today is the start of a new challenge over on the Cupcake Inspirations Challenge blog! The theme for challenge #586 is Fairy Tales.
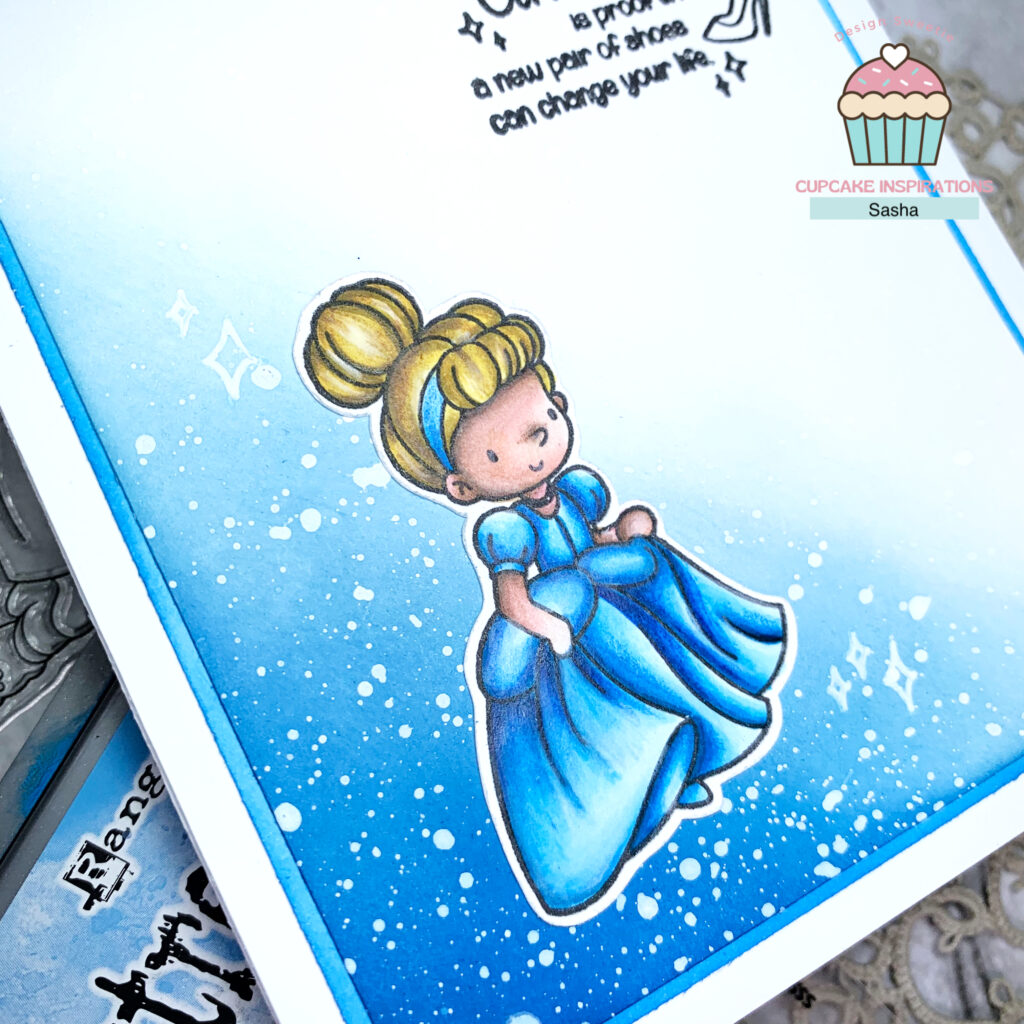
To create this card, I first stamped an image from the Simon Says Stamp Once Upon a Time Stamp using their Intense Black Ink and coloured it using Ohuhu alcohol markers and Prismacolor Coloured Pencils
Once coloured, I created the background by ink-blending Simon Says Stamp Royal Ink and Salty Ocean Distress Oxide before splattering with Dr. Ph Martin’s Bleed Proof White.
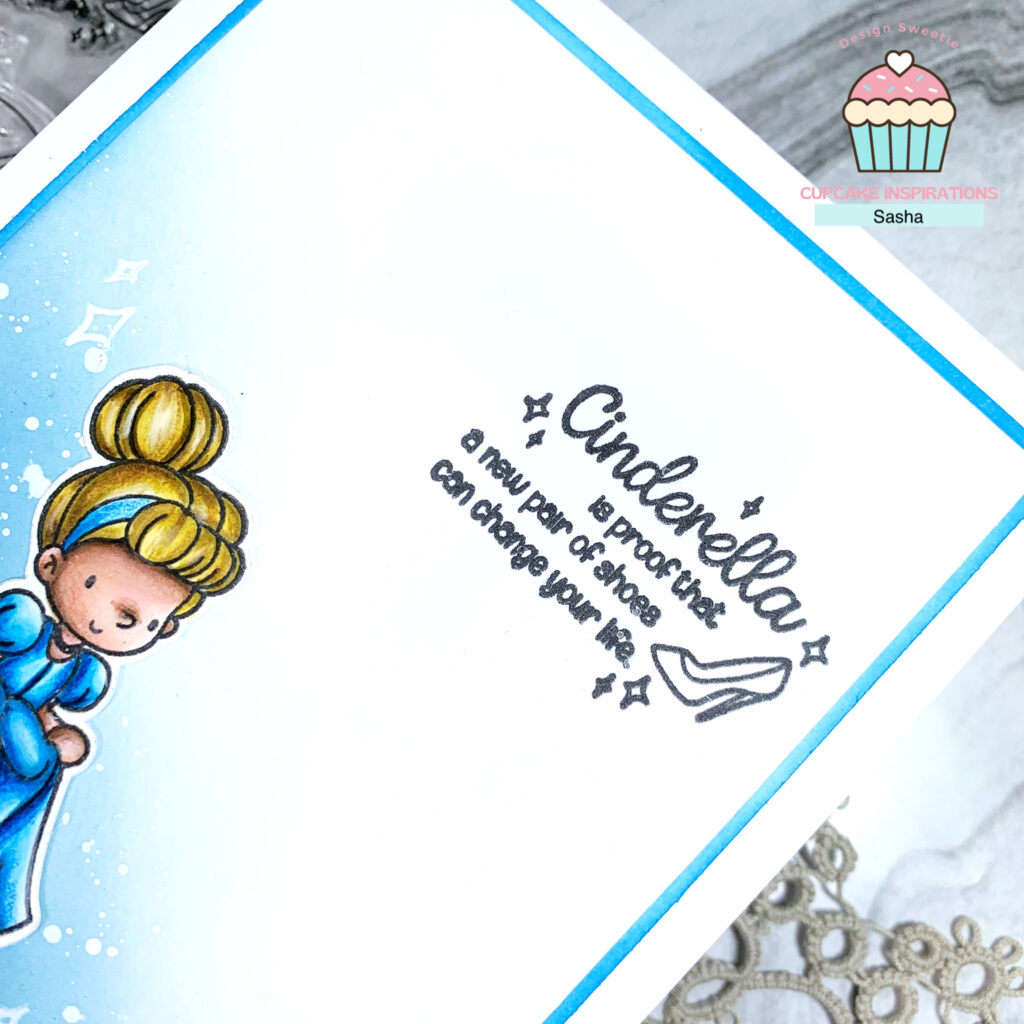
To finish the card, I stamped a matching sentiment and glued the elements together using Bearly Art Glue.
Be sure to head on over to the Cupcake Inspirations Challenge Blog to submit a card and participate in the current challenge!
Thanks for reading. Catch ya next time!
Sasha
Products Used
This post contains affiliate links that are of no extra cost to you. Using my affiliate links simply helps me to keep doing what I love – thank you!
Hello everyone! Today, I am sharing my first post as a member of Kate Hadfield’s 2024 Creative Team!
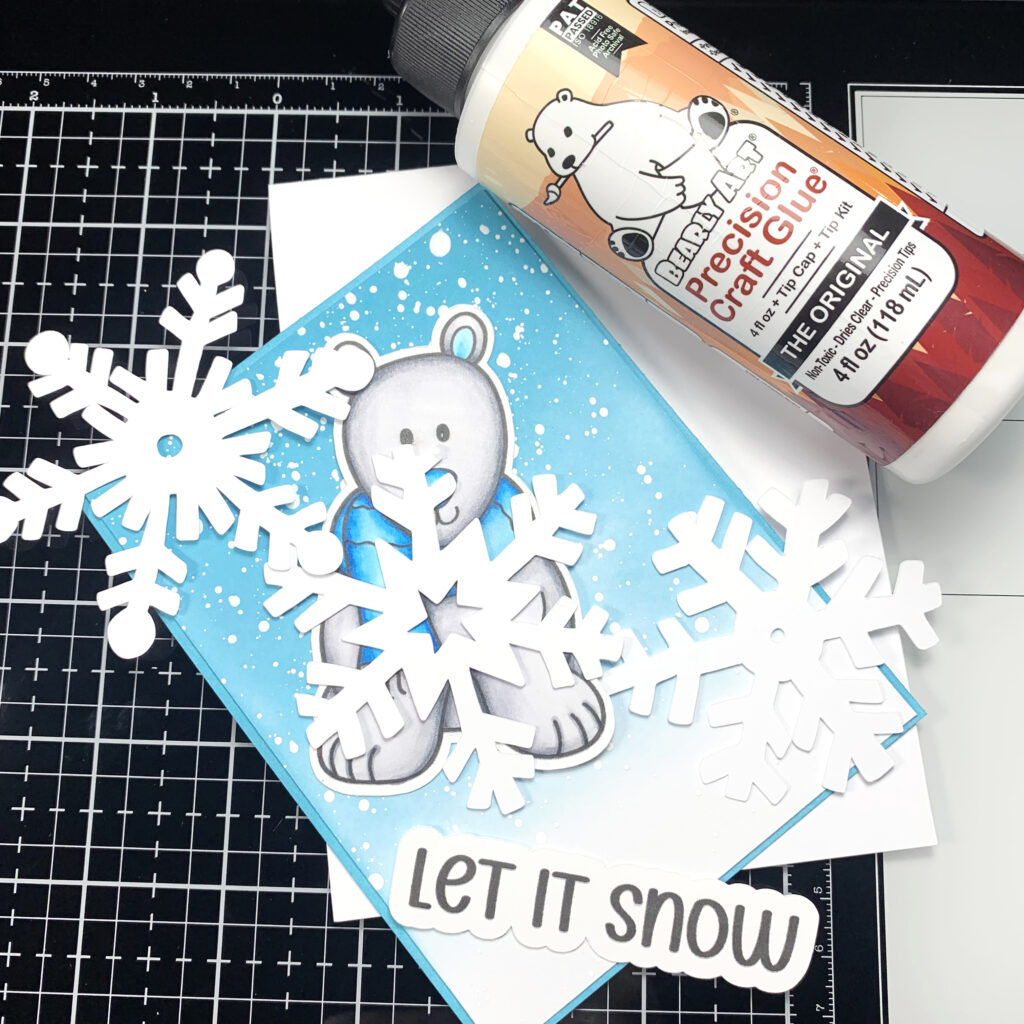
With the busyness of the holiday season over, what better way to keep in touch with friends and family than with a winter-themed greeting card?
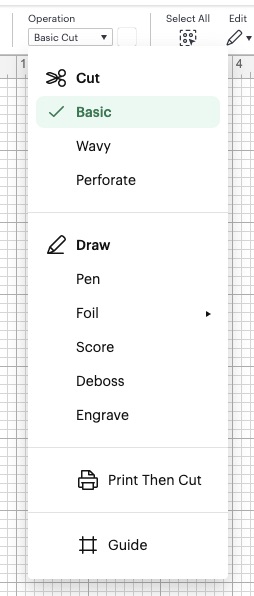
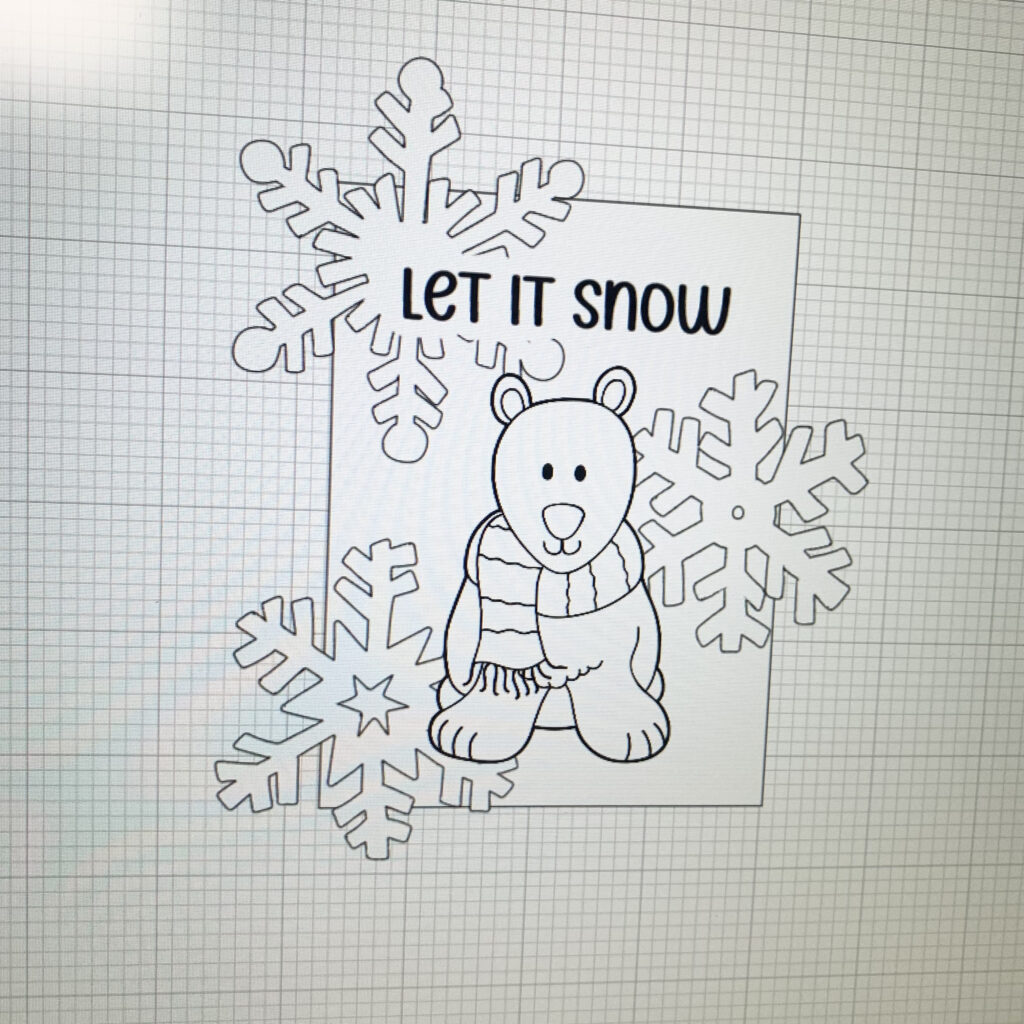
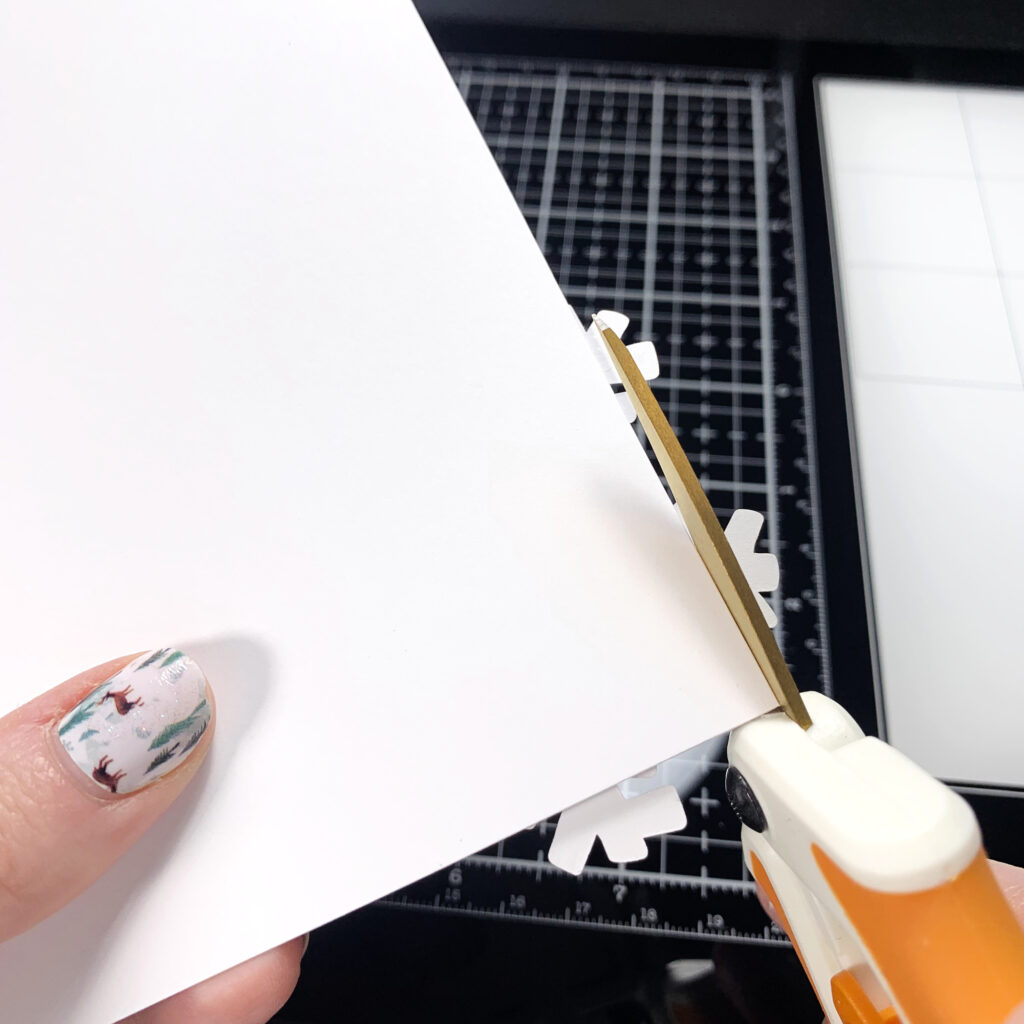
Using the “Bundled Up” digital stamp set, I first uploaded the images I wanted to use for this project into Cricut Design Space. For this card, I used the polar bear image and snowflakes 1, 2, and 3. For the snowflake images, I changed the operation of the images from “print then cut” to “basic cut” using the Edit Bar in Cricut Design Space. This way, I could cut the snowflakes from plain, white cardstock.
Once uploaded, I planned my card design by sizing and arranging the elements in Design Space. This helps me visualize the card’s layout better and start my project with a plan in mind. I am making a US A2-sized card measuring 5.5” x 4.25”.
Also, to compliment the planned winter theme of my card, I chose a sentiment to match.
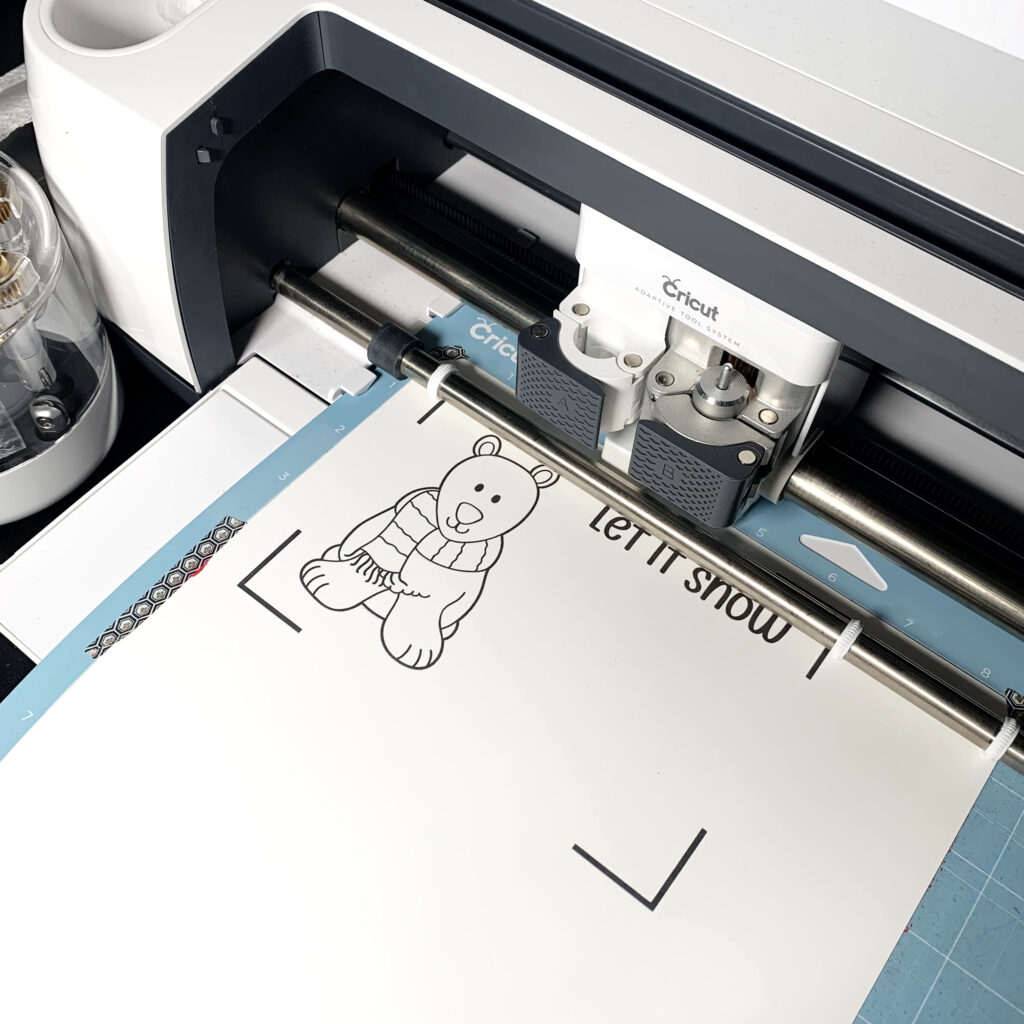
After planning and now that all the elements are ready, I used the “print then cut” feature for the polar bear image and sentiment and the “basic cut” feature for the snowflakes. I printed the polar bear image on 100lb Hammermill Cardstock – a smooth cardstock perfect for blending with alcohol markers!
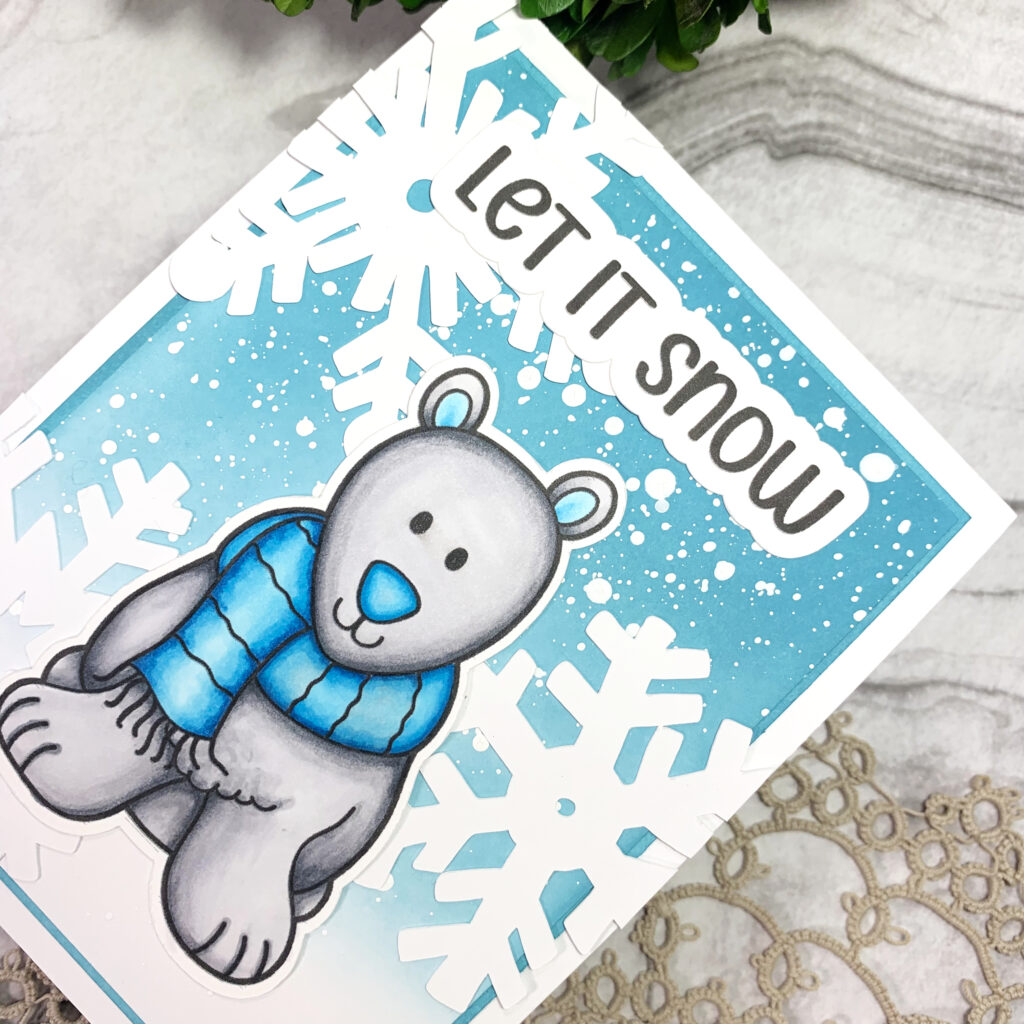
Now, on to the colouring! I used the following Ohuhu Alcohol Markers to colour the image:
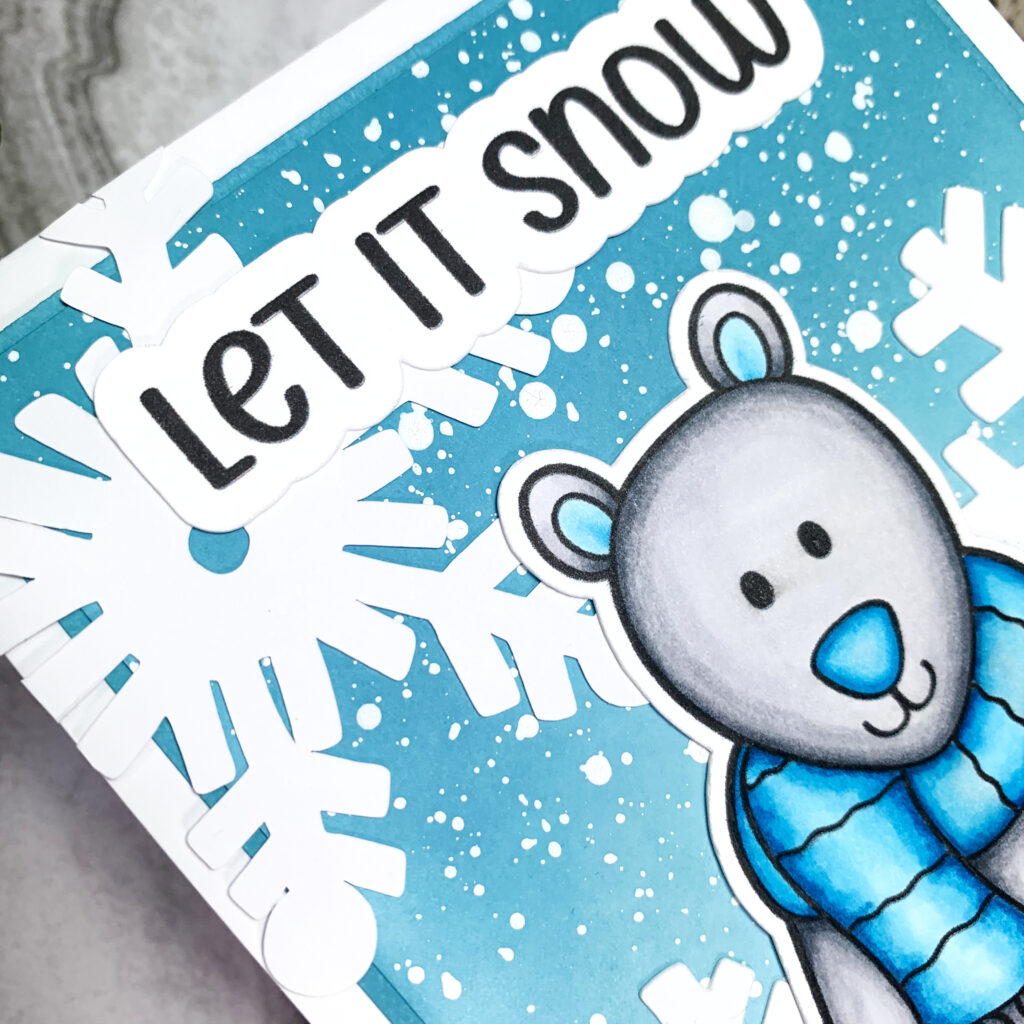
Bear: CG II 00, CG2, CG5, CG II 07
Scarf, nose, and ears: B030, B050, B070, PB6
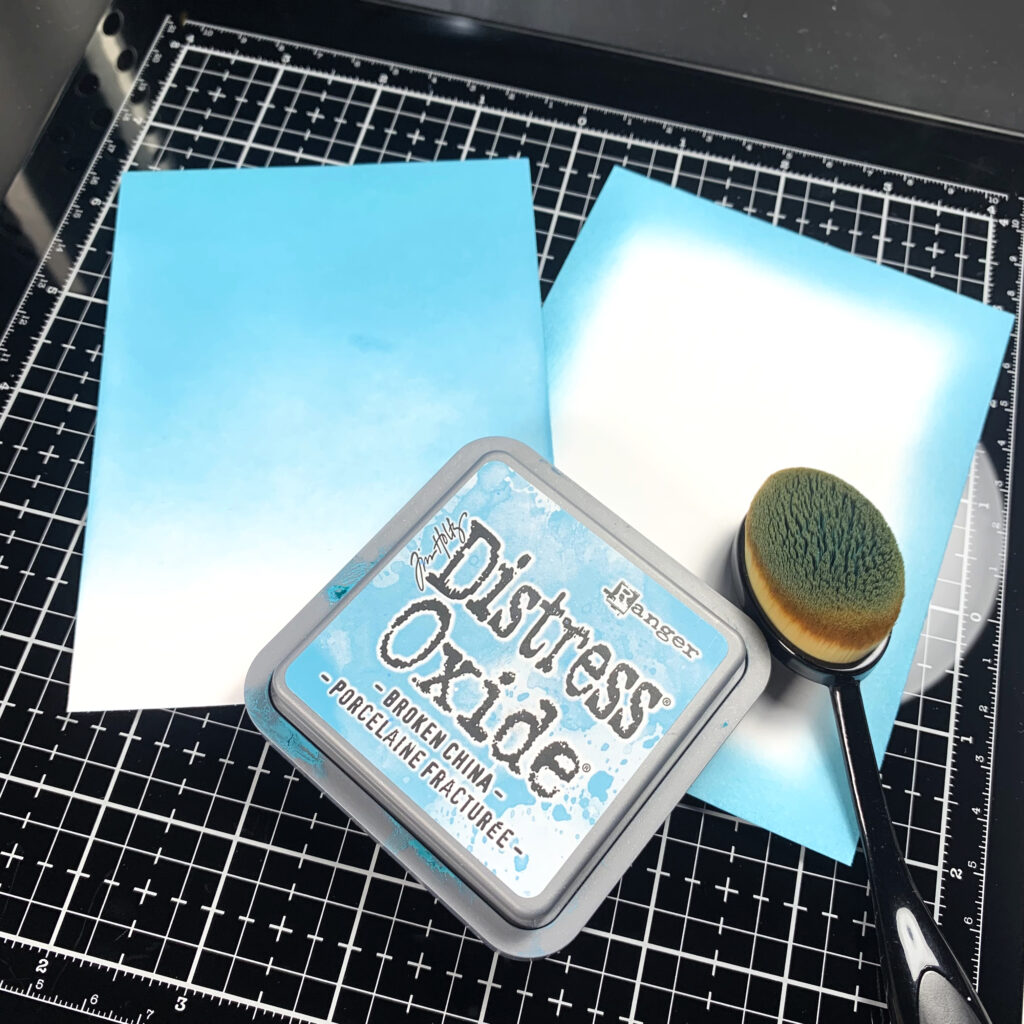
To create the card’s background, I trimmed a piece of white cardstock to be smaller than the size of my card. This card panel measures 5” x 3.75”.
I then used Broken China Distress Oxide to ink-blend a background with a subtle fade to white. Since I had my ink out, I also ink-blended a matching mat for the card. A matching piece of cardstock would also work great for this.
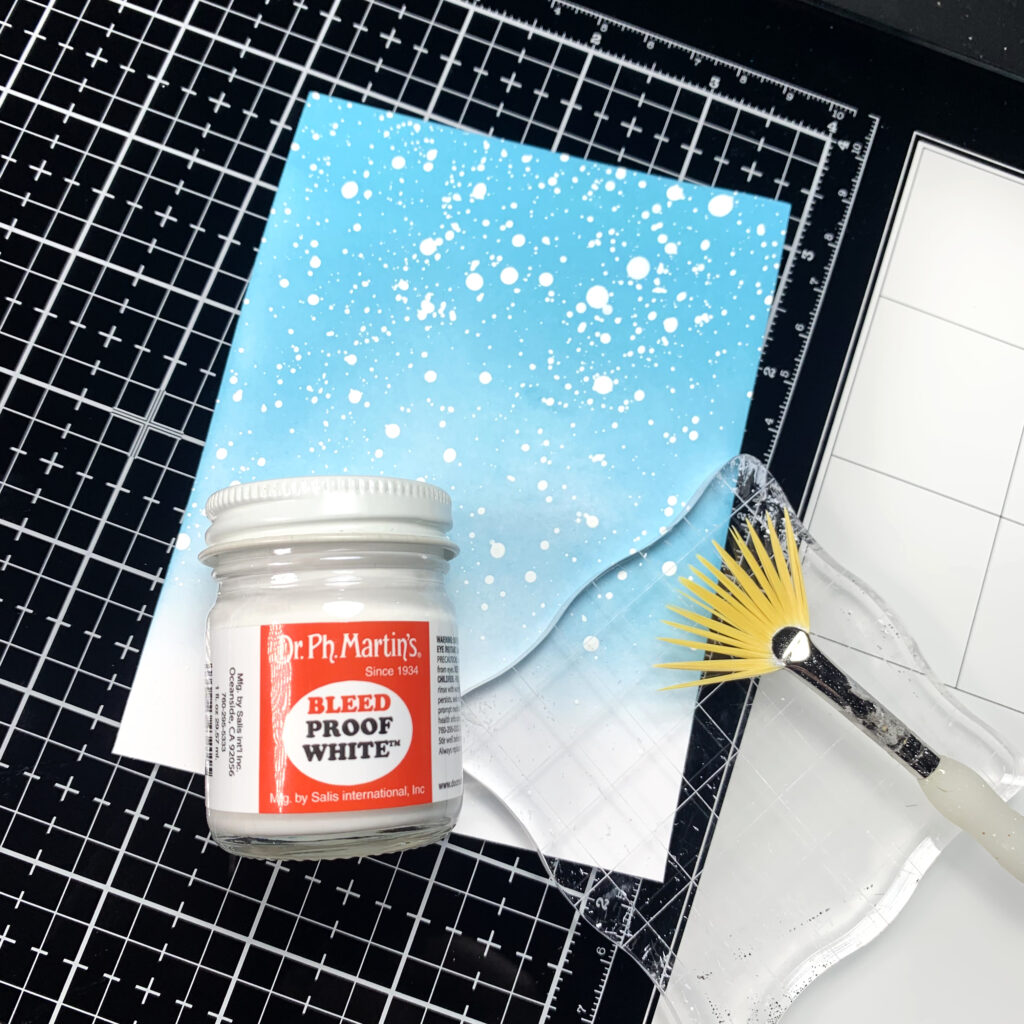
To create a snowy effect, I splattered the ink-blended background panel using white paint. It’s important to allow the paint time to dry, or a heat gun can also be used to speed up the drying process.
Now, it’s time to glue everything together! Using liquid adhesive, I first started by gluing the card panel to the matching mat and then the mat to the card base. From here, I could then easily glue the snowflakes before gluing the sentiment and image on top.
To finish the card, I trimmed the excess snowflakes overhanging it.
Ta-da! That’s the finished card project!
Thank you all for reading. I’m incredibly excited to join Kate’s creative team – I look forward to sharing my projects and crafty tutorials with all of you!
Make sure you bundle up this winter! See you next time!
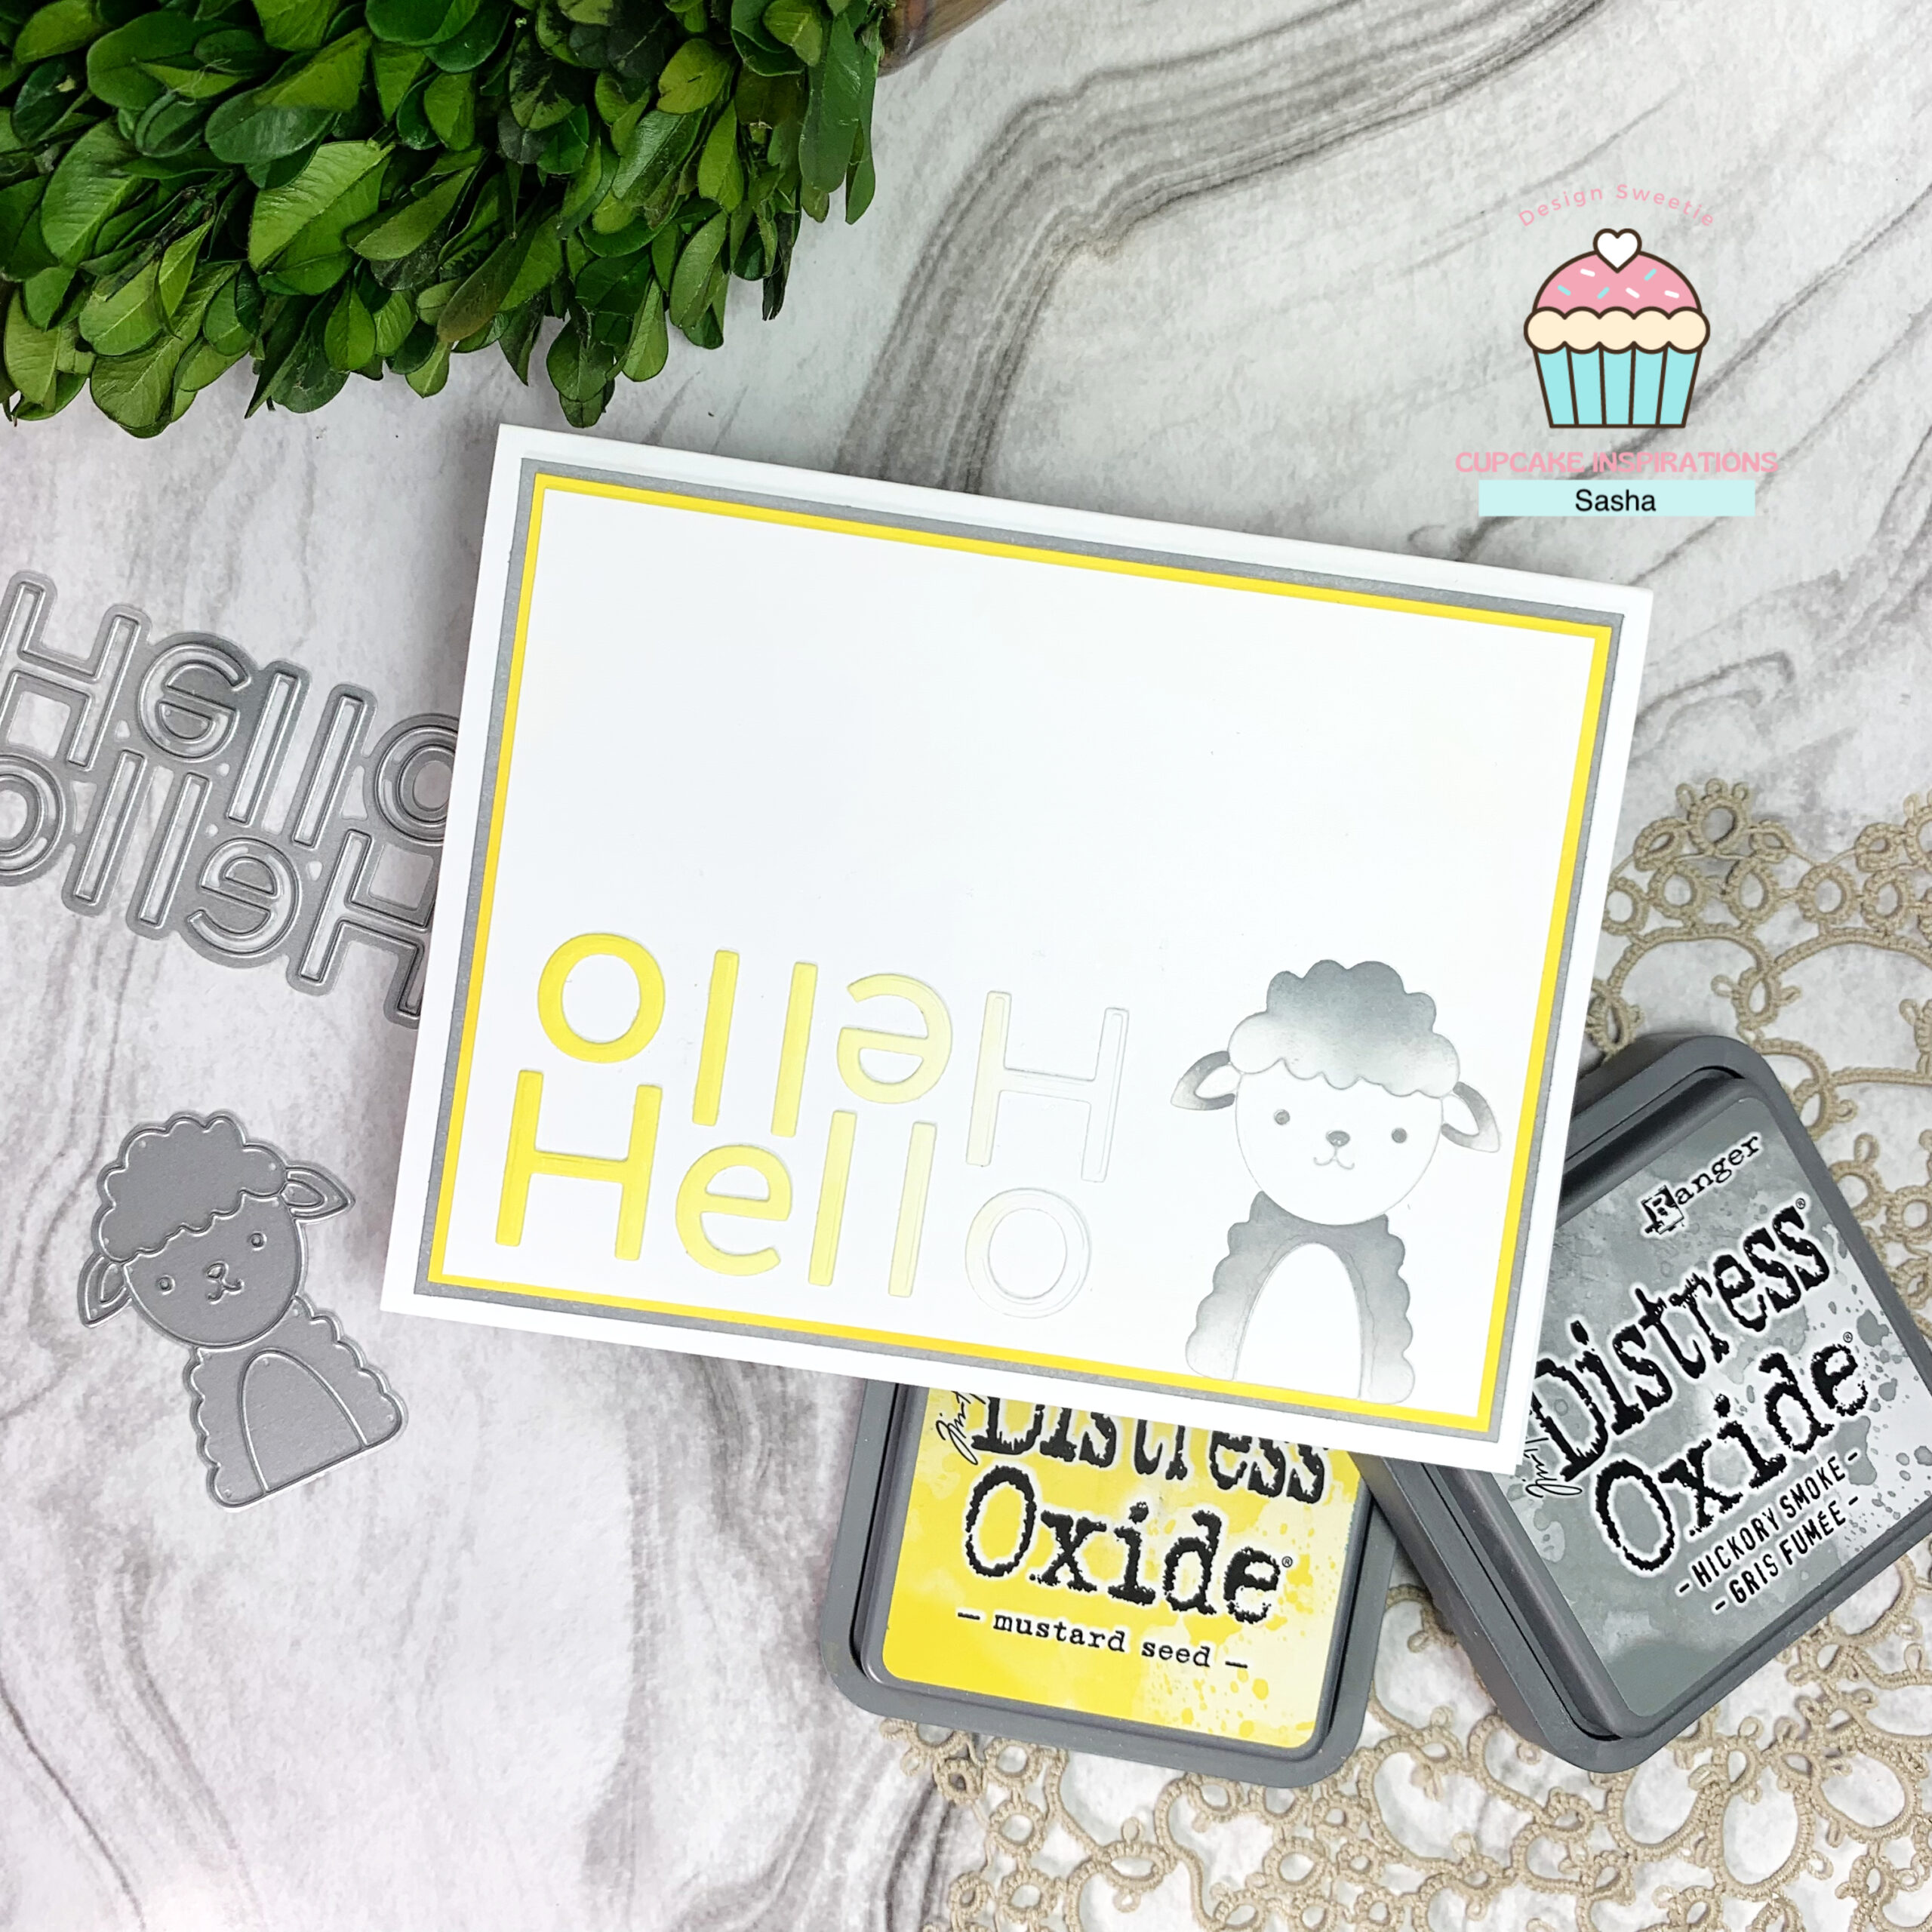
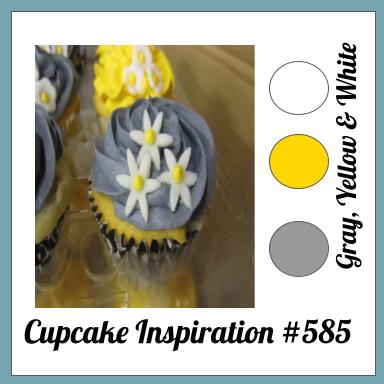
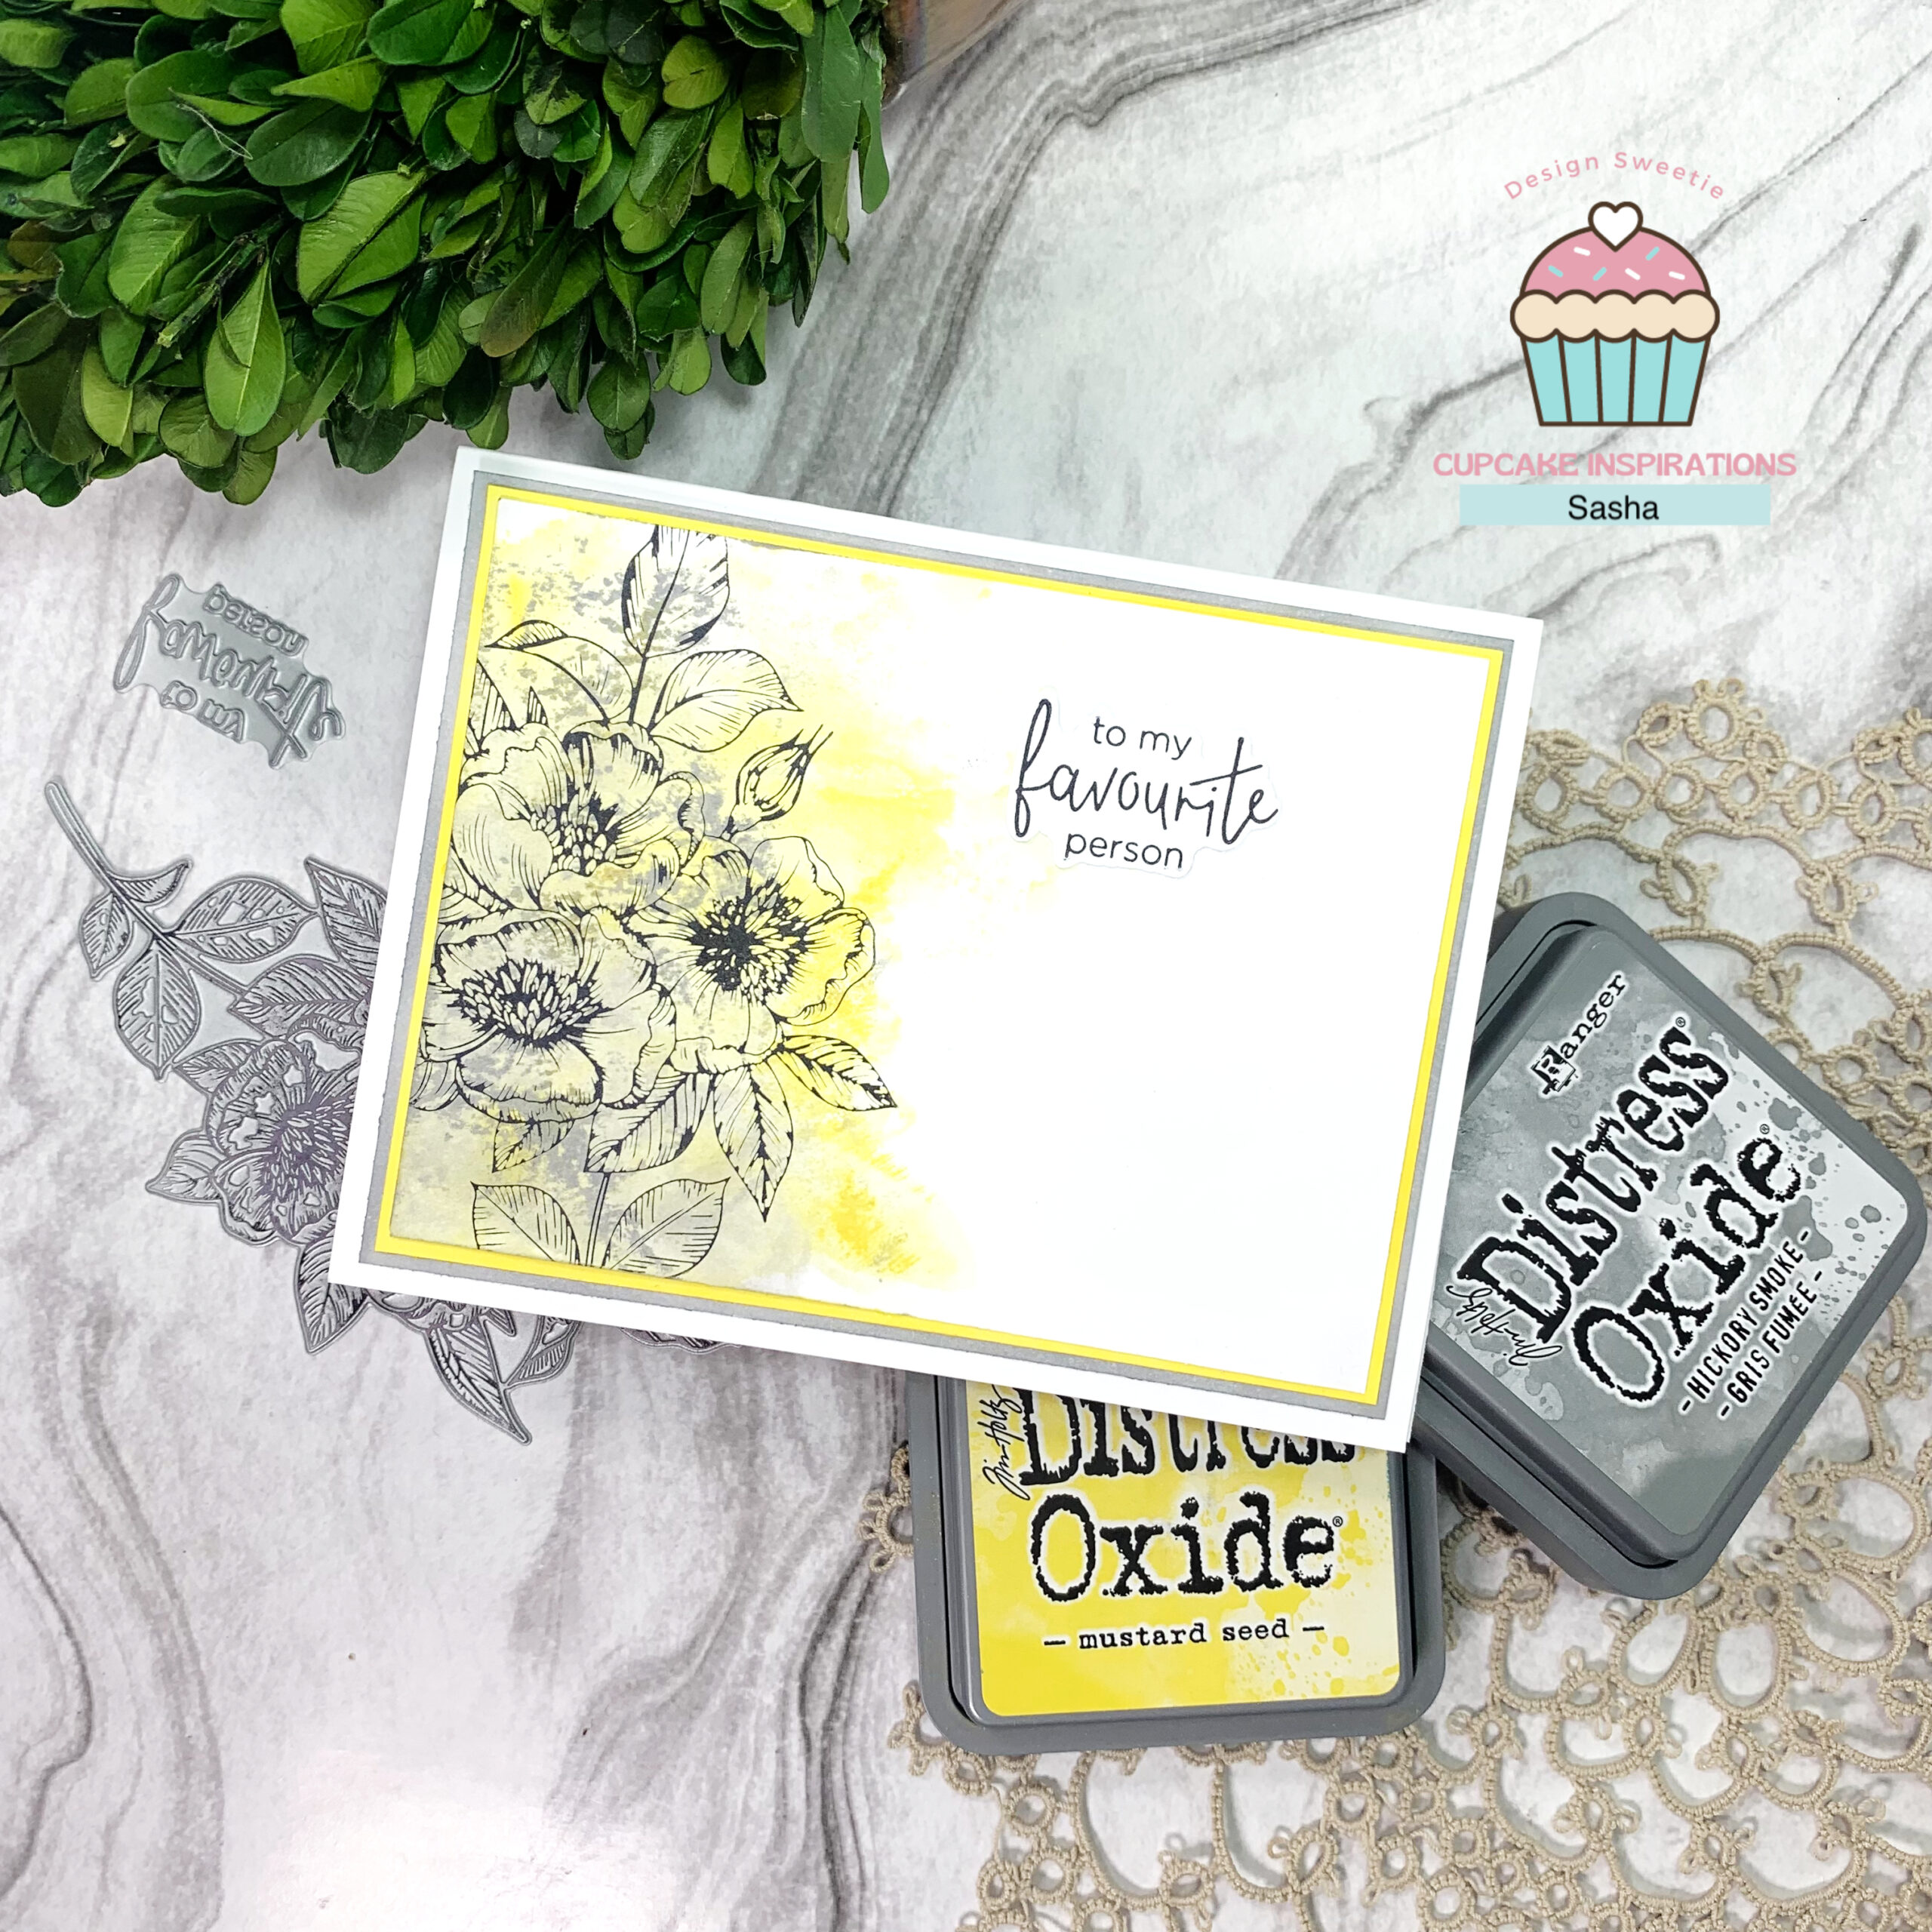
Hello, hello friends! This is your reminder that there is still time for Cupcake Inspirations challenge #585, which is a colour challenge, and the colours that you must use are grey, yellow, and white.
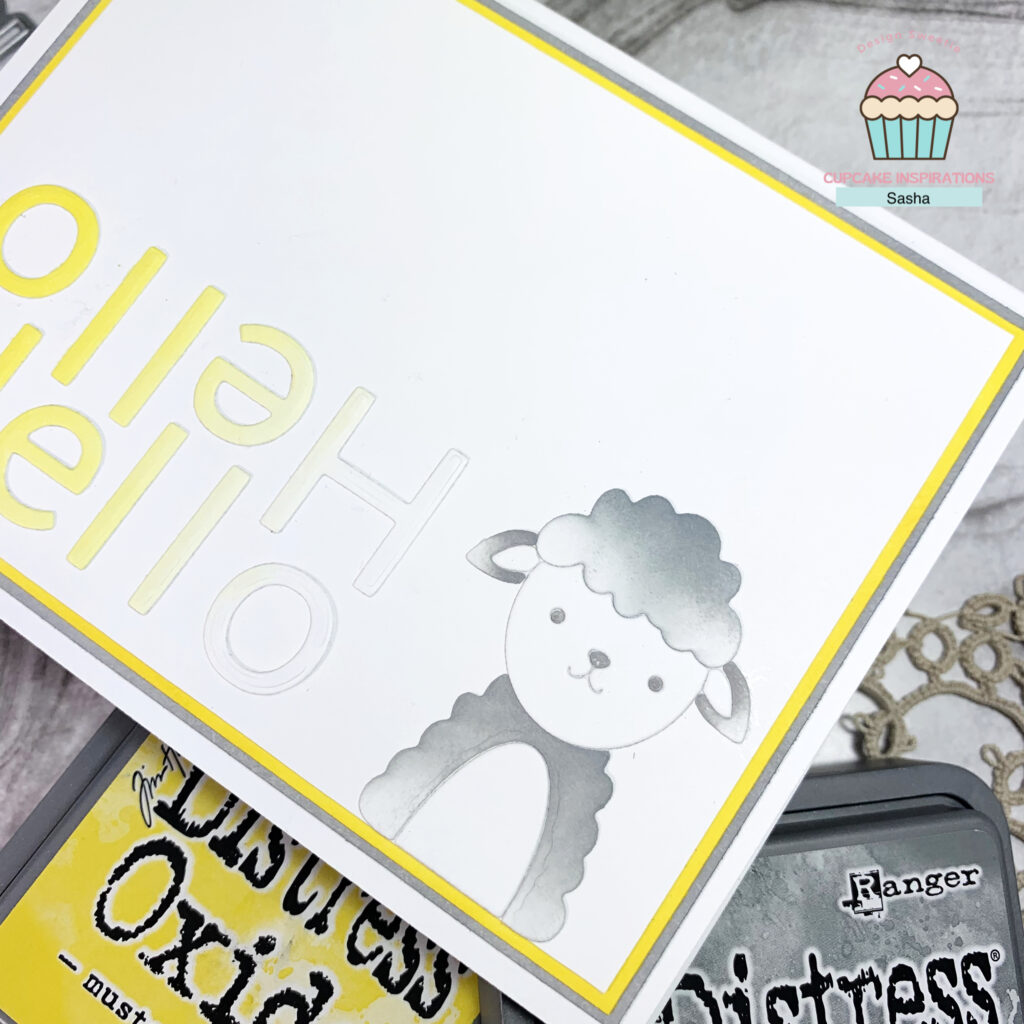
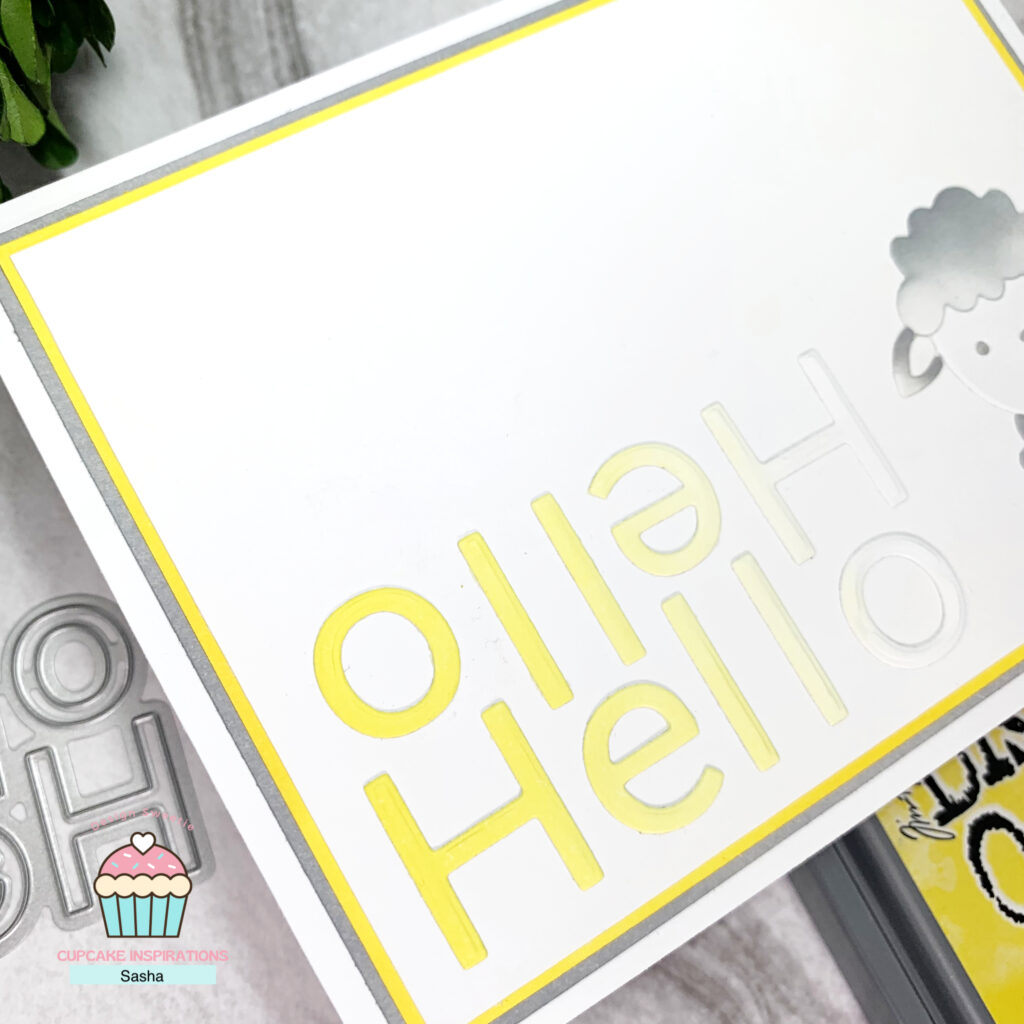
My card features the Simon Says Stamp Flipped Hello and Picture Book Lamb Wafer Dies. I bought these dies during their huge DieCember sale, and I’m so excited to be using them for this card!
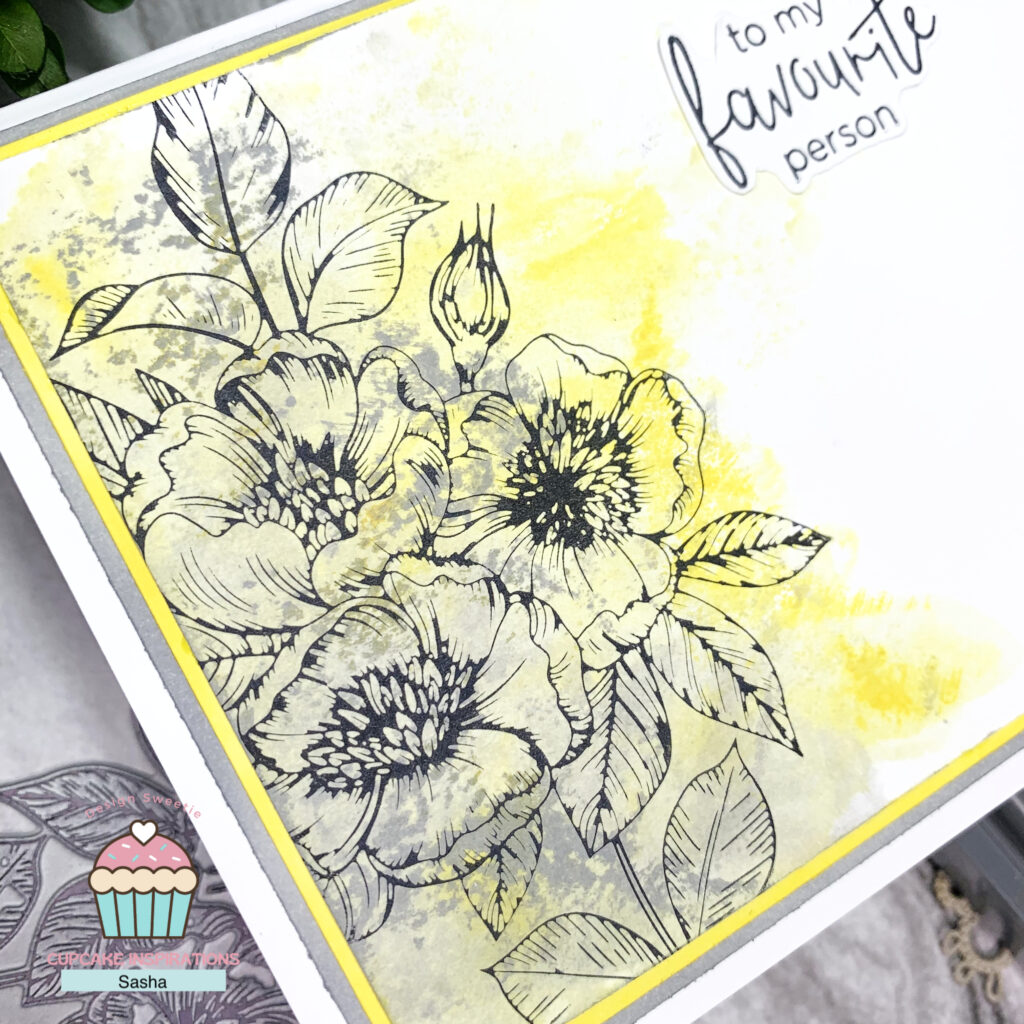
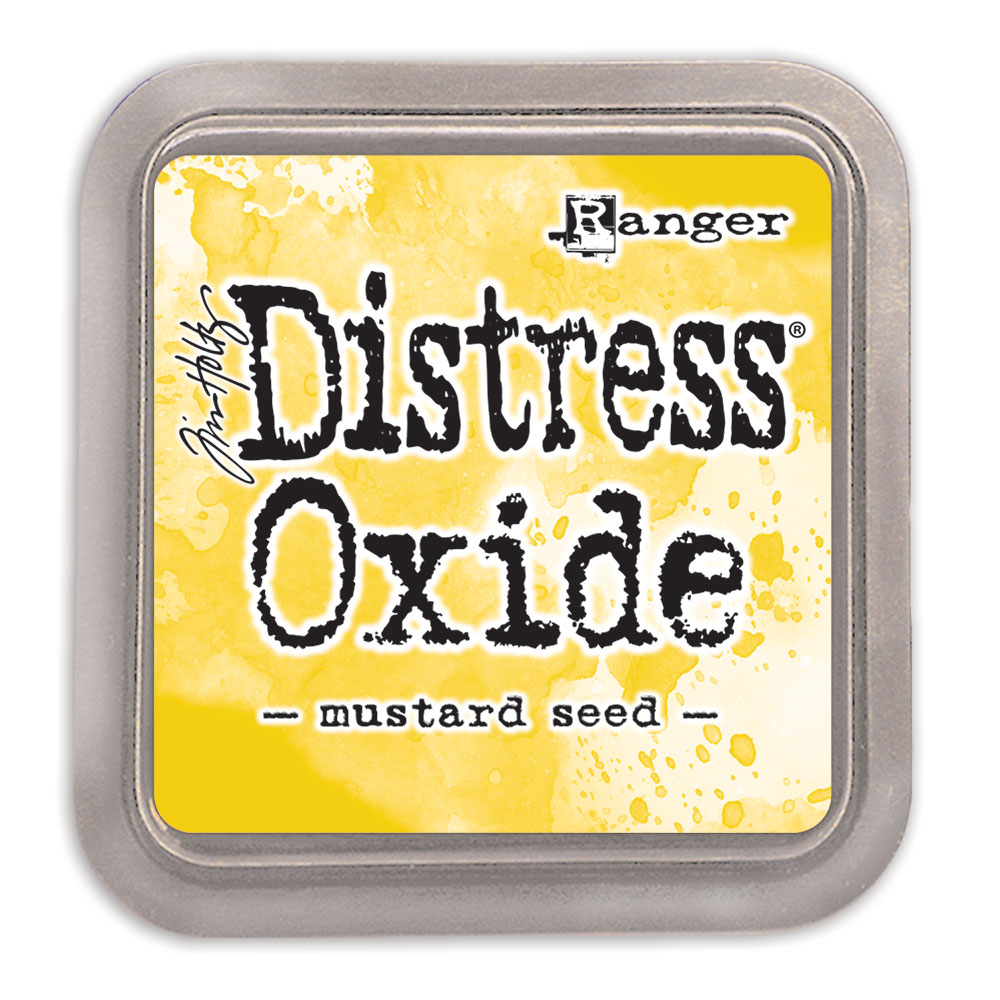
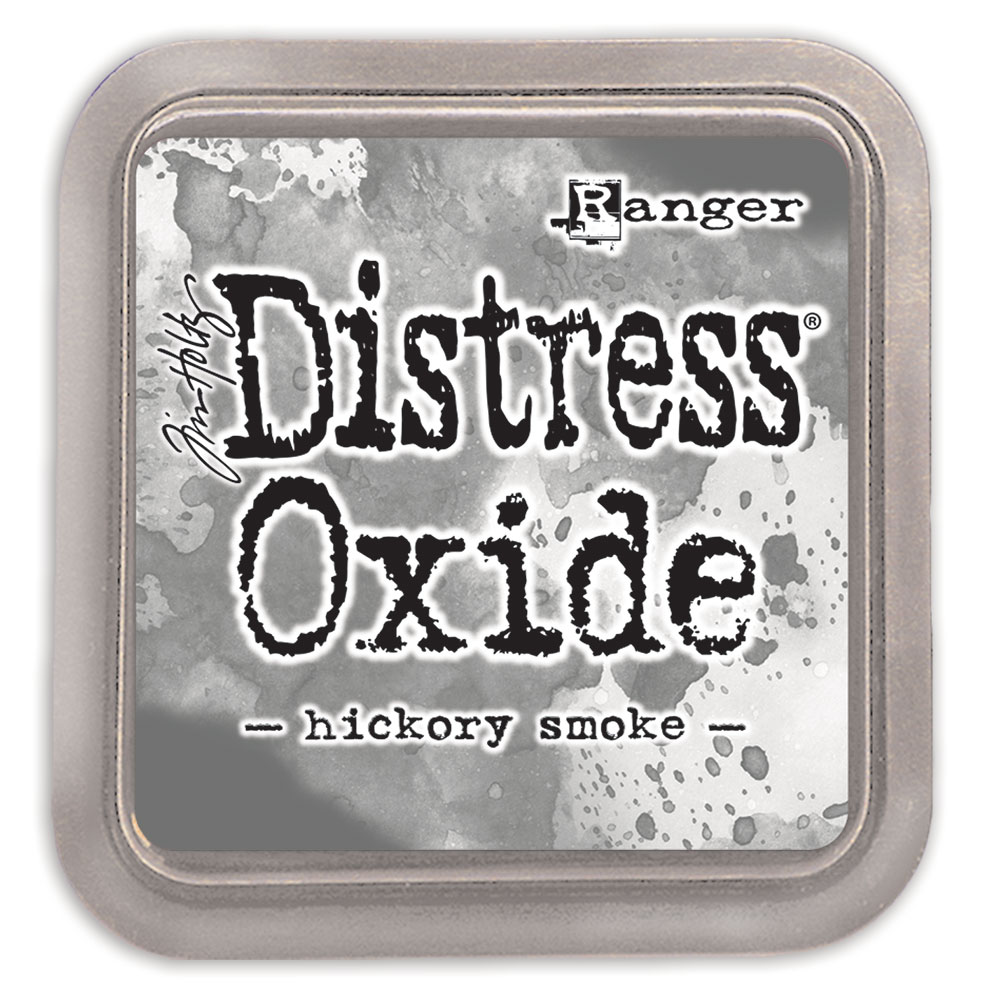
As for the grey and yellow, I used Mustard Seed and Hickory Smoke Distress Oxides.
Be sure to head on over to the Cupcake Inspirations Challenge Blog to submit a card and participate in the current challenge!
Thanks for reading. Catch ya next time!
Sasha
Products Used
This post contains affiliate links that are of no extra cost to you. Using my affiliate links simply helps me to keep doing what I love – thank you!
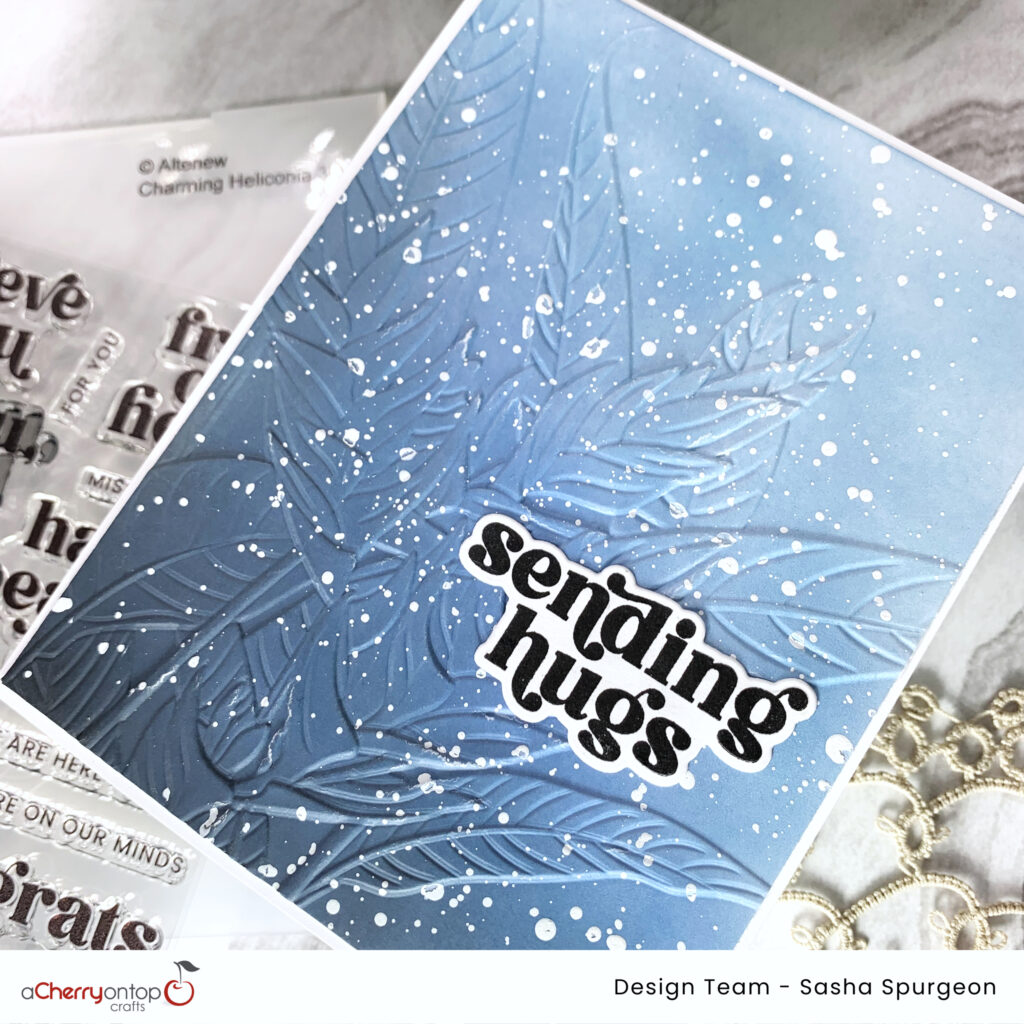
Hello everyone! I am so excited to be sharing my first blog post as a member of the ACOT design team! Today, I’m sharing an easy-to-make embossed card featuring some new products from Altenew!
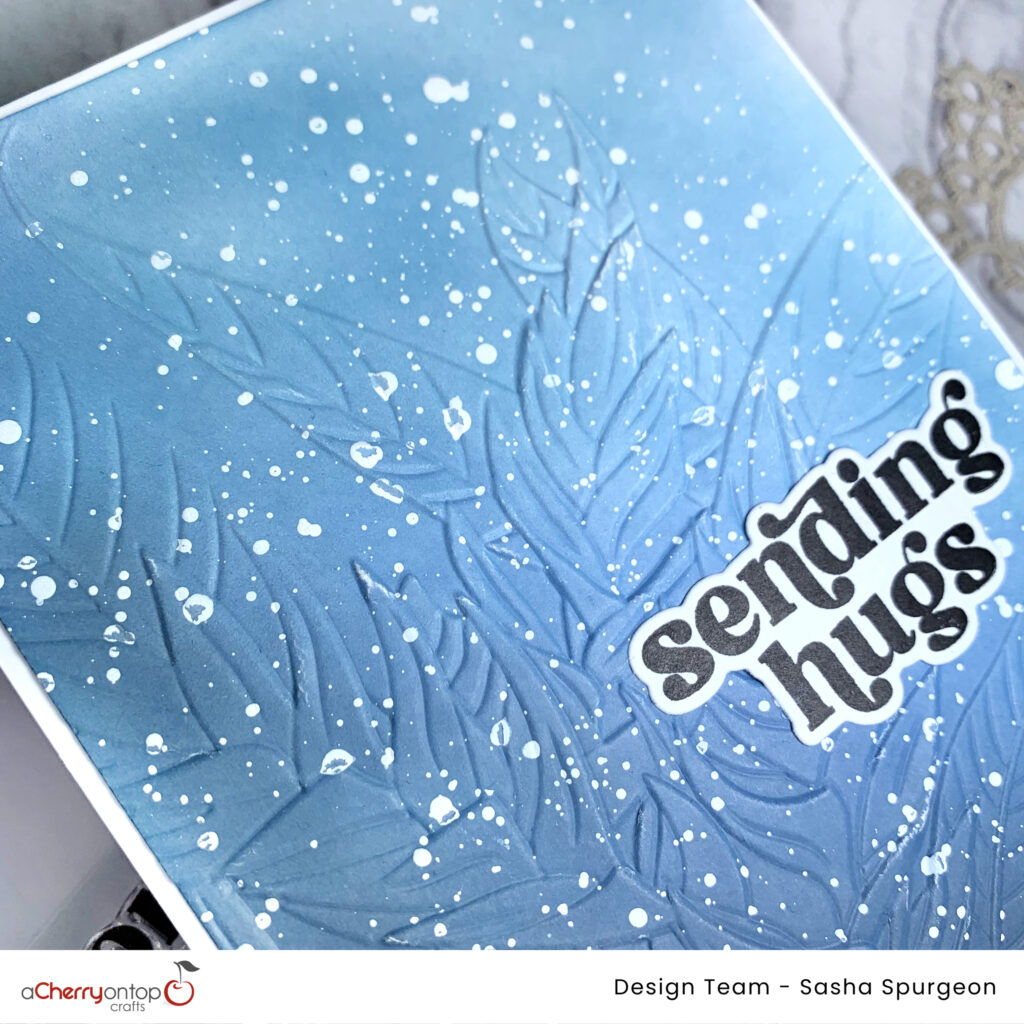
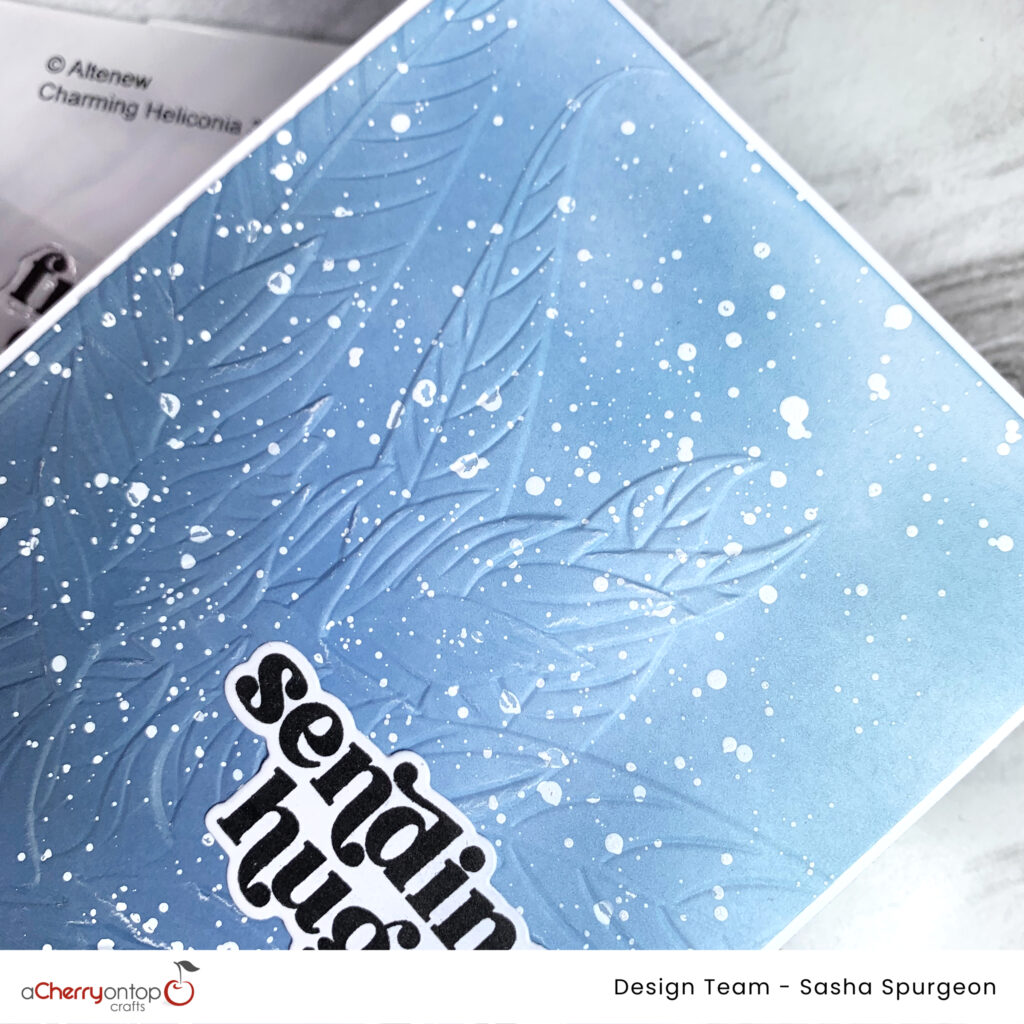
To create this card, I first ink-blended a Black Soot and Faded Jeans Distress Oxide gradient onto my card panel. I began by blending a little Black Soot in the corner of my card panel before adding Faded Jeans. From here, I simply blended the two colours together before I achieved a smooth and vibrant gradient.
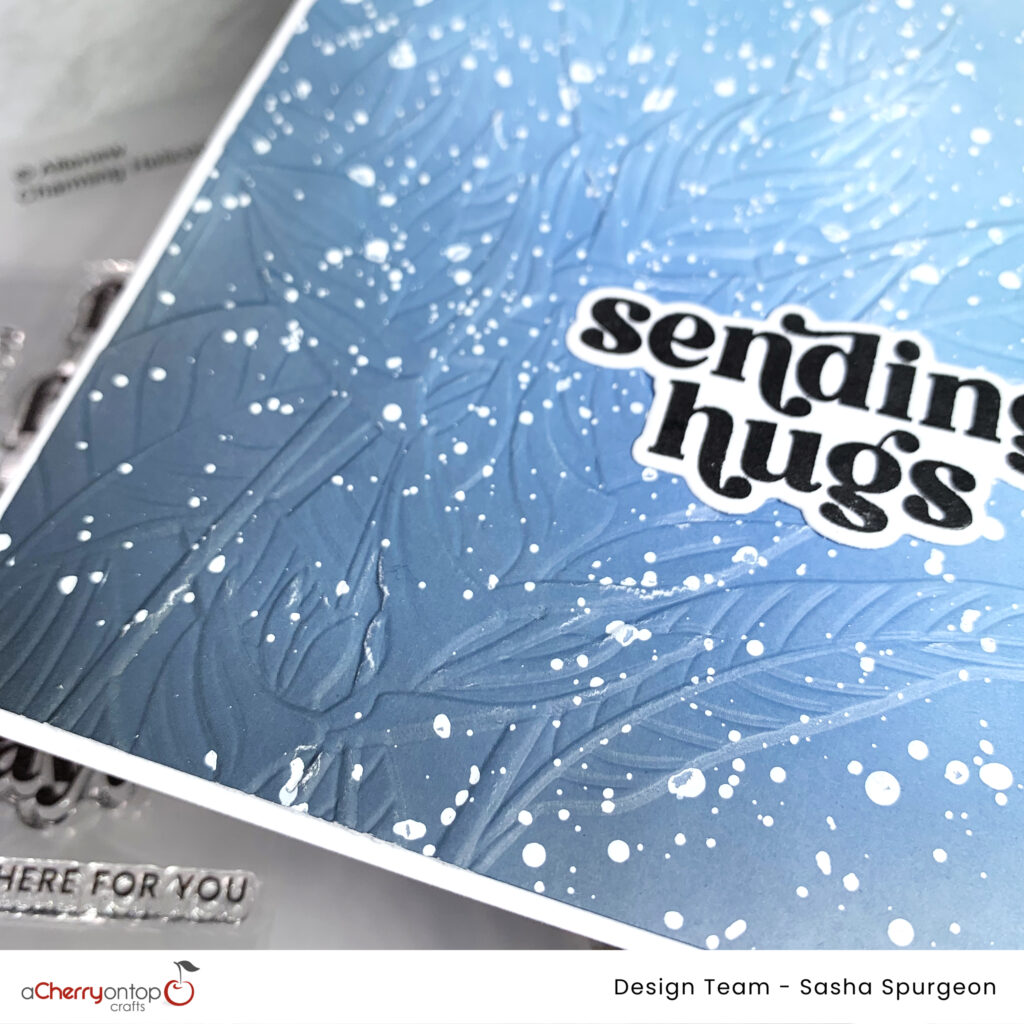
Next, I added a unique touch to my card panel by embossing it using the Charming Heliconia 3D Embossing Folder from Altenew. Using an embossing folder on your creative projects adds a beautiful and distinctive texture that really helps your project to stand out.
As mentioned, embossing folders are an amazing – but also quick and easy way – to add a beautiful and uniquely handmade touch to any project you create. With a wide variety of embossing folders to choose from, you can find anything from florals to geometric shapes, making them perfect for any project you can imagine!
Thank you so much for reading! I look forward to sharing my projects with all of you!
See you next time!
Sasha
Products Used
This post contains affiliate links that are of no extra cost to you. Using my affiliate links simply helps me to keep doing what I love – thank you!
Altenew Charming Heliconia 3D Embossing Folder
Buy From
Faded Jeans Tim Holtz Distress Oxide Ink Pad
Buy From
Black Soot Tim Holtz Distress Oxide Ink Pad
Buy From
Gina K. Designs Connect Glue Small Tube
Buy From
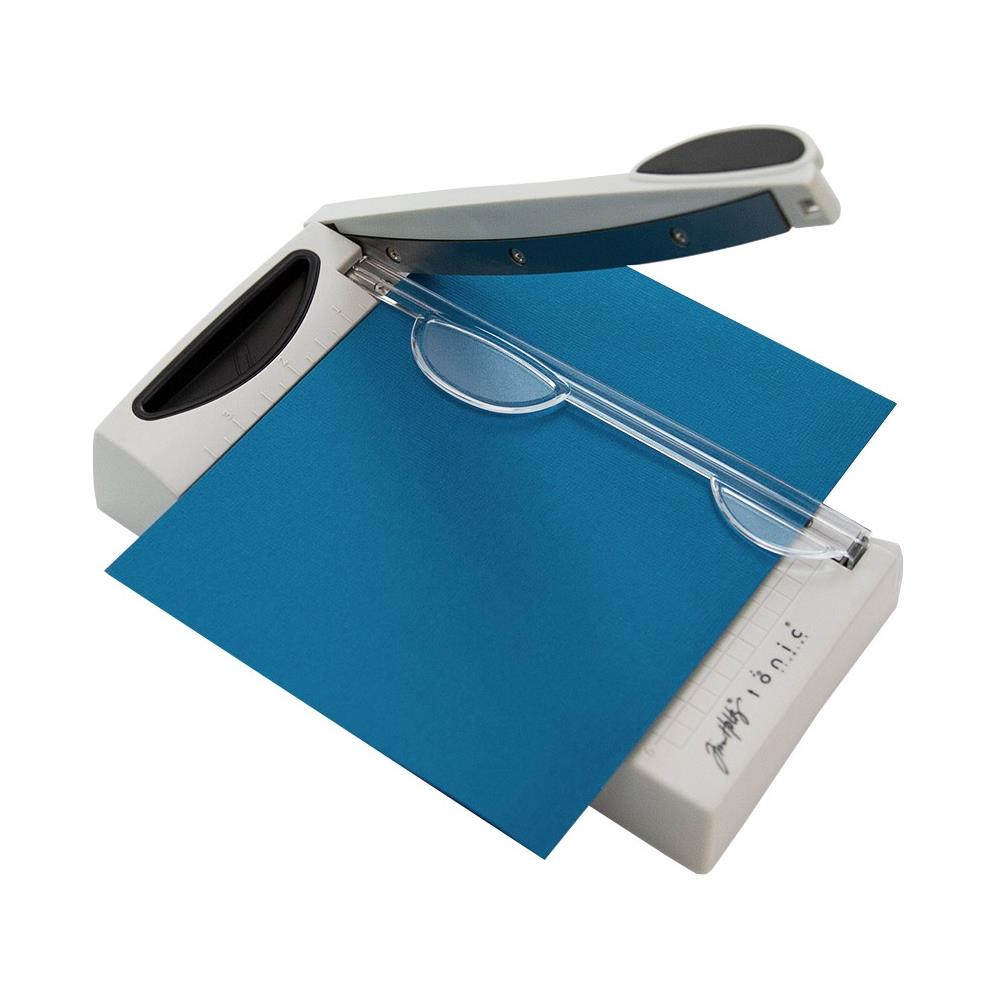
Tim Holtz Guillotine Mini Trimmer
Buy From
Altenew Classic Greetings Stamp Set
Buy From
Altenew Classic Greetings Die Set
Buy From
Gina K. Designs Obsidian Amalgam Ink Cube
Buy From
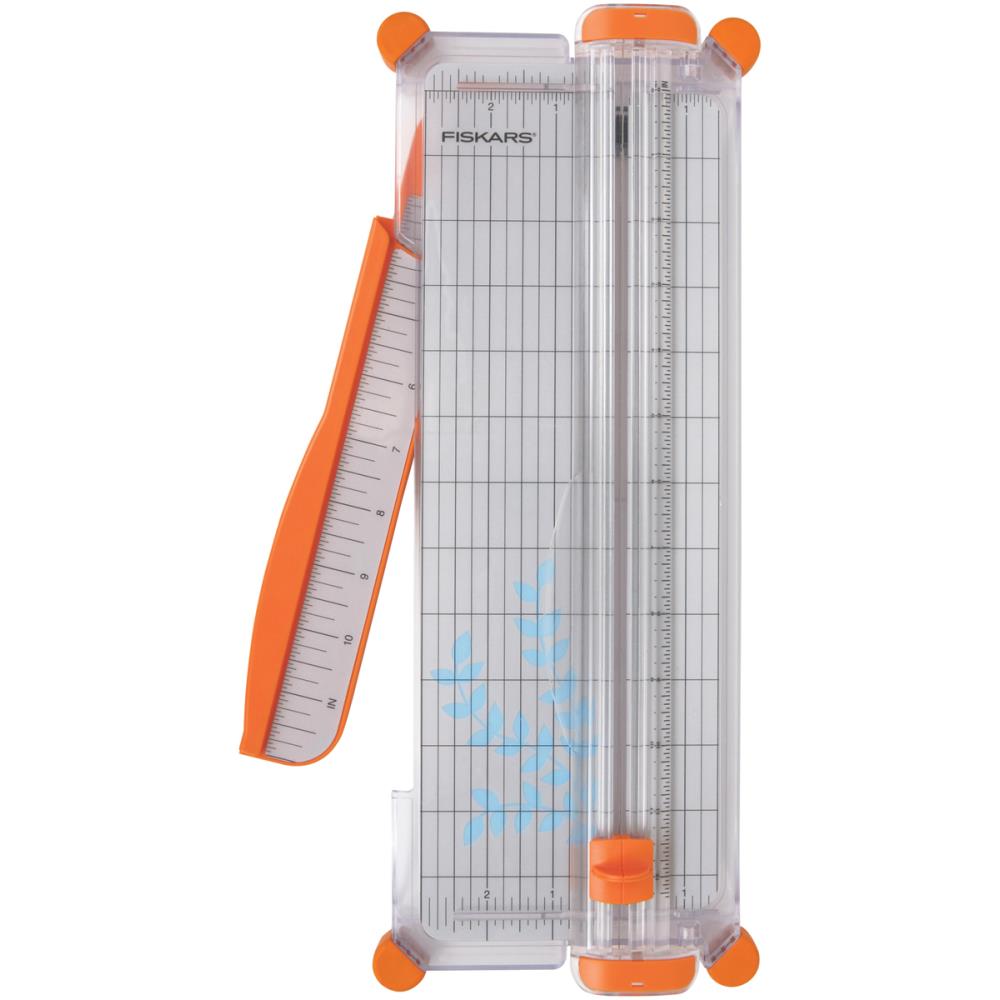
12″ Portable Fiskars Paper Trimmer
Buy From
Scor-Pal Eights Measuring & Scoring Board – 12″ X 12″
Hello friends! Today is the start of a new challenge over on the Cupcake Inspirations Challenge blog! Challenge #585 is a colour challenge, and the colours that you must use are grey, yellow, and white. This challenge is also the first challenge of the year!
To create this card, I first started by ink-smushing my card background using Mustard Seed and Hickory Smoke Distress Oxides. In between layers, I used my heat gun to dry the ink quickly.
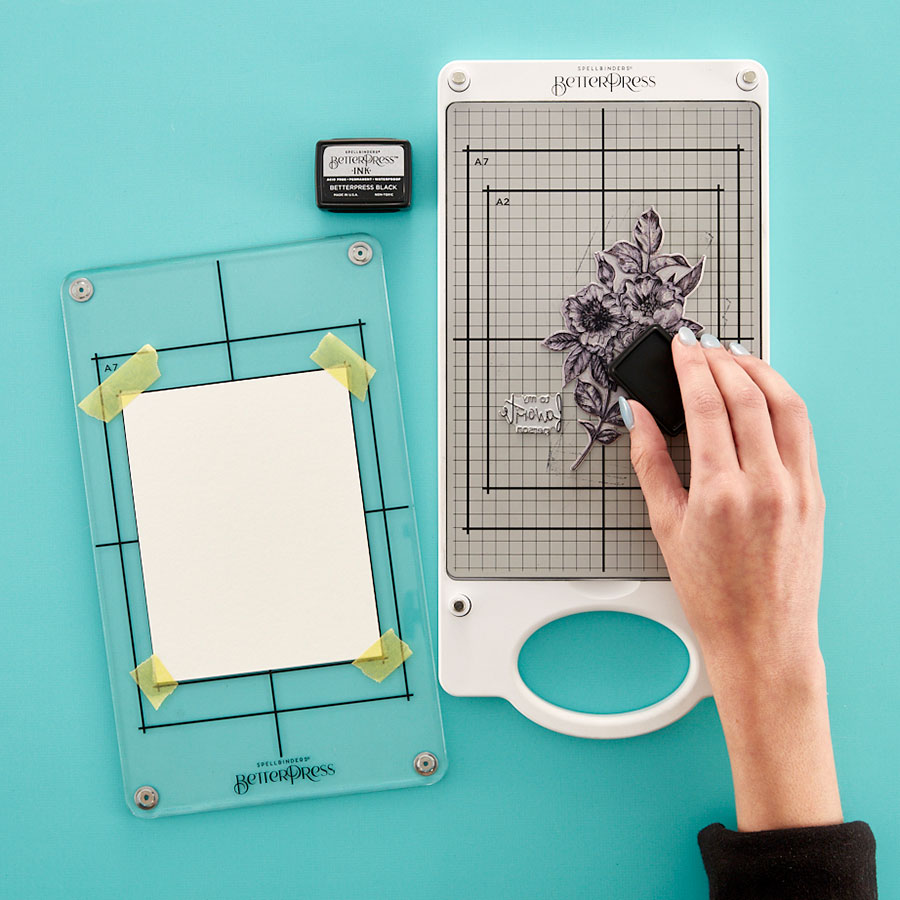
Once happy with my card background, I positioned my background and Press Plate on the Spellbinders BetterPress – the Press Plate I used to create this card is the one that comes with the BetterPress Letterpress System. I then inked the Press Plates using the BetterPress Black Ink and ran the BetterPress through my manual die-cutting machine. I did the same thing for the sentiment.
To finish the card, I created two matching mats for my card using Mustard Seed and Hickory Smoke Distress Oxides and adhered them (along with my sentiment), using Bearly Art Glue.
Be sure to head on over to the Cupcake Inspirations Challenge Blog to submit a card and participate in the current challenge!
Thanks for reading. Catch ya next time!
Sasha
Products Used
This post contains affiliate links that are of no extra cost to you. Using my affiliate links simply helps me to keep doing what I love – thank you!
Spellbinders BetterPress Letterpress System
Buy From
Mustard Seed Tim Holtz Distress Oxide Ink Pad
Buy From
Hickory Smoke Tim Holtz Distress Oxide Ink Pad
Buy From
Tim Holtz Distress Sprayer
Buy From
12″ Portable Fiskars Paper Trimmer
Buy From
Scor-Pal Eights Measuring & Scoring Board – 12″ X 12″
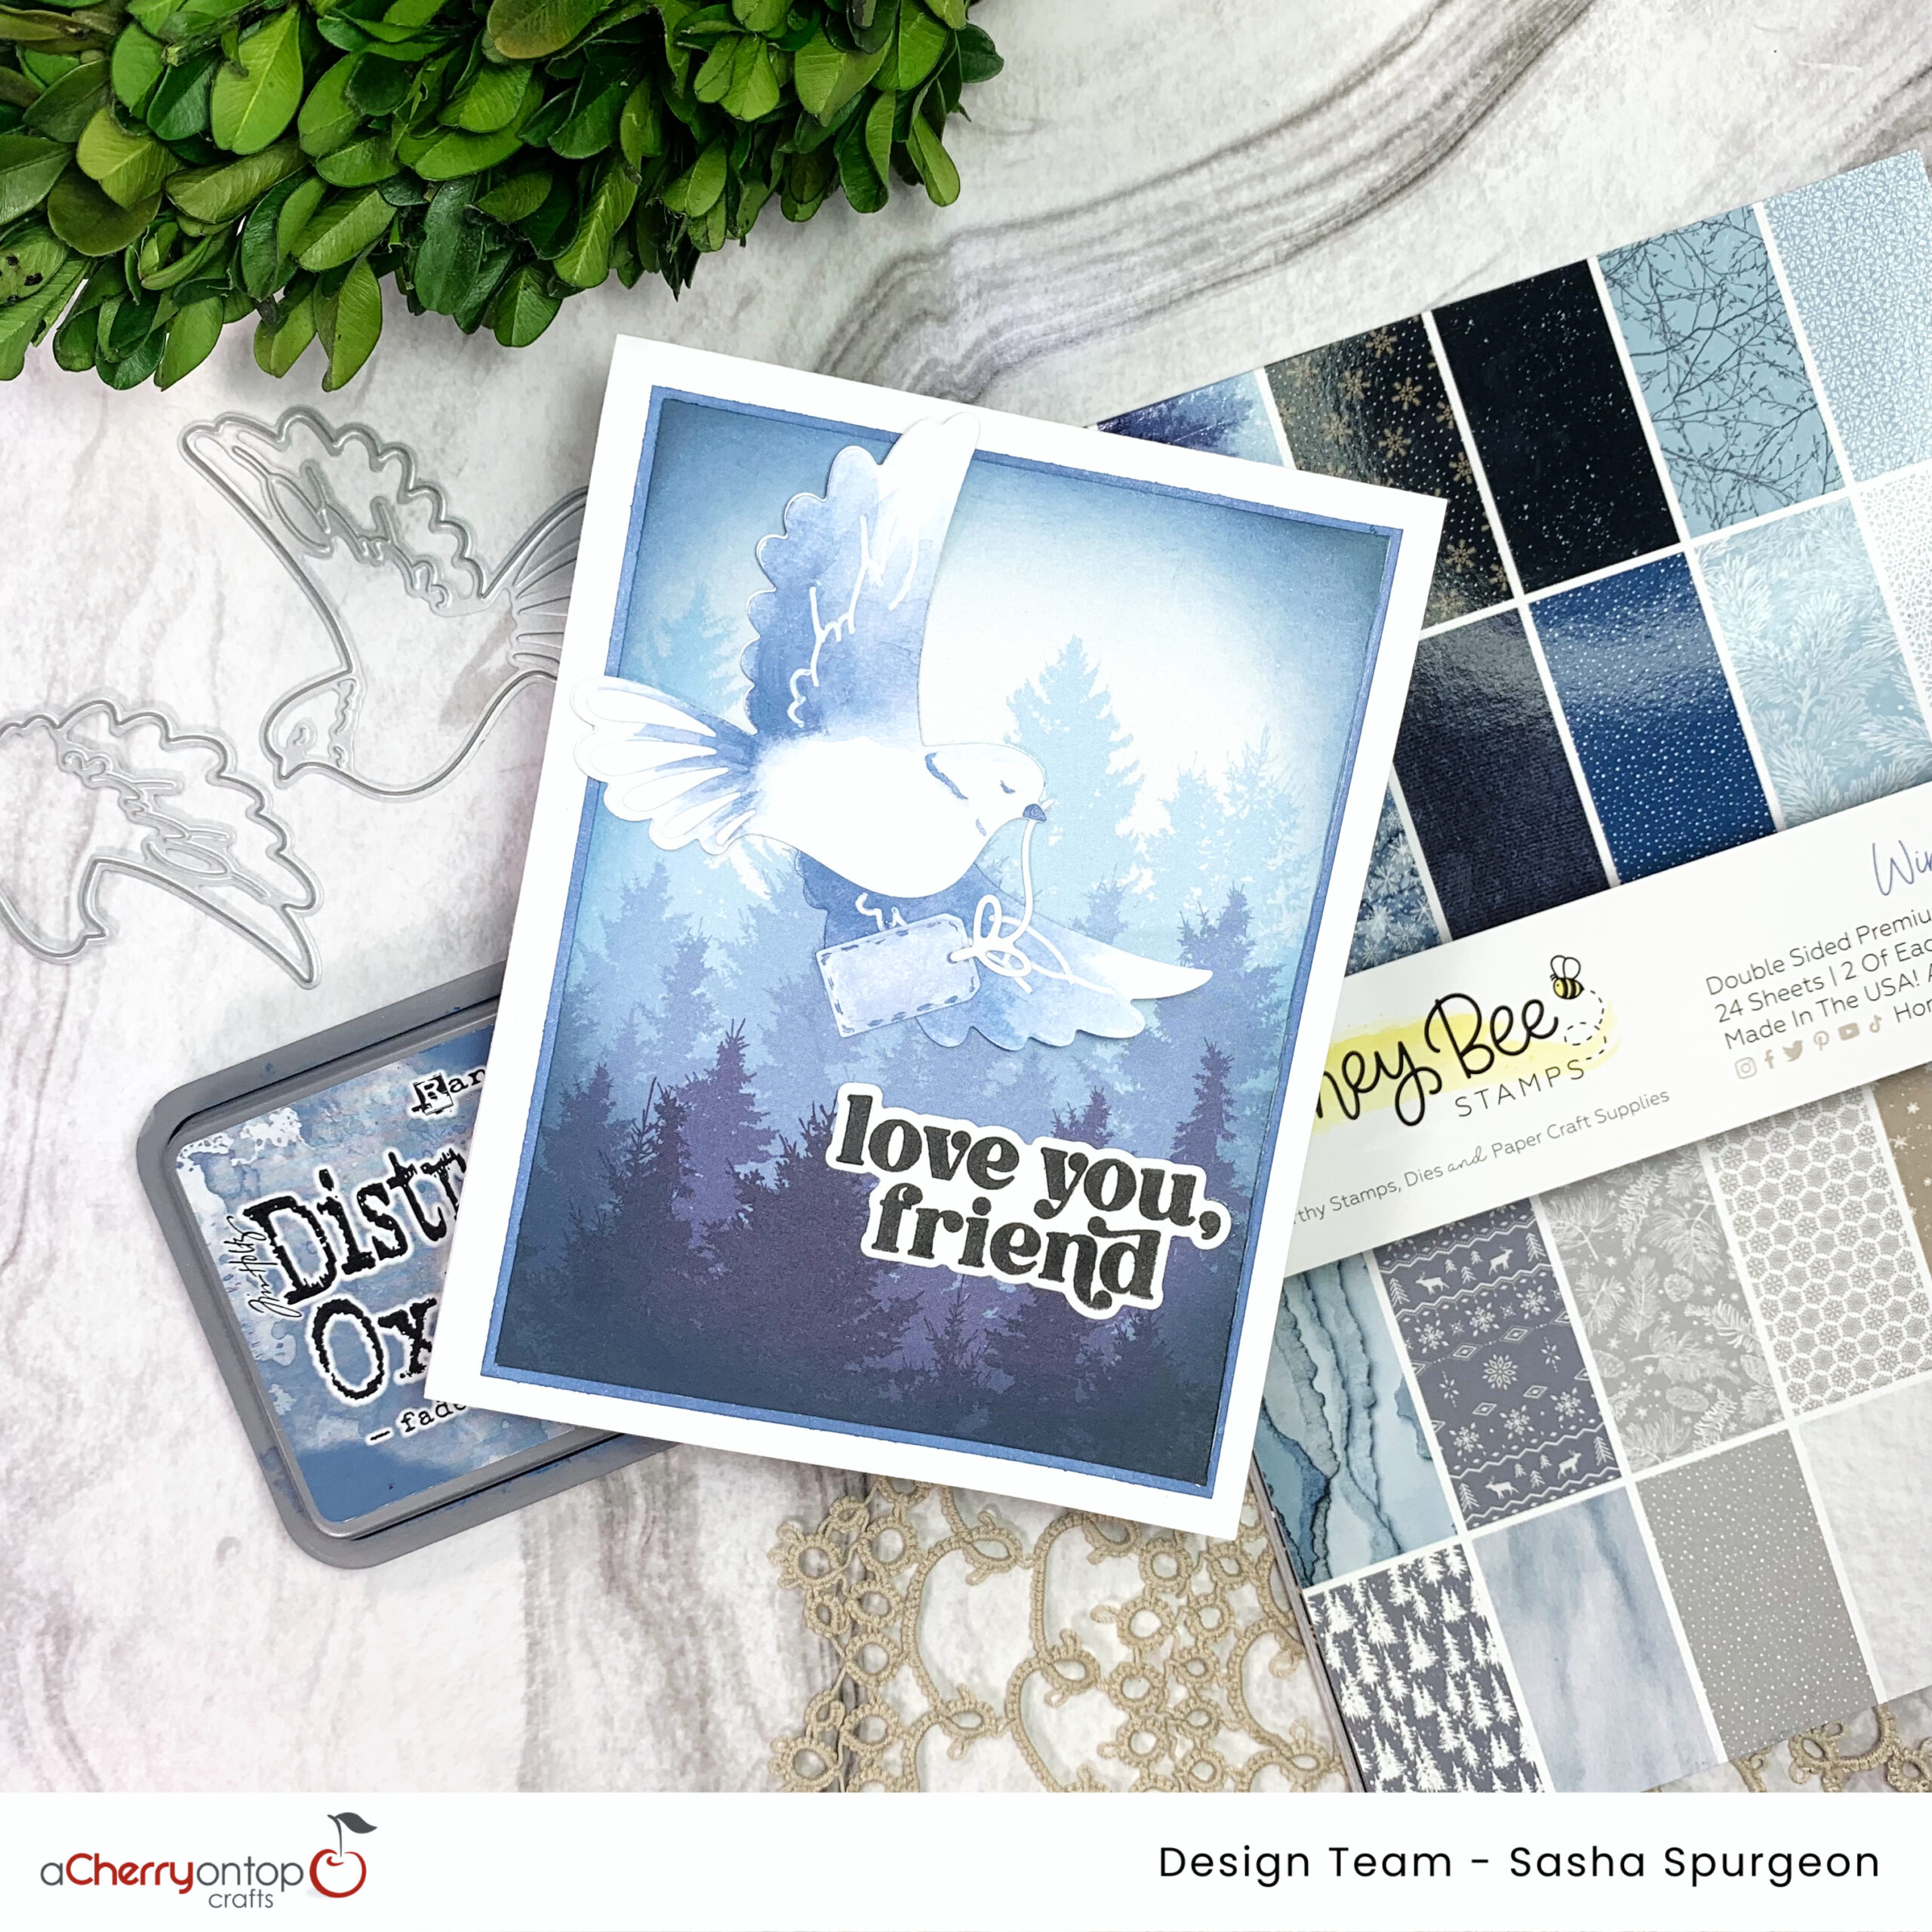
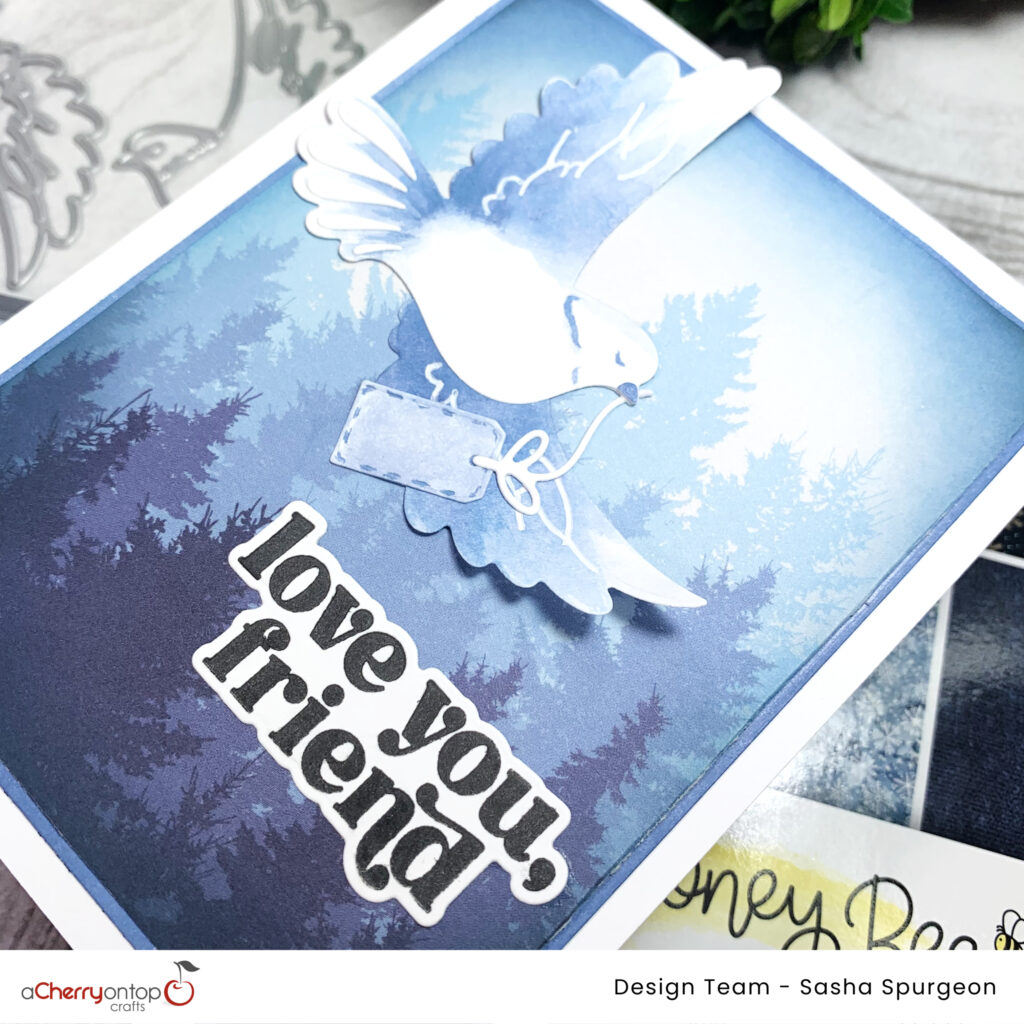
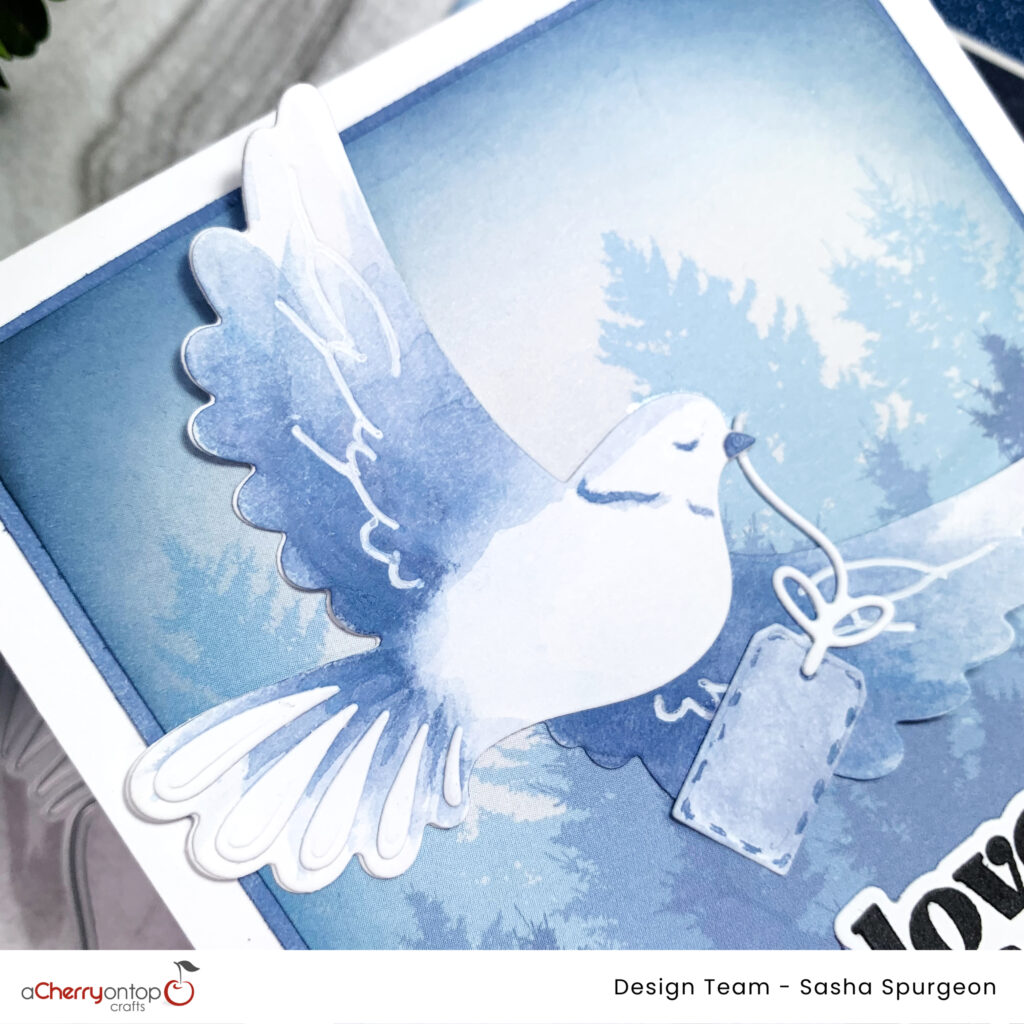
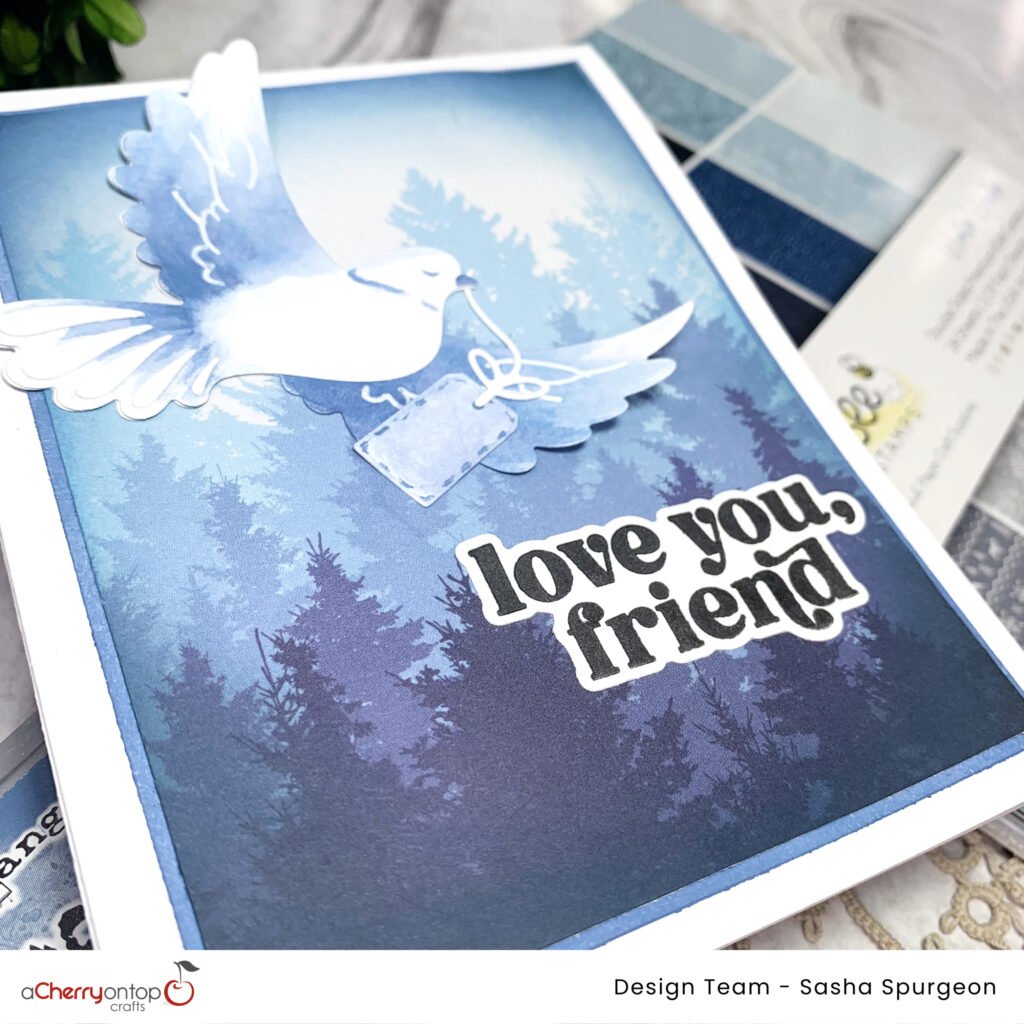
Today is the day of the monthly A Cherry on Top YouTube Hop for January! 🎉 🍒
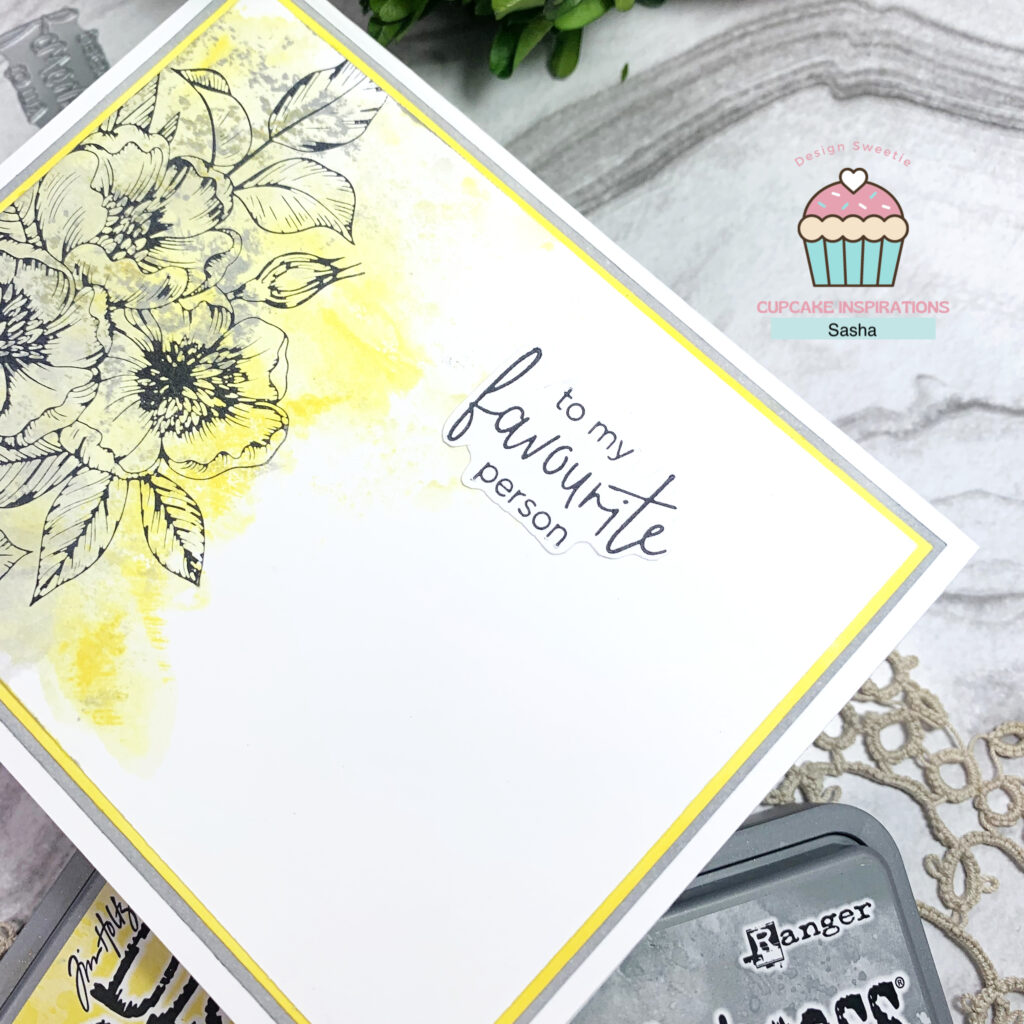
The theme for this month’s hop is “Try Something New,” so I decided to try watercolouring using Distress Oxide!
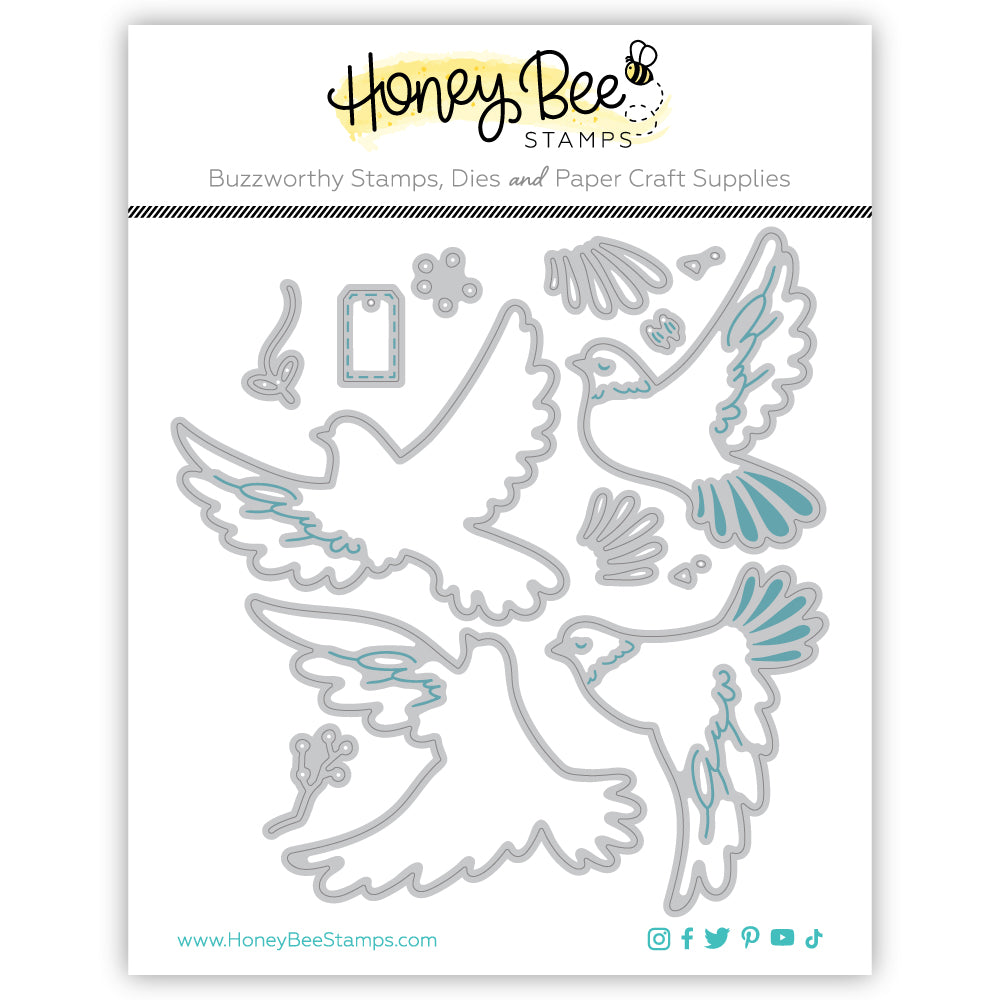
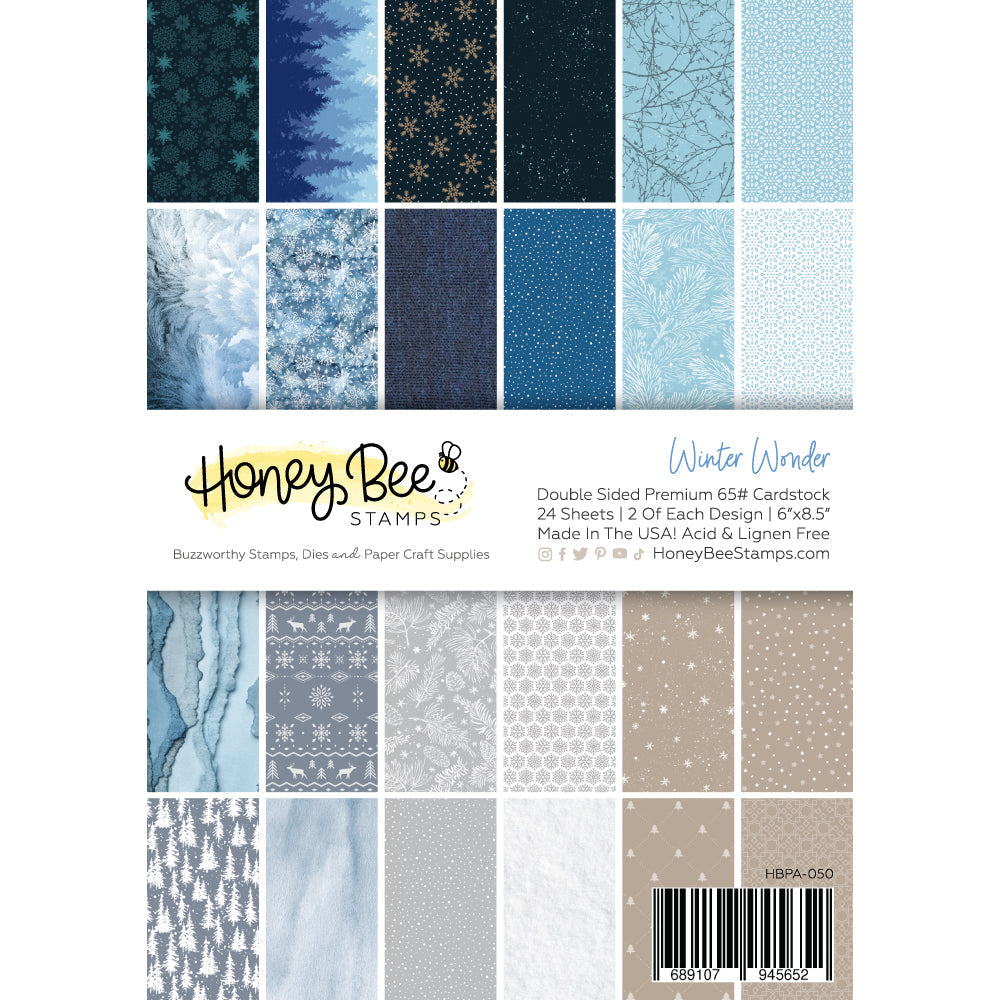
My card features the Lovely Layers: Doves Honey Cuts and Winter Wonder paper pad from Honey Bee Stamps and the Classic Greetings Stamp set from Altenew.
Watch the full process video here:
Be sure to head on over to YouTube and hop along with the design team for a chance to win a $25 gift card to A Cherry on Top! 🍒
Thanks for reading. Catch ya next time!
Sasha
Products Used
This post contains affiliate links that are of no extra cost to you. Using my affiliate links simply helps me to keep doing what I love – thank you!
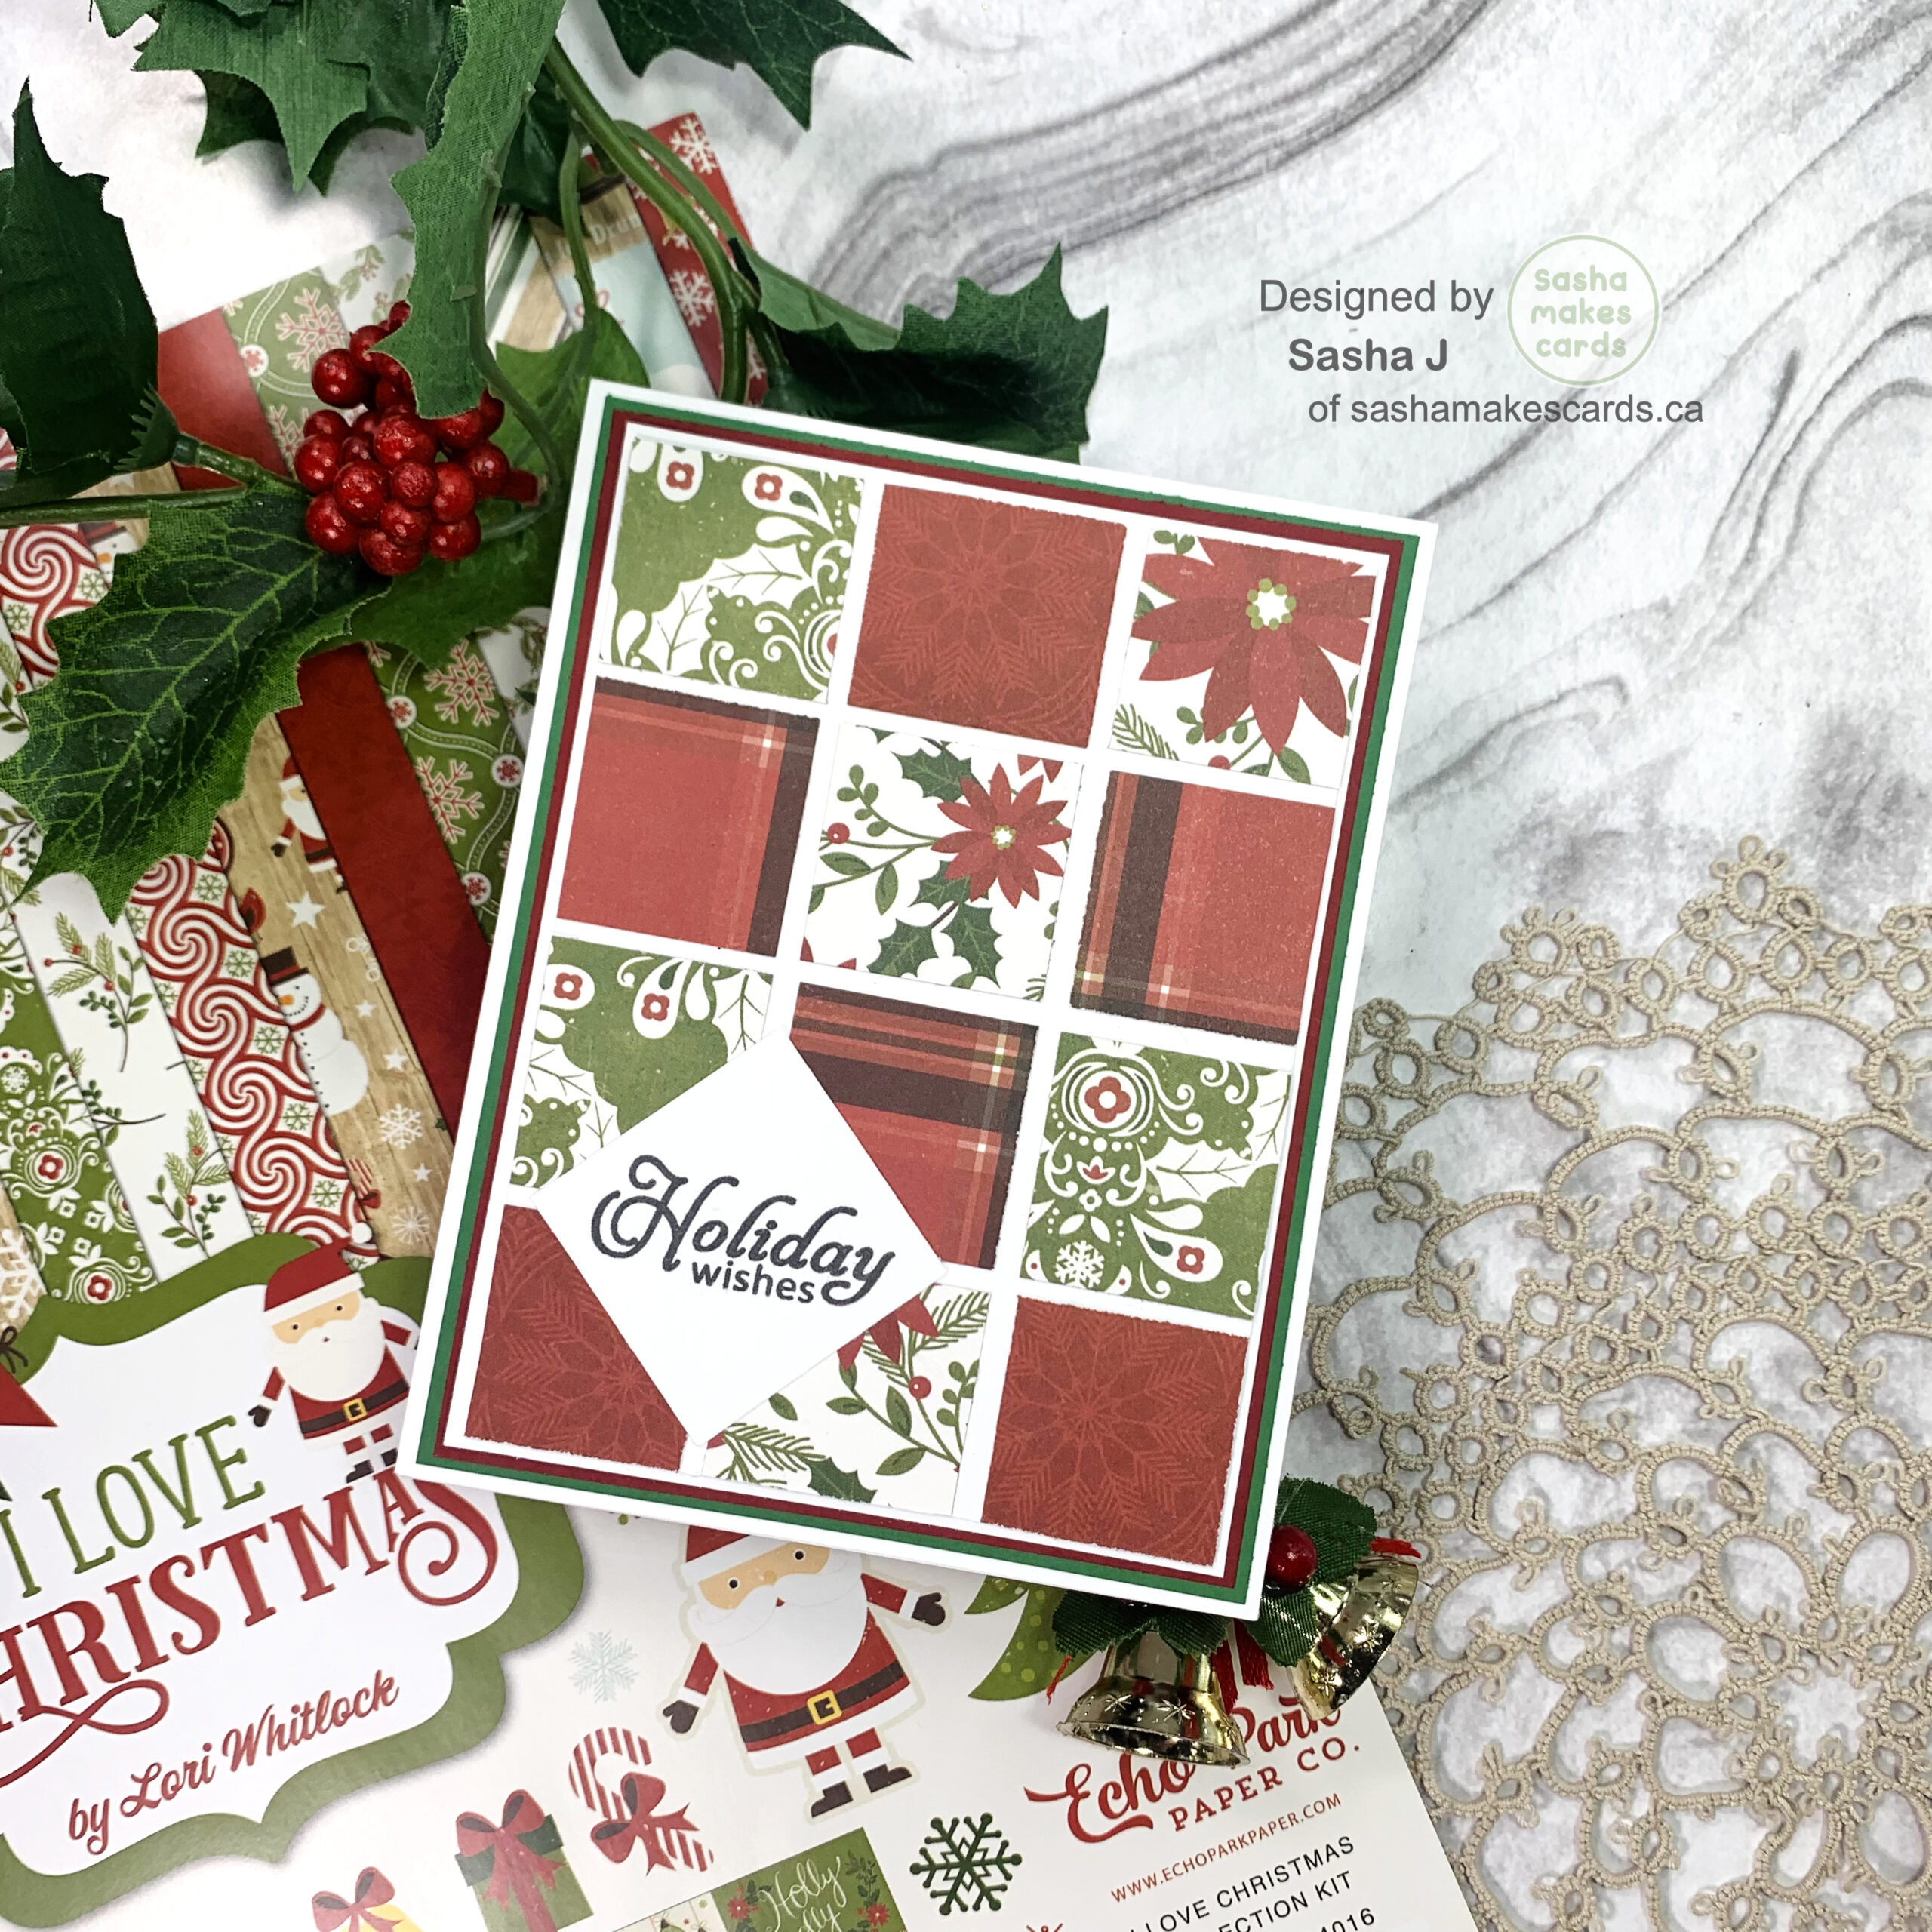
Hello friends, and Merry Christmas to those who celebrate! For today’s card, I decided to have some fun with pattern paper – something I’ve never used before!
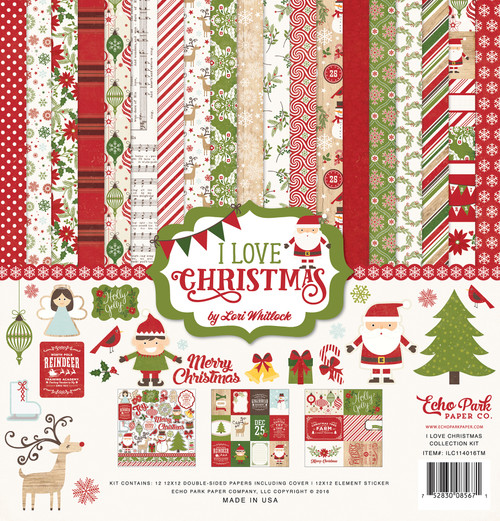
This was a very easy card to make. Using the “I Love Christmas” Collection Kit from Echo Park, I trimmed 12 small squares from two different pieces of patterned paper to fit my card front.
I glued them down and then added a square with a sentiment on top.
To finish, I added a red and green mat to the card to complement the rest of the colours.
Merry Christmas to all those who celebrate!! I hope everyone had an amazing holiday season full of peace and joy🎄🎅🏻 Here’s a fun card featuring pattern paper from Echopark! Be sure to check out my blog, sashamakescards.ca, for more! —— #cardmaking#cardmaker#cardmakersoftiktok