Today is the day of the monthly A Cherry on Top YouTube Hop for January! 🎉 🍒
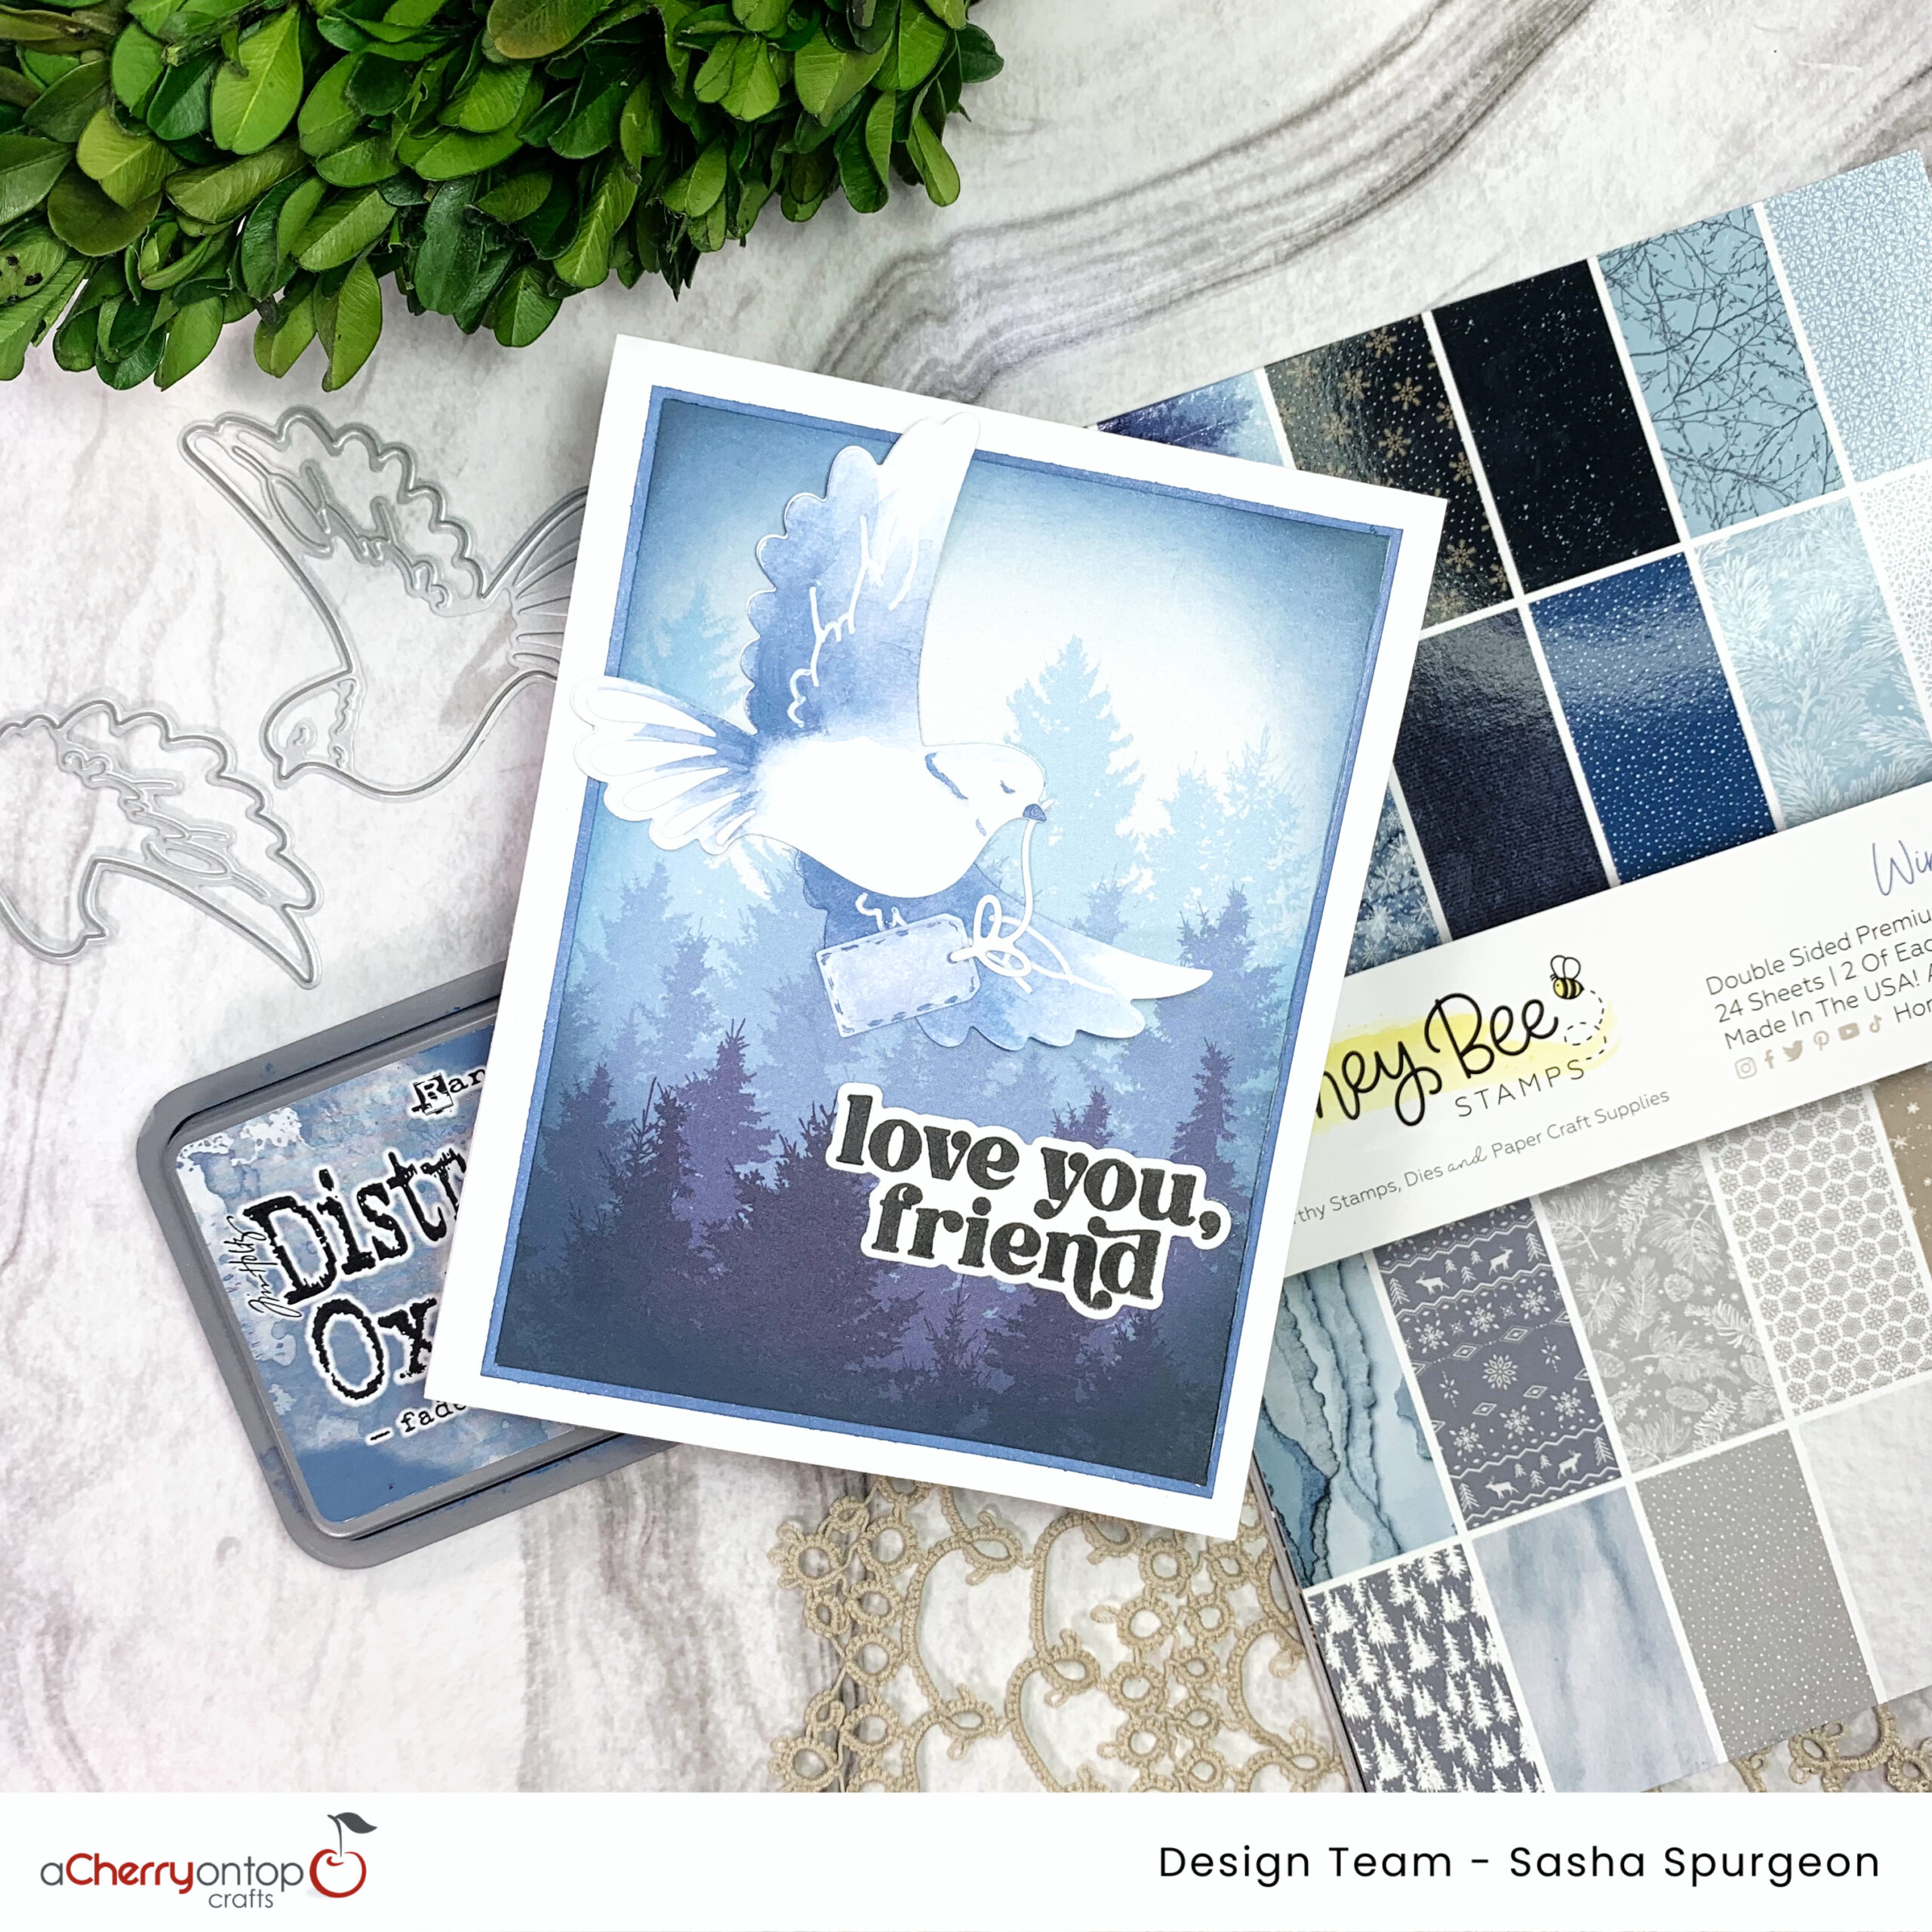
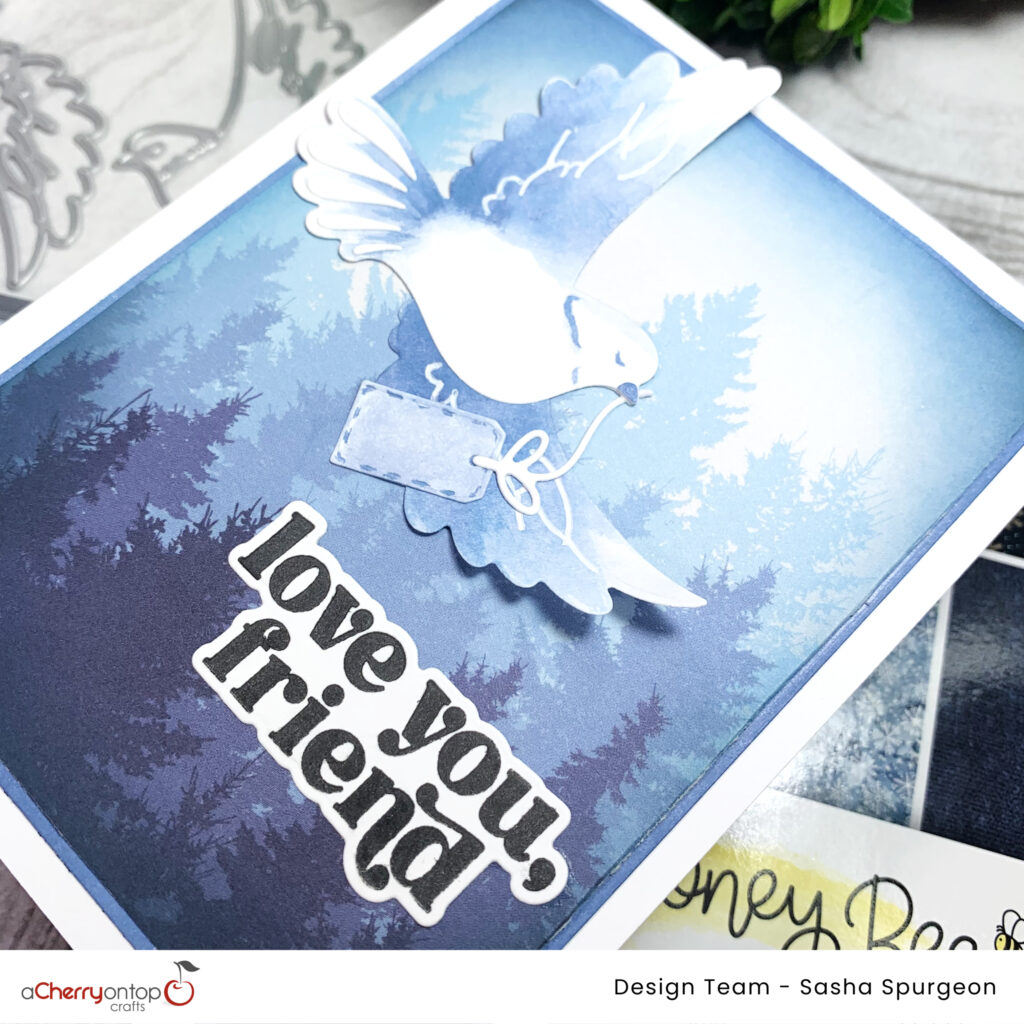
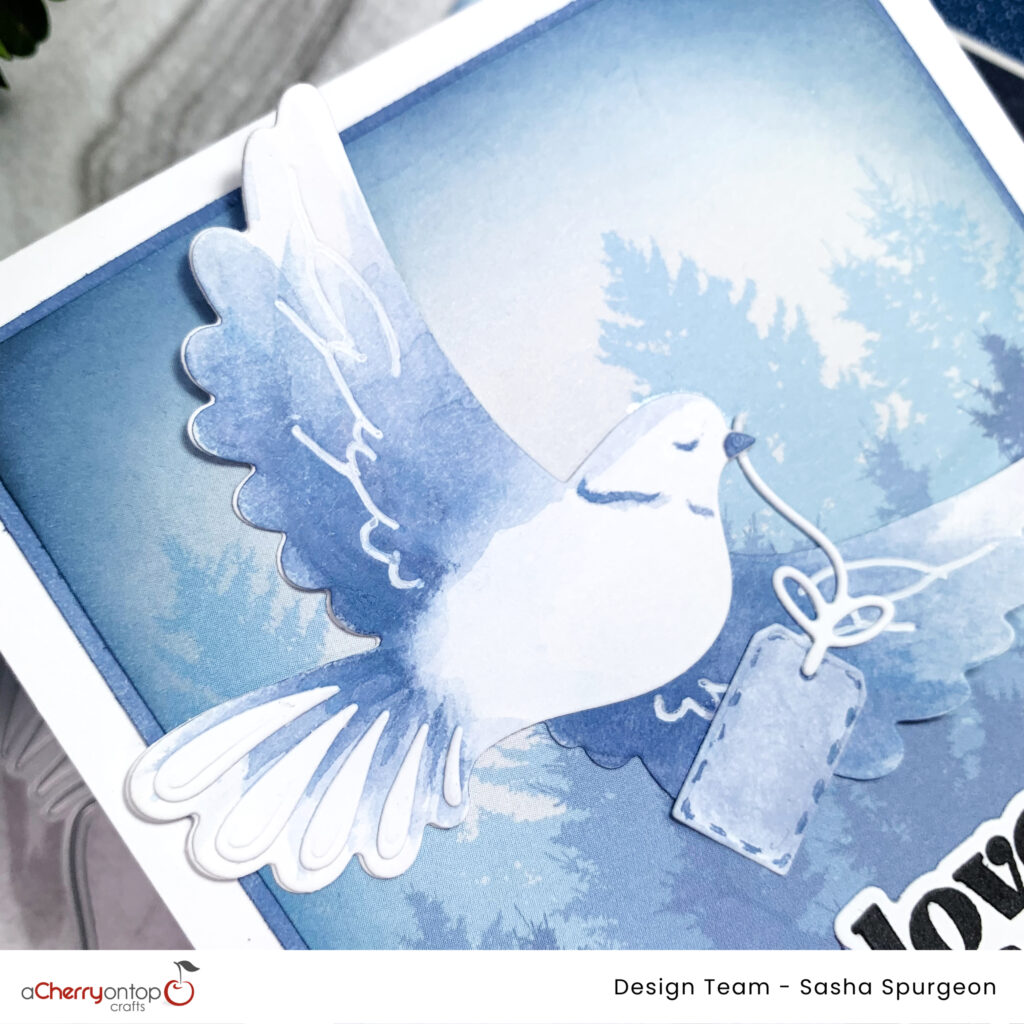
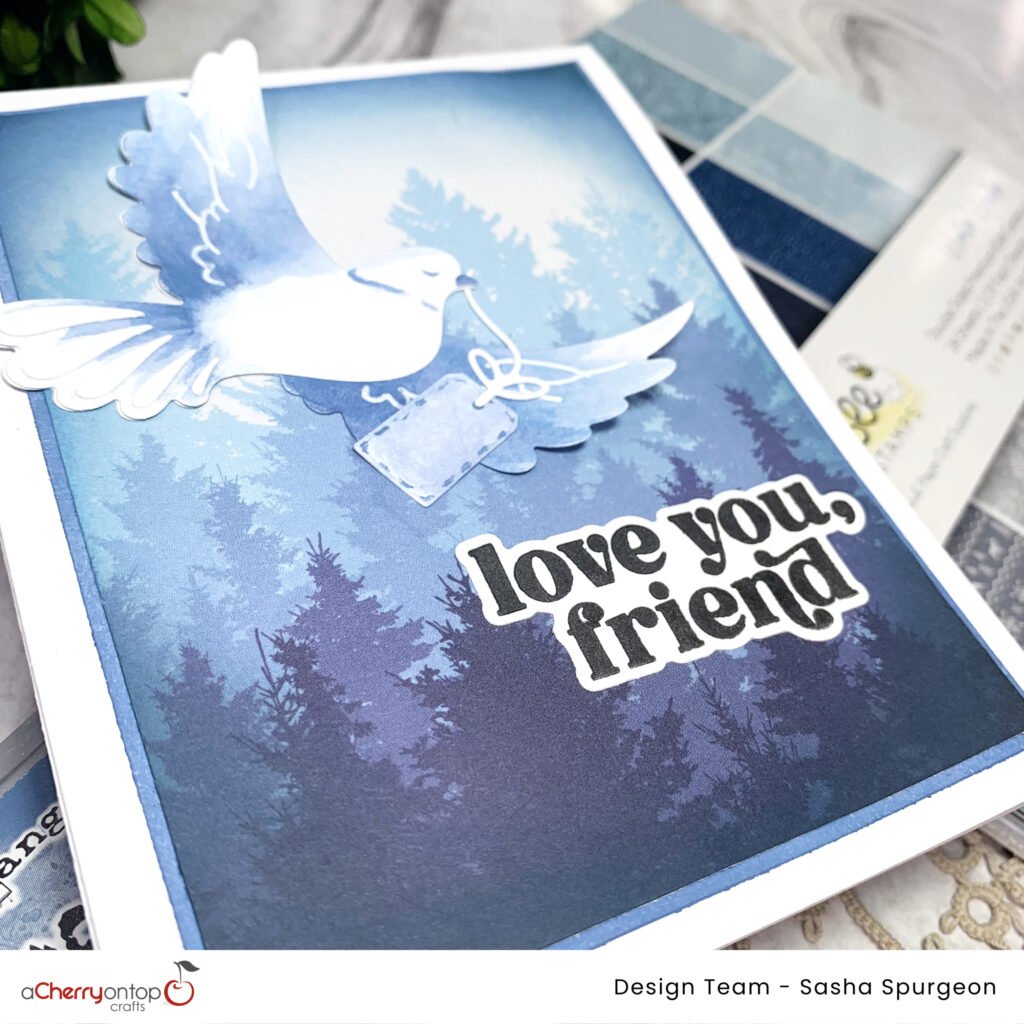
The theme for this month’s hop is “Try Something New,” so I decided to try watercolouring using Distress Oxide!
My card features the Lovely Layers: Doves Honey Cuts and Winter Wonder paper pad from Honey Bee Stamps and the Classic Greetings Stamp set from Altenew.
Watch the full process video here:
Be sure to head on over to YouTube and hop along with the design team for a chance to win a $25 gift card to A Cherry on Top! 🍒
Thanks for reading. Catch ya next time!
Sasha
Products Used
This post contains affiliate links that are of no extra cost to you. Using my affiliate links simply helps me to keep doing what I love – thank you!
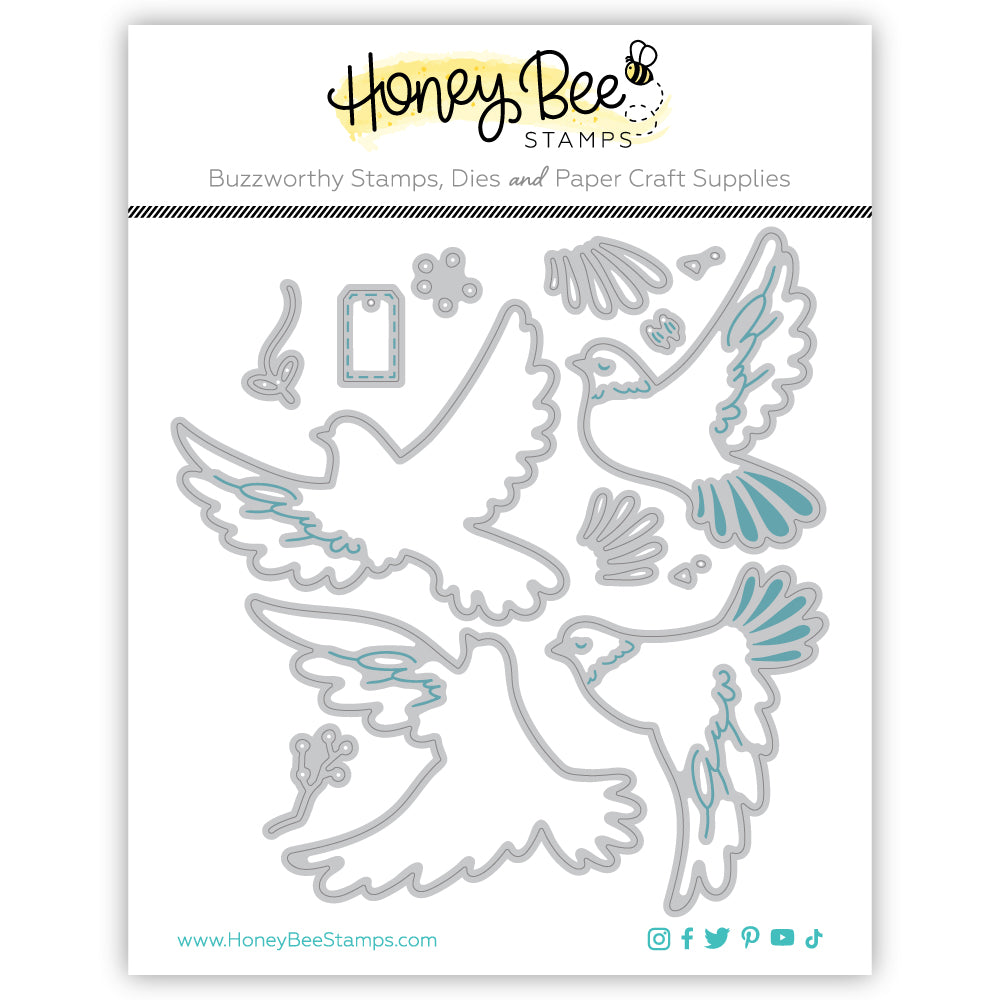
Honey Bee Stamps Lovely Layers: Doves – Honey Cuts
Buy From
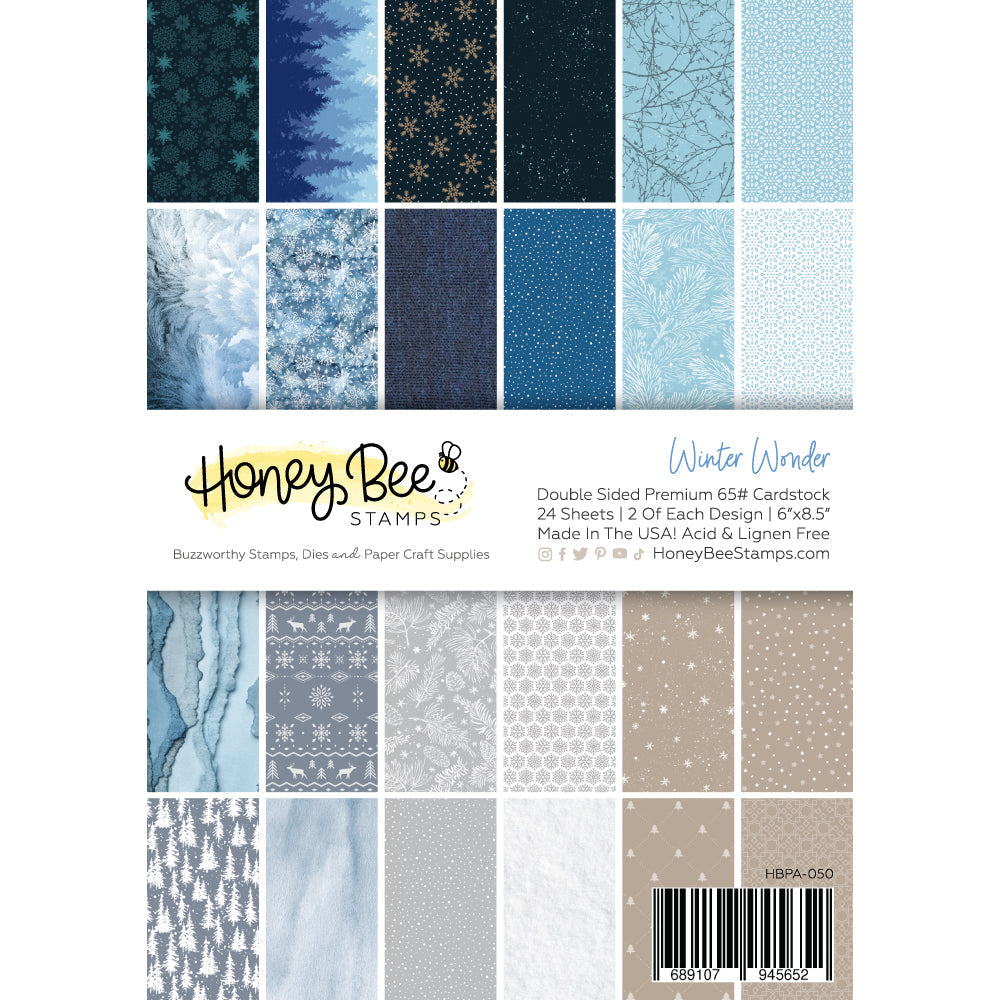
Honey Bee Stamps Winter Wonder 6×8.5 Paper Pad
Buy From

Faded Jeans Tim Holtz Distress Oxide
Buy From
Tim Holtz Distress Sprayer
Buy From
Black Soot Tim Holtz Distress Oxide
Buy From

Altenew Classic Greetings Stamp Set
Buy From

Altenew Classic Greetings Die Set
Buy From
Gina K. Designs Obsidian Amalgam Ink Cube
Buy From
Canson XL Spiral Multi-Media Paper Pad
Buy From
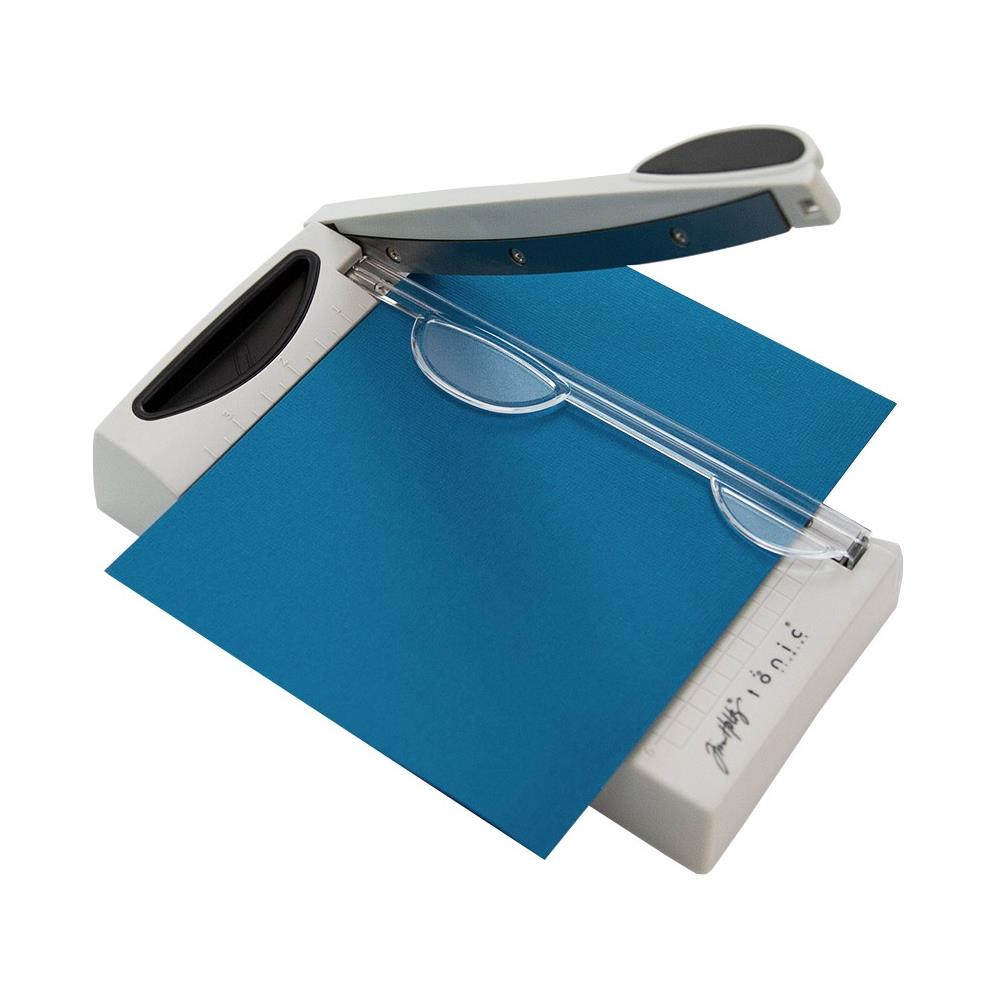
Tim Holtz Guillotine Mini Trimmer
Buy From
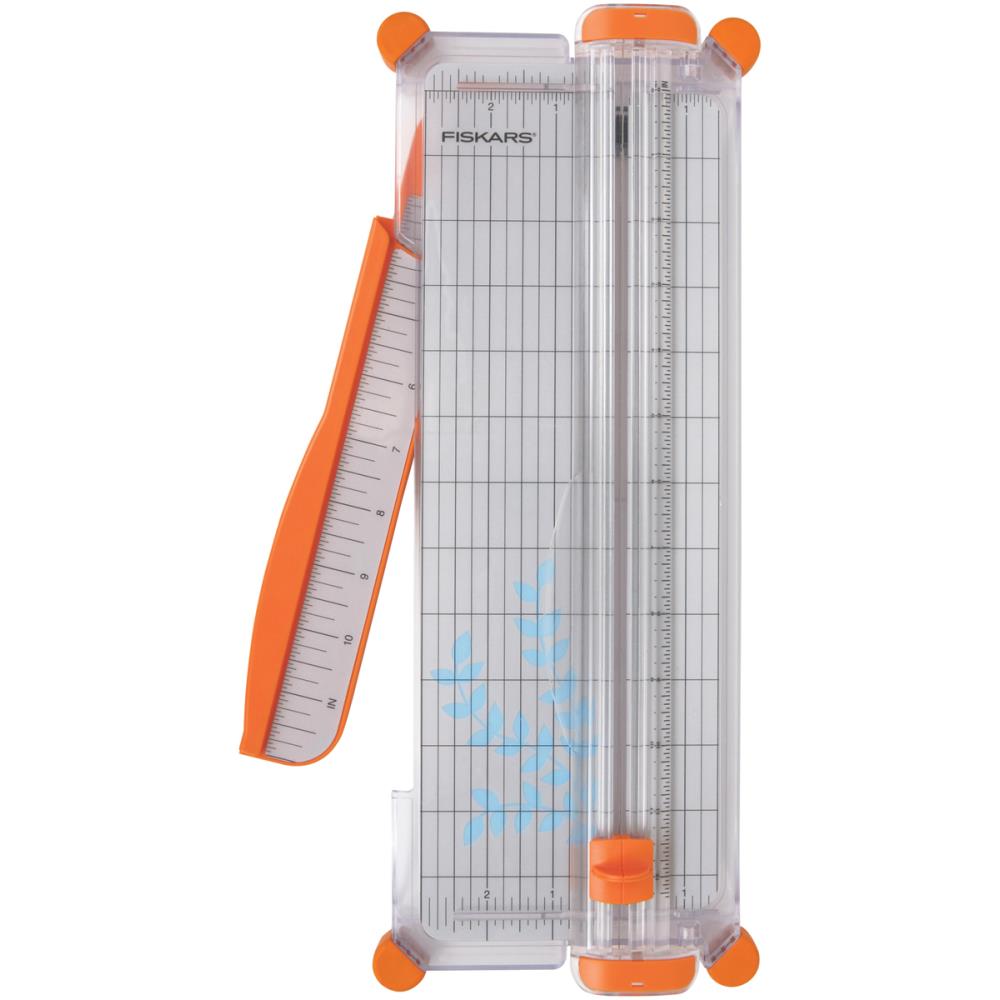
12″ Portable Fiskars Paper Trimmer by Fiskars
Buy From
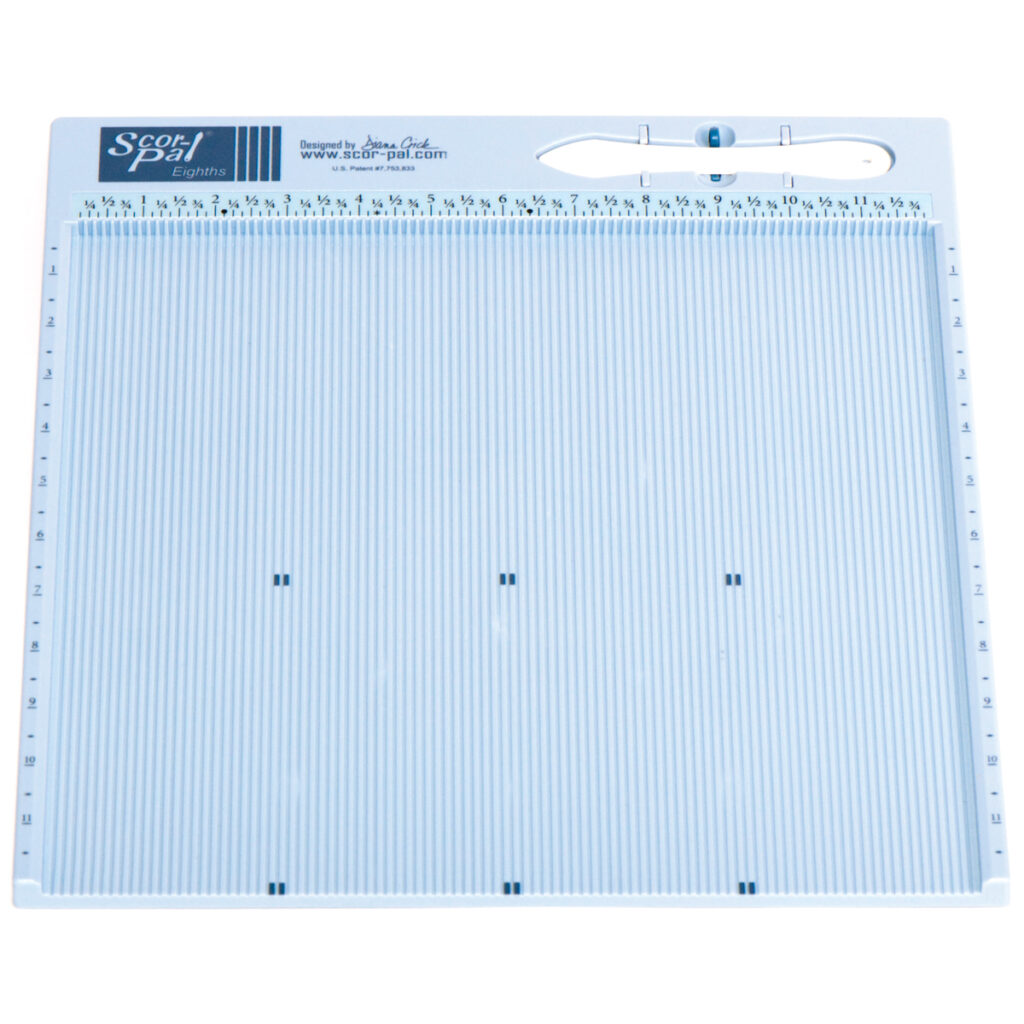
Scor – Pal Metric Measuring & Scoring Board
Buy From