IMG_4797 Large

Two Embossing Powder Techniques in One! – Ciao Bella Paper & Sizzix

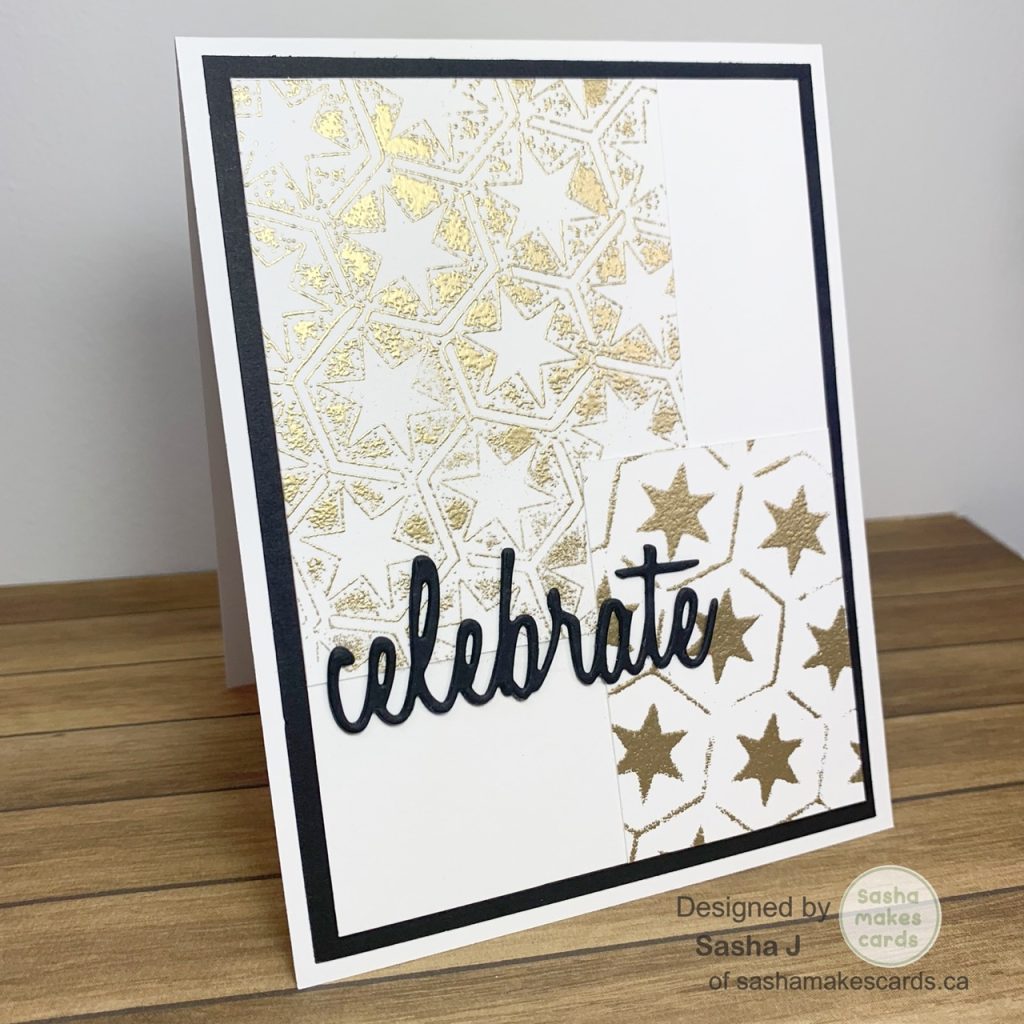
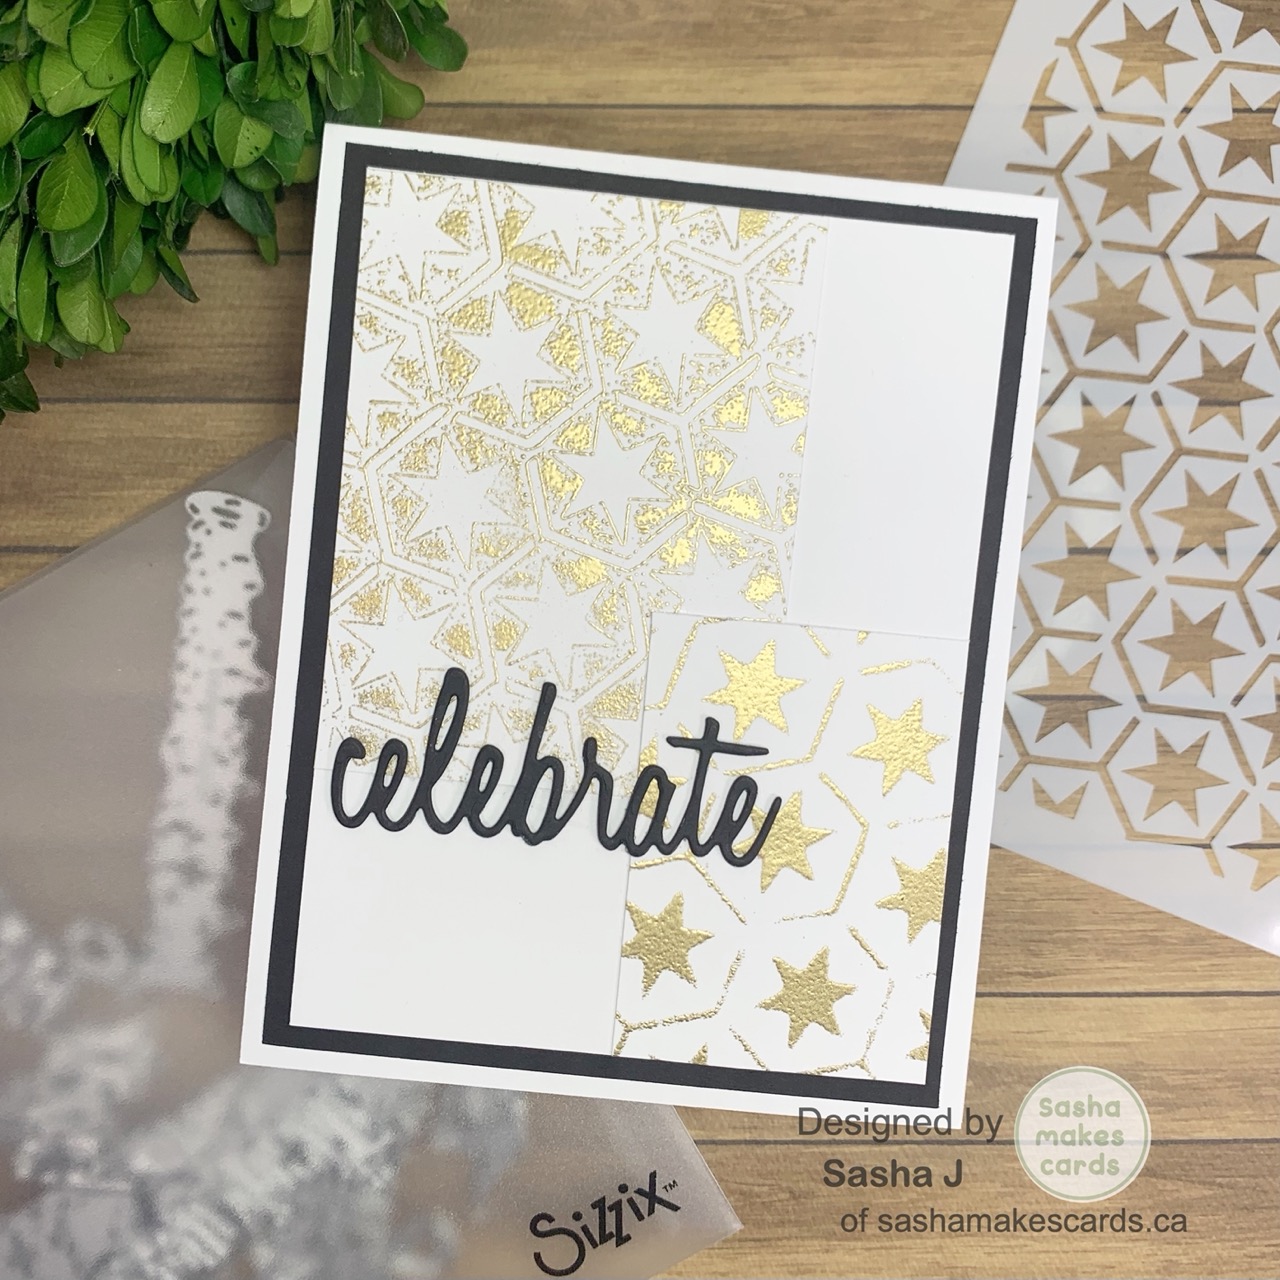
Hi friends! While doing some experimenting with some techniques using embossing powder the other day, I created two samples on small pieces of cardstock (as I had no intention of making a card using these pieces). However, I really liked how they turned out so I decided to make a card out of it! You just got to love a completely improvised card!

Using the Star Six stencil from Ciao Bella Paper, I first applied clear embossing ink right onto the stencil and stamping it onto a scrap of white cardstock. For the other way, I layed my stencil on a piece of scrap white cardstock and applied the embossing ink to the cardstock normally. For both samples, I used Princess Gold Embossing powder.

I chose a sentiment from Celebration Words: Script die set from Sizzix by Tim Holtz and die-cut that three times in black cardstock to layer for dimension.

To finish, I attached everything to a top-folding A2 card base.

Thanks for reading. Catch ya next time!

Sasha J


Products Used

  • Ciao Bella Paper Star Six Stencil
  • Sizzix + Tim Holtz Celebration Words: Script Thinlits Dies
  • Ranger Princess Gold Embossing Powder
  • Sizzix Clear Embossing Ink Pad
  • Heat Tool
texture rainbow main

Fun with Colour and Texture!

Hi friends! Today’s card is for the current Simon Says Stamp Monday challenge, “Rainbow,” but it’s also a texture challenge. For this challenge, I decided to use a puffy-embossing technique I learned from Marta Debicka – Drop of Sunshine on YouTube. It is a really fun technique and a great way of adding texture and dimension to your crafty projects!

I first stamped seven different animals from a few different Lawn Fawn sets (I will have the sets listed below) so that I could colour each animal a different colour of the rainbow. I used the following Ohuhu alcohol markers:

Red Elephant: R1, R2, R12

Orange Mouse: YR170, YR250, Y120

Yellow Elephant: Y120, Y3, Y030

Green Owl: GY1, GY2

Blue Hedgehog: PB7, B070, B220

Purple Mouse: V030, V250, V230

After fussy-cutting and die-cutting my images, I used Elmer’s School Glue, Black Ranger Embossing Powder, Honey Bee Stamps Perfect Bricks Background Stencil, and a heat tool to create a puffy embossing effect. I did this by mixing some embossing powder with the glue, spreading it over the stencil, and heating it. While simple, it adds a lot of interest to the card!

Before assembling the card, I stamped a sentiment using Lawn Fawn’s Dandy Day Stamp Set onto the card front. I then attached everything to the card base. I used foam squares to elevate each of the animals.

Thanks for reading! Catch ya next time!

Sasha J

Products Used

  • Lawn Fawn Elephant Parade Stamp Set and Coordinating Dies
  • Lawn Fawn Dandy Day Stamp Set
  • Lawn Fawn S’more the Merrier Stamp Set
  • Honey Bee Stamps Perfect Bricks Background Stencil
  • Ranger Black Embossing Powder
  • Heat Tool
  • Palette Knifes
  • Lawn Fawn
  • Ohuhu Alcohol Markers
  • Basic White Cardstock
  • Black Cardstock
  • Fiskars Portable Paper Trimmer, 12”
  • Double Sided E-Z Runner Grand Adhesive Tape Dispenser
  • Foam Squares
  • Sizzix Big Shot
  • Stamp Press
  • Lawn Fawn Jet Black Premium Ink Pad
  • Spectrum Noir Finesse (Noir Black)
  • Fiskars Titanium Micro-Tip Easy Action Scissors, 6”
  • Elmer’s School Glue