This post contains affiliate links that are of no extra cost to you. Using my affiliate links simply helps me to keep doing what I love – thank you!
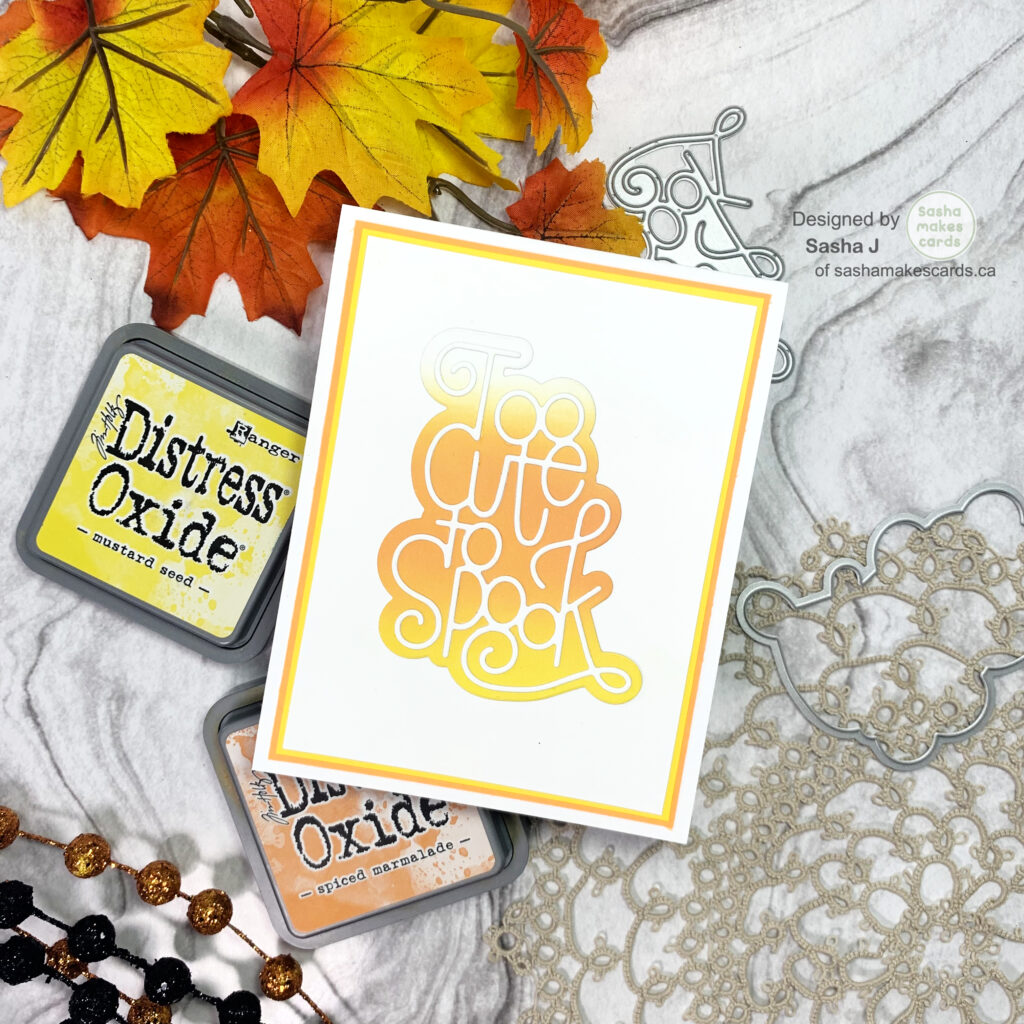
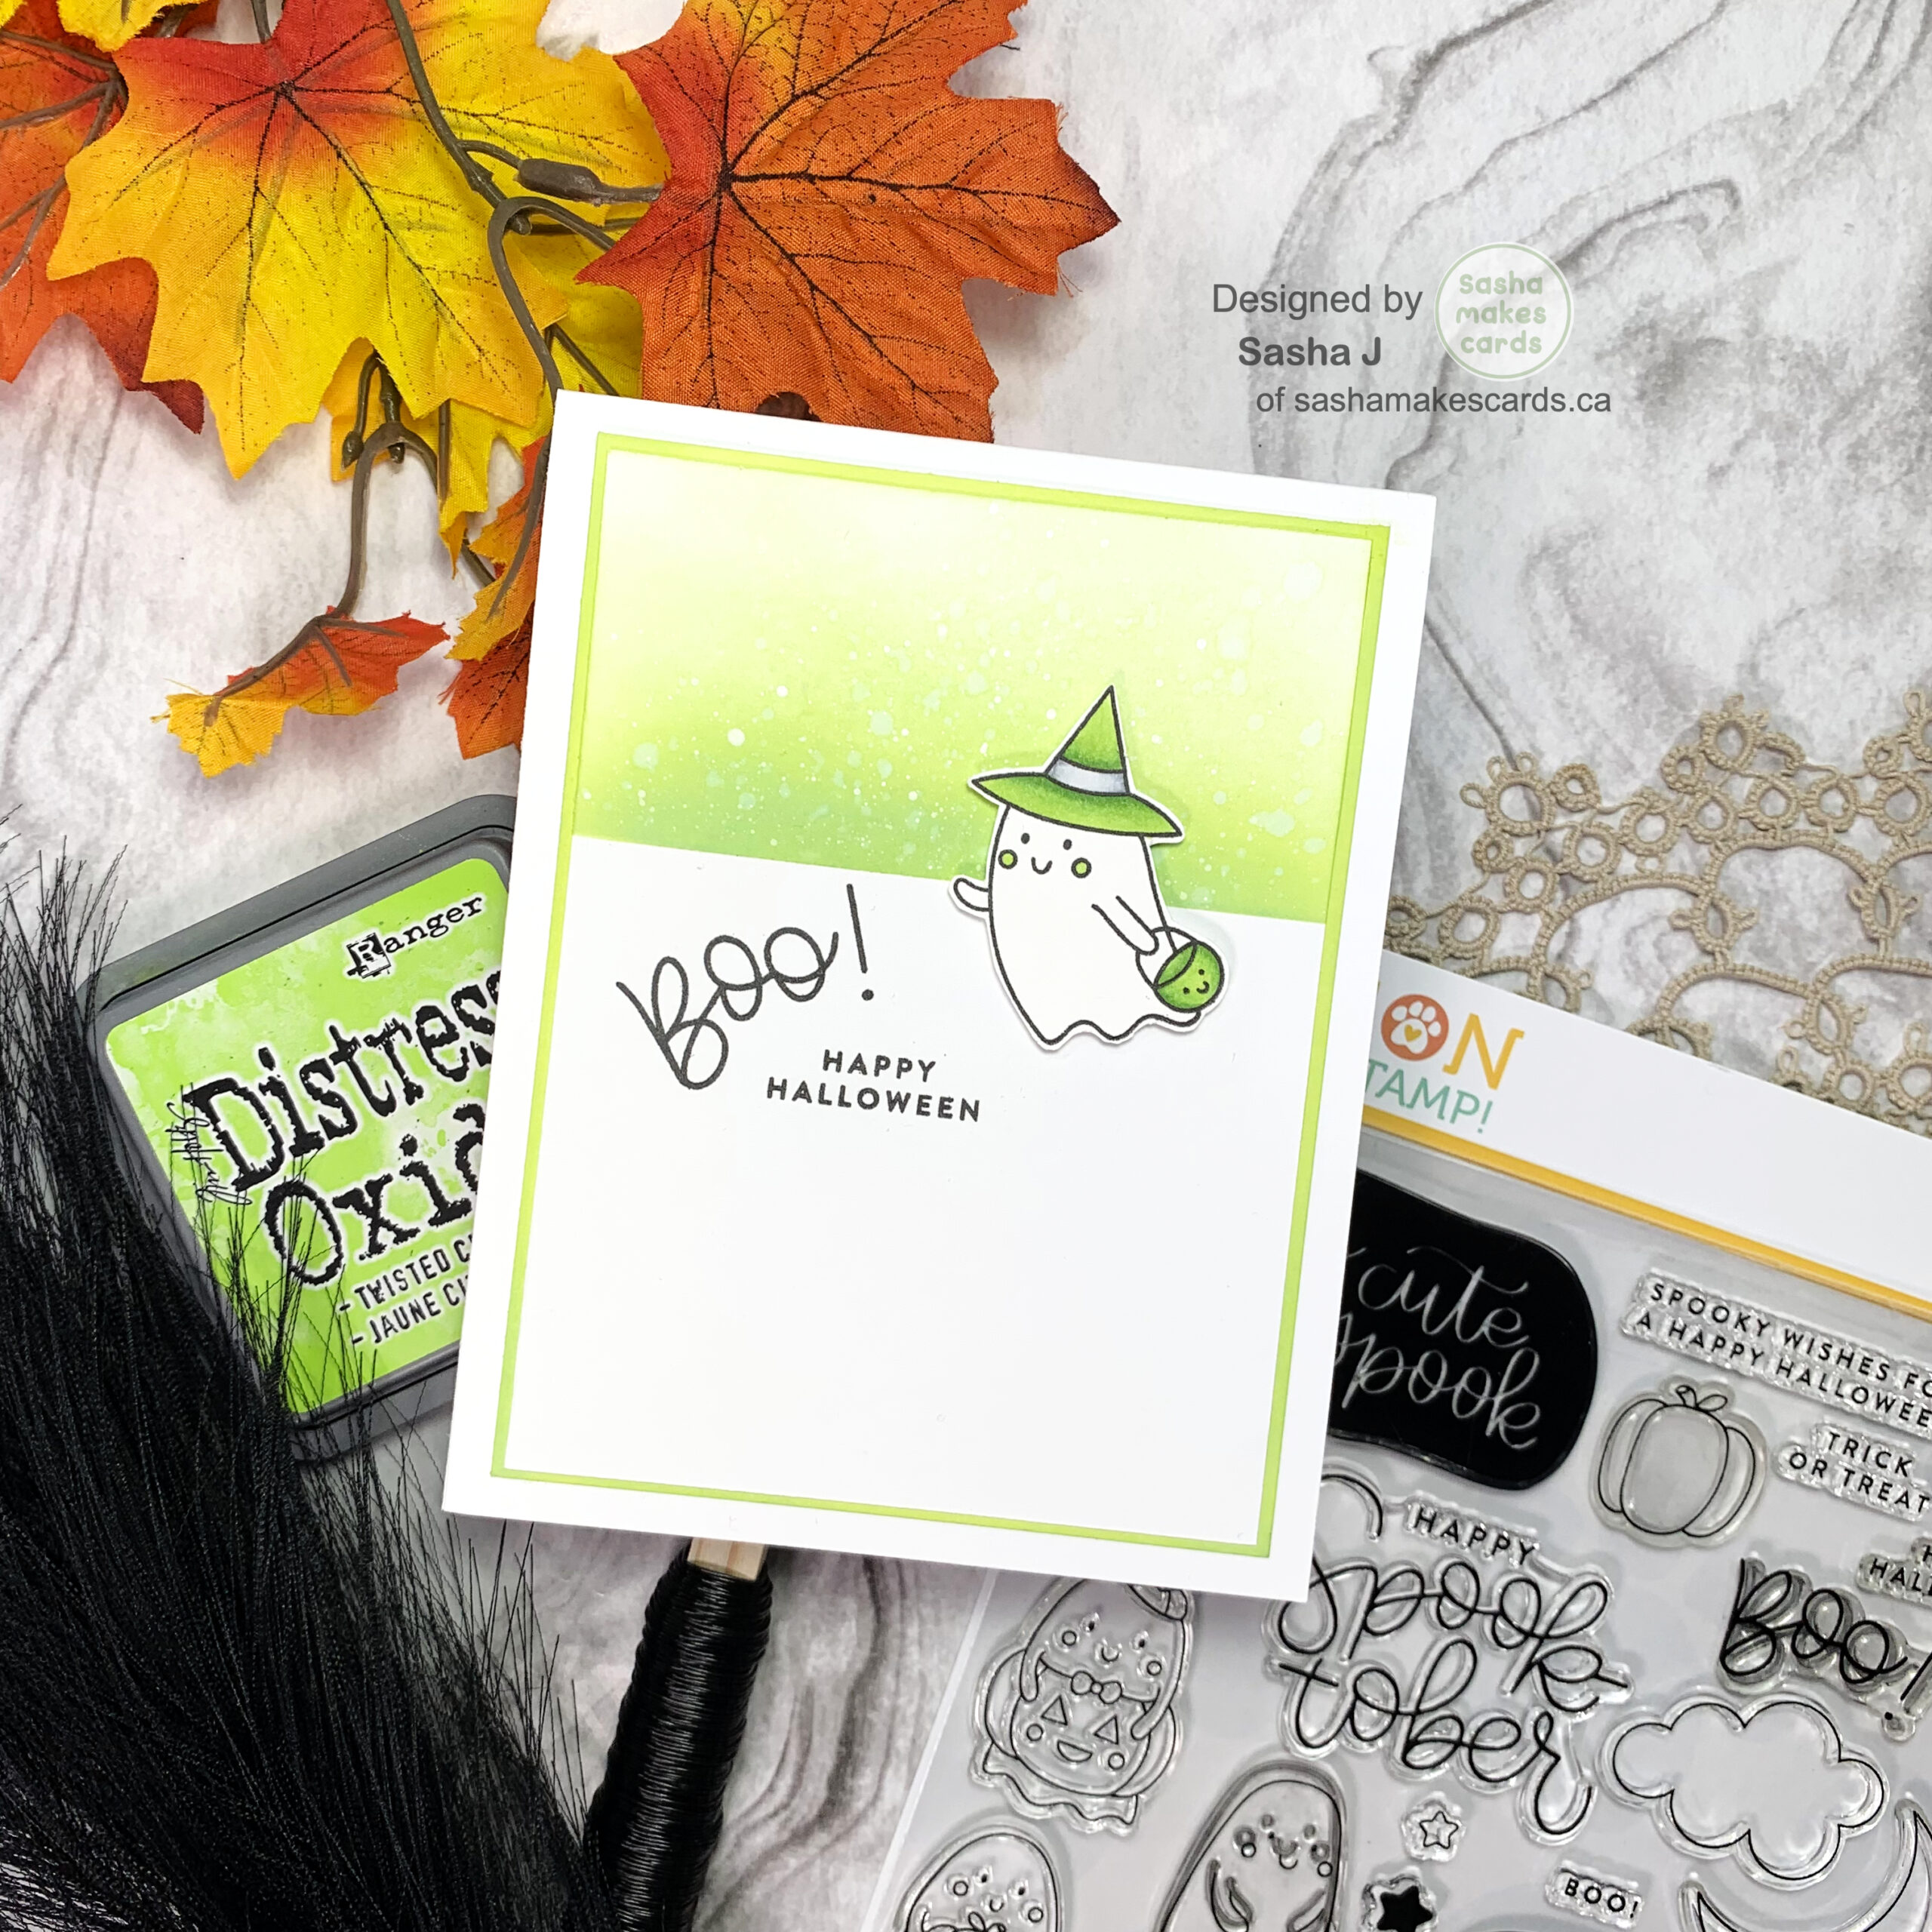
Hello friends! Today’s card is a clean and simple green Halloween card featuring the Simon Says Stamp Too Cute to Spook Stamp Set.
Once stamped using Simon Says Stamp Intense Black Ink, I coloured my ghost friend using the following Copics:
- Greens: YG03, YG13, YG17
- Greys: C1, C3, C5
Once coloured, I created a simple card background using Twisted Citron Distress Oxide splattered with water and Liquitex Titanium White Acrylic Ink. The sentiment was then stamped on the card background using Simon Says Stamp Intense Black Ink.
To adhere everything together, I used Scrapbook Adhesives Foam Tape and Bearly Art Glue.
Thanks for reading. Catch ya next time!
Sasha J
Products Used
- Simon Says Stamp Too Cute to Spook Stamp Set
- Simon Says Stamp Intense Black Ink
- Copics
- Twisted Citron Distress Oxide
- Liquitex Titanium White Acrylic Ink
- Scrapbook Adhesives Foam Tape
- Bearly Art Glue
- Fiskars 6″ Spring Assisted Scissors
- Hammermill 100lb Cardstock