
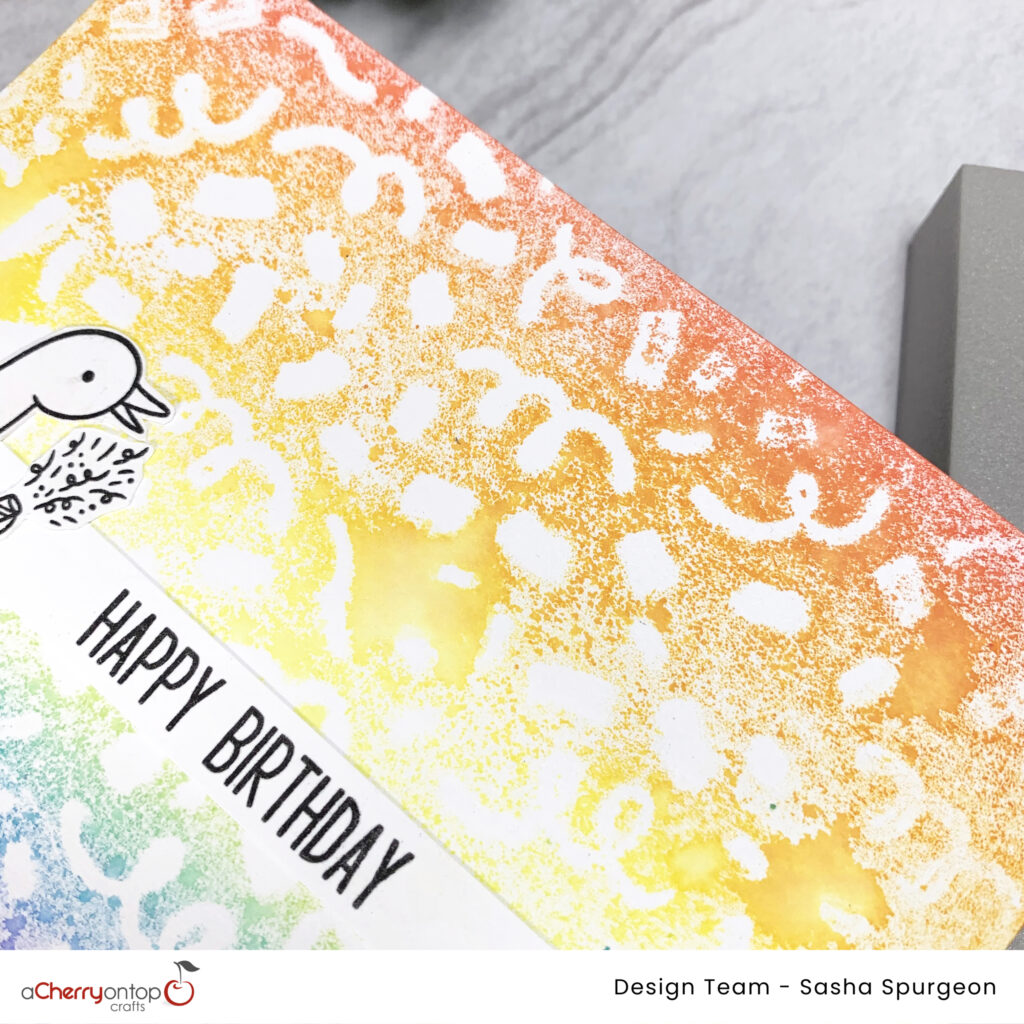
Today, I wanted to have some fun using Simon Hurley’s Stamping Foam! Although I don’t use it often, stamping foam is a piece of foam that, when heated, can be imprinted with anything your heart desires! Anything is possible from the textures of clothing to household staples such as paper towels! For the card I am creating today, I decided to use the new Simon Hurley Confetti Peel-Apart Rubber Background Stamp with the stamping foam, as background stamps work really well with it.

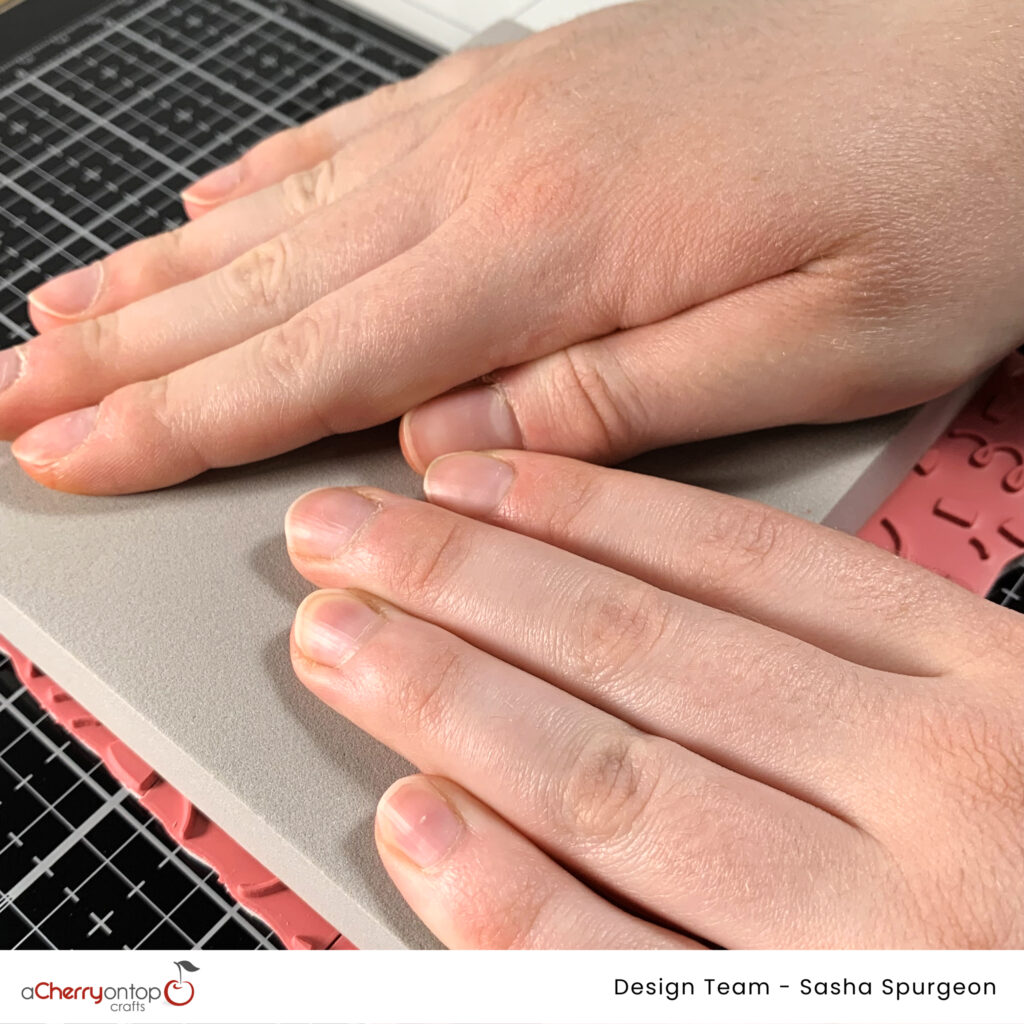
To create an impression in the stamping foam, I heated the foam with my heat gun and then firmly pressed it onto the Confetti background stamp. To ensure the stamp would not move while doing this, I placed it on my glass mat work surface to hold it securely in place.
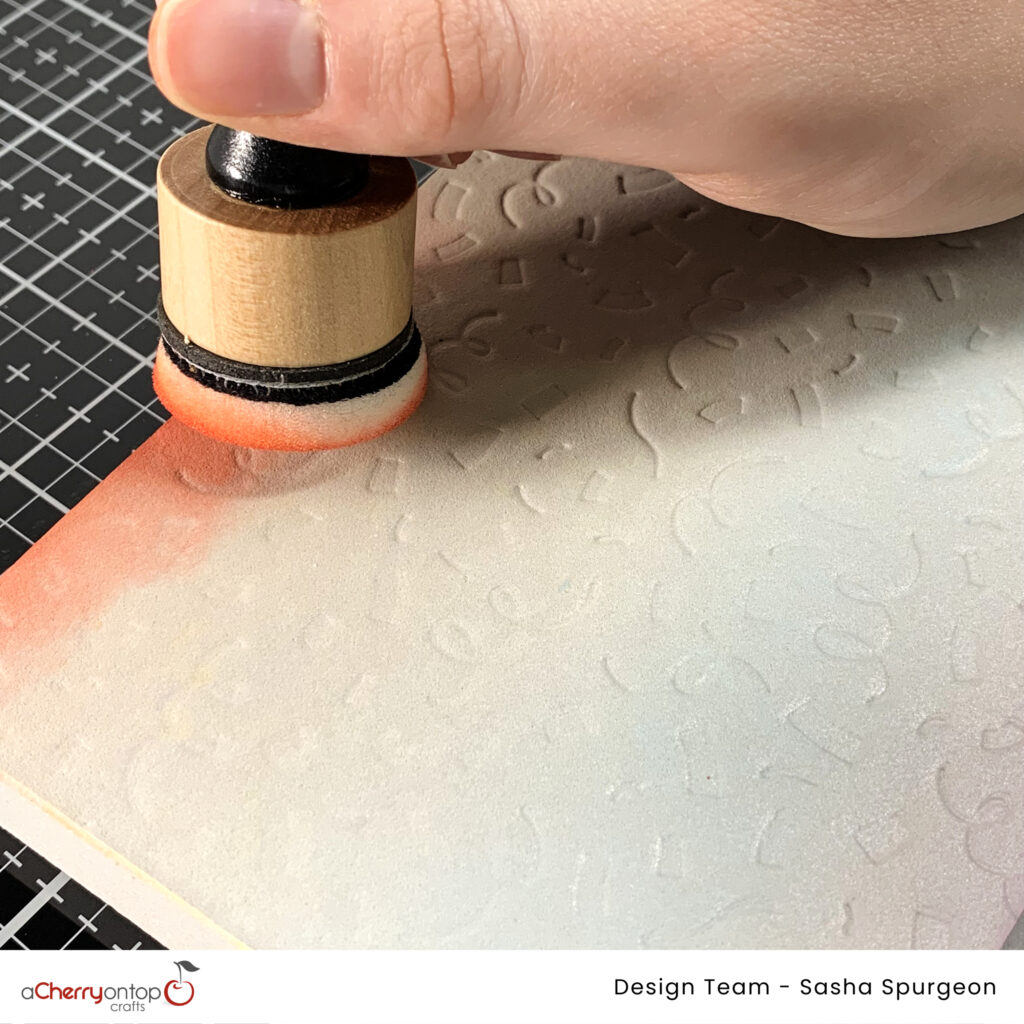
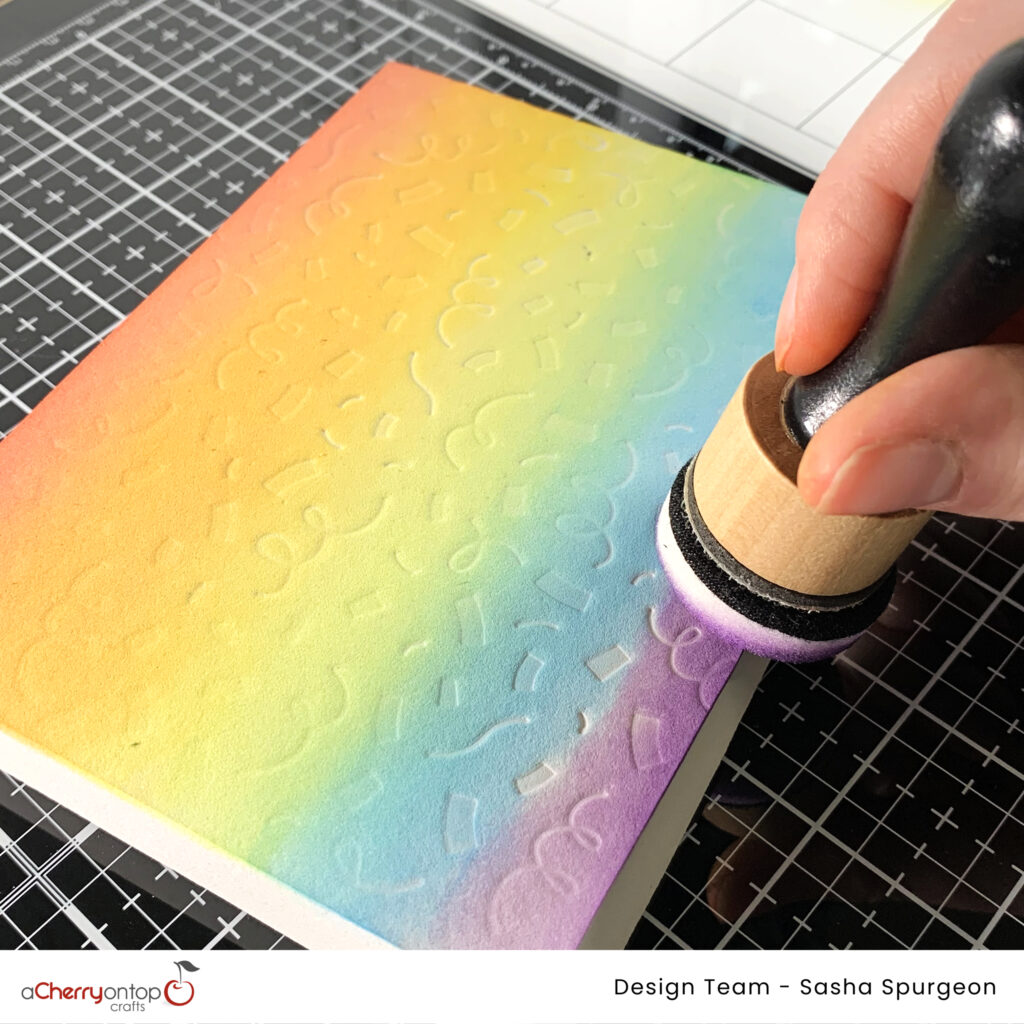
Once the impression has been created in the foam, I then start to create a rainbow of color on the stamping foam using different colors of Distress Oxide inks. To do this, I use an ink-blending tool, such as the Ranger Ink-Blending tool, to put the ink onto the stamping foam in rainbow order by lightly tapping or swiping the colors to make a gradient. The colors I used for this were Candied Apple, Spiced Marmalade, Mustard Seed, Twisted Citron, Salty Ocean, and Villainous Potion.
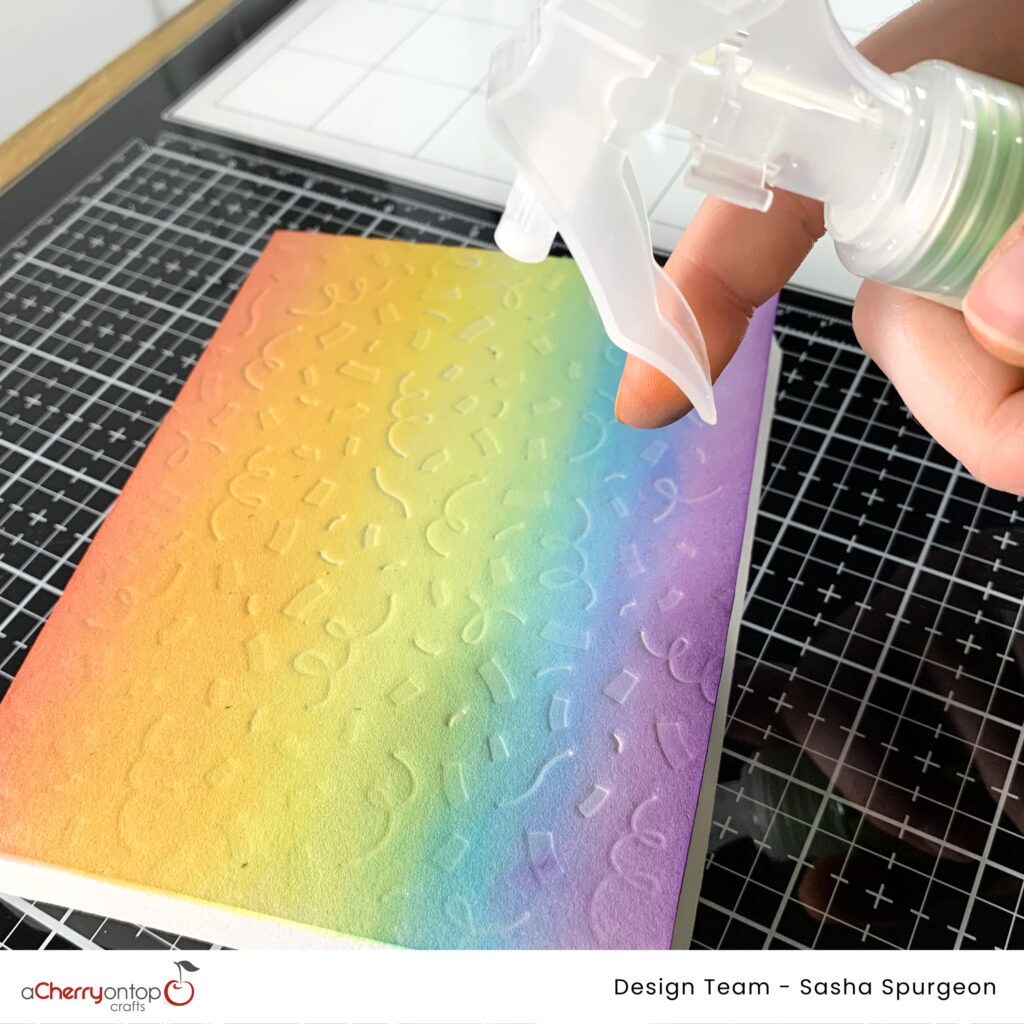
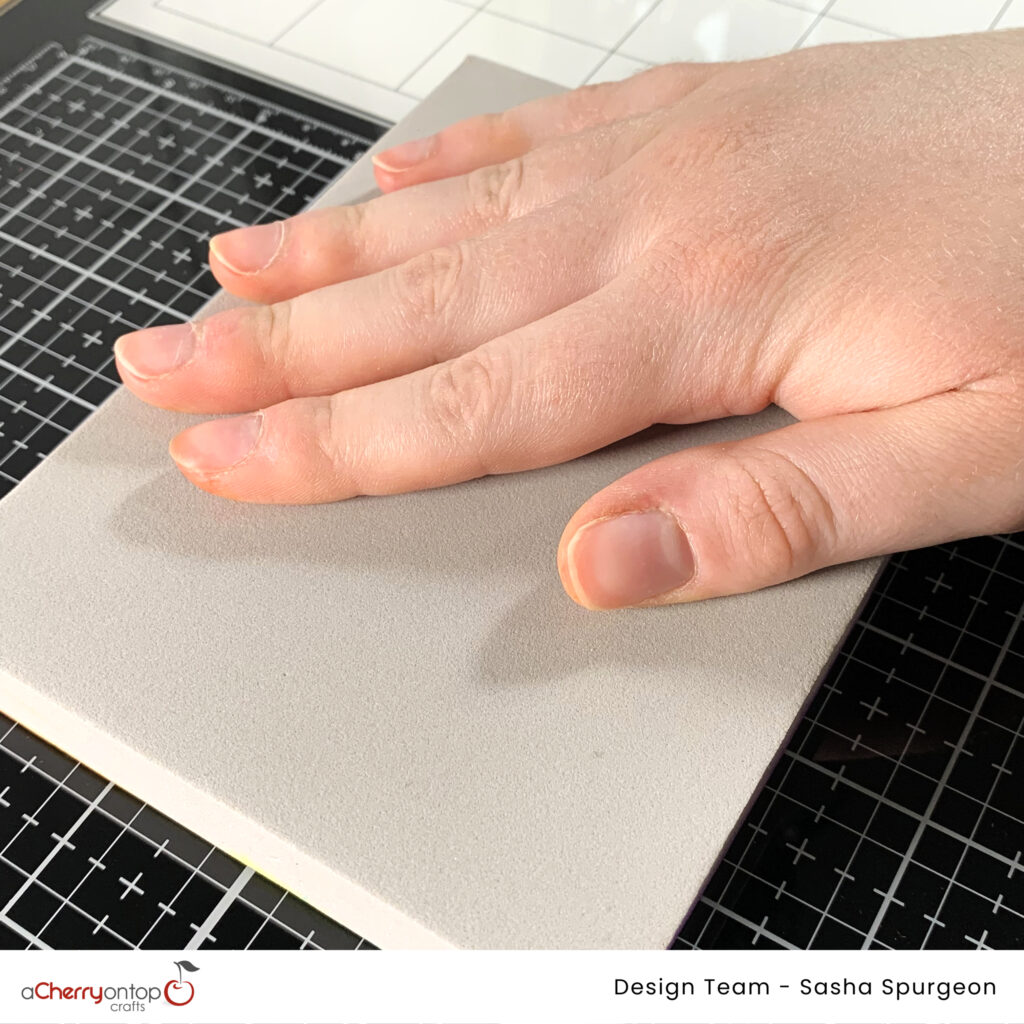
Now that the stamping foam is full of color and ready to go, I lightly misted the top of the foam using a spray bottle of water and stamped the foam on my project. To ensure the cardstock would not move during this step, I placed some low-tack tape on the back of the cardstock to hold it in place on my work surface.
After you are done using the stamping foam, all you have to do is wipe off any excess ink with water and a towel and re-heat the foam to return it to its original state—it feels like magic!
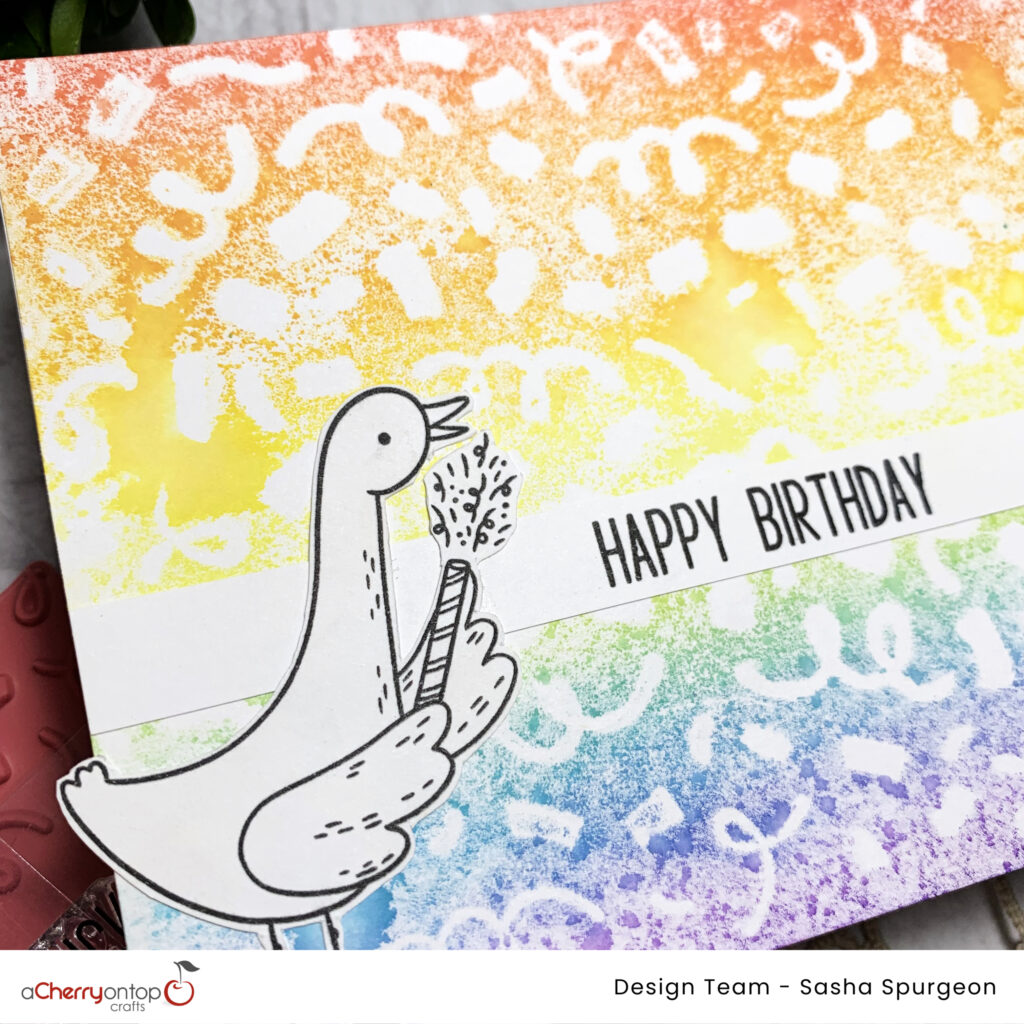
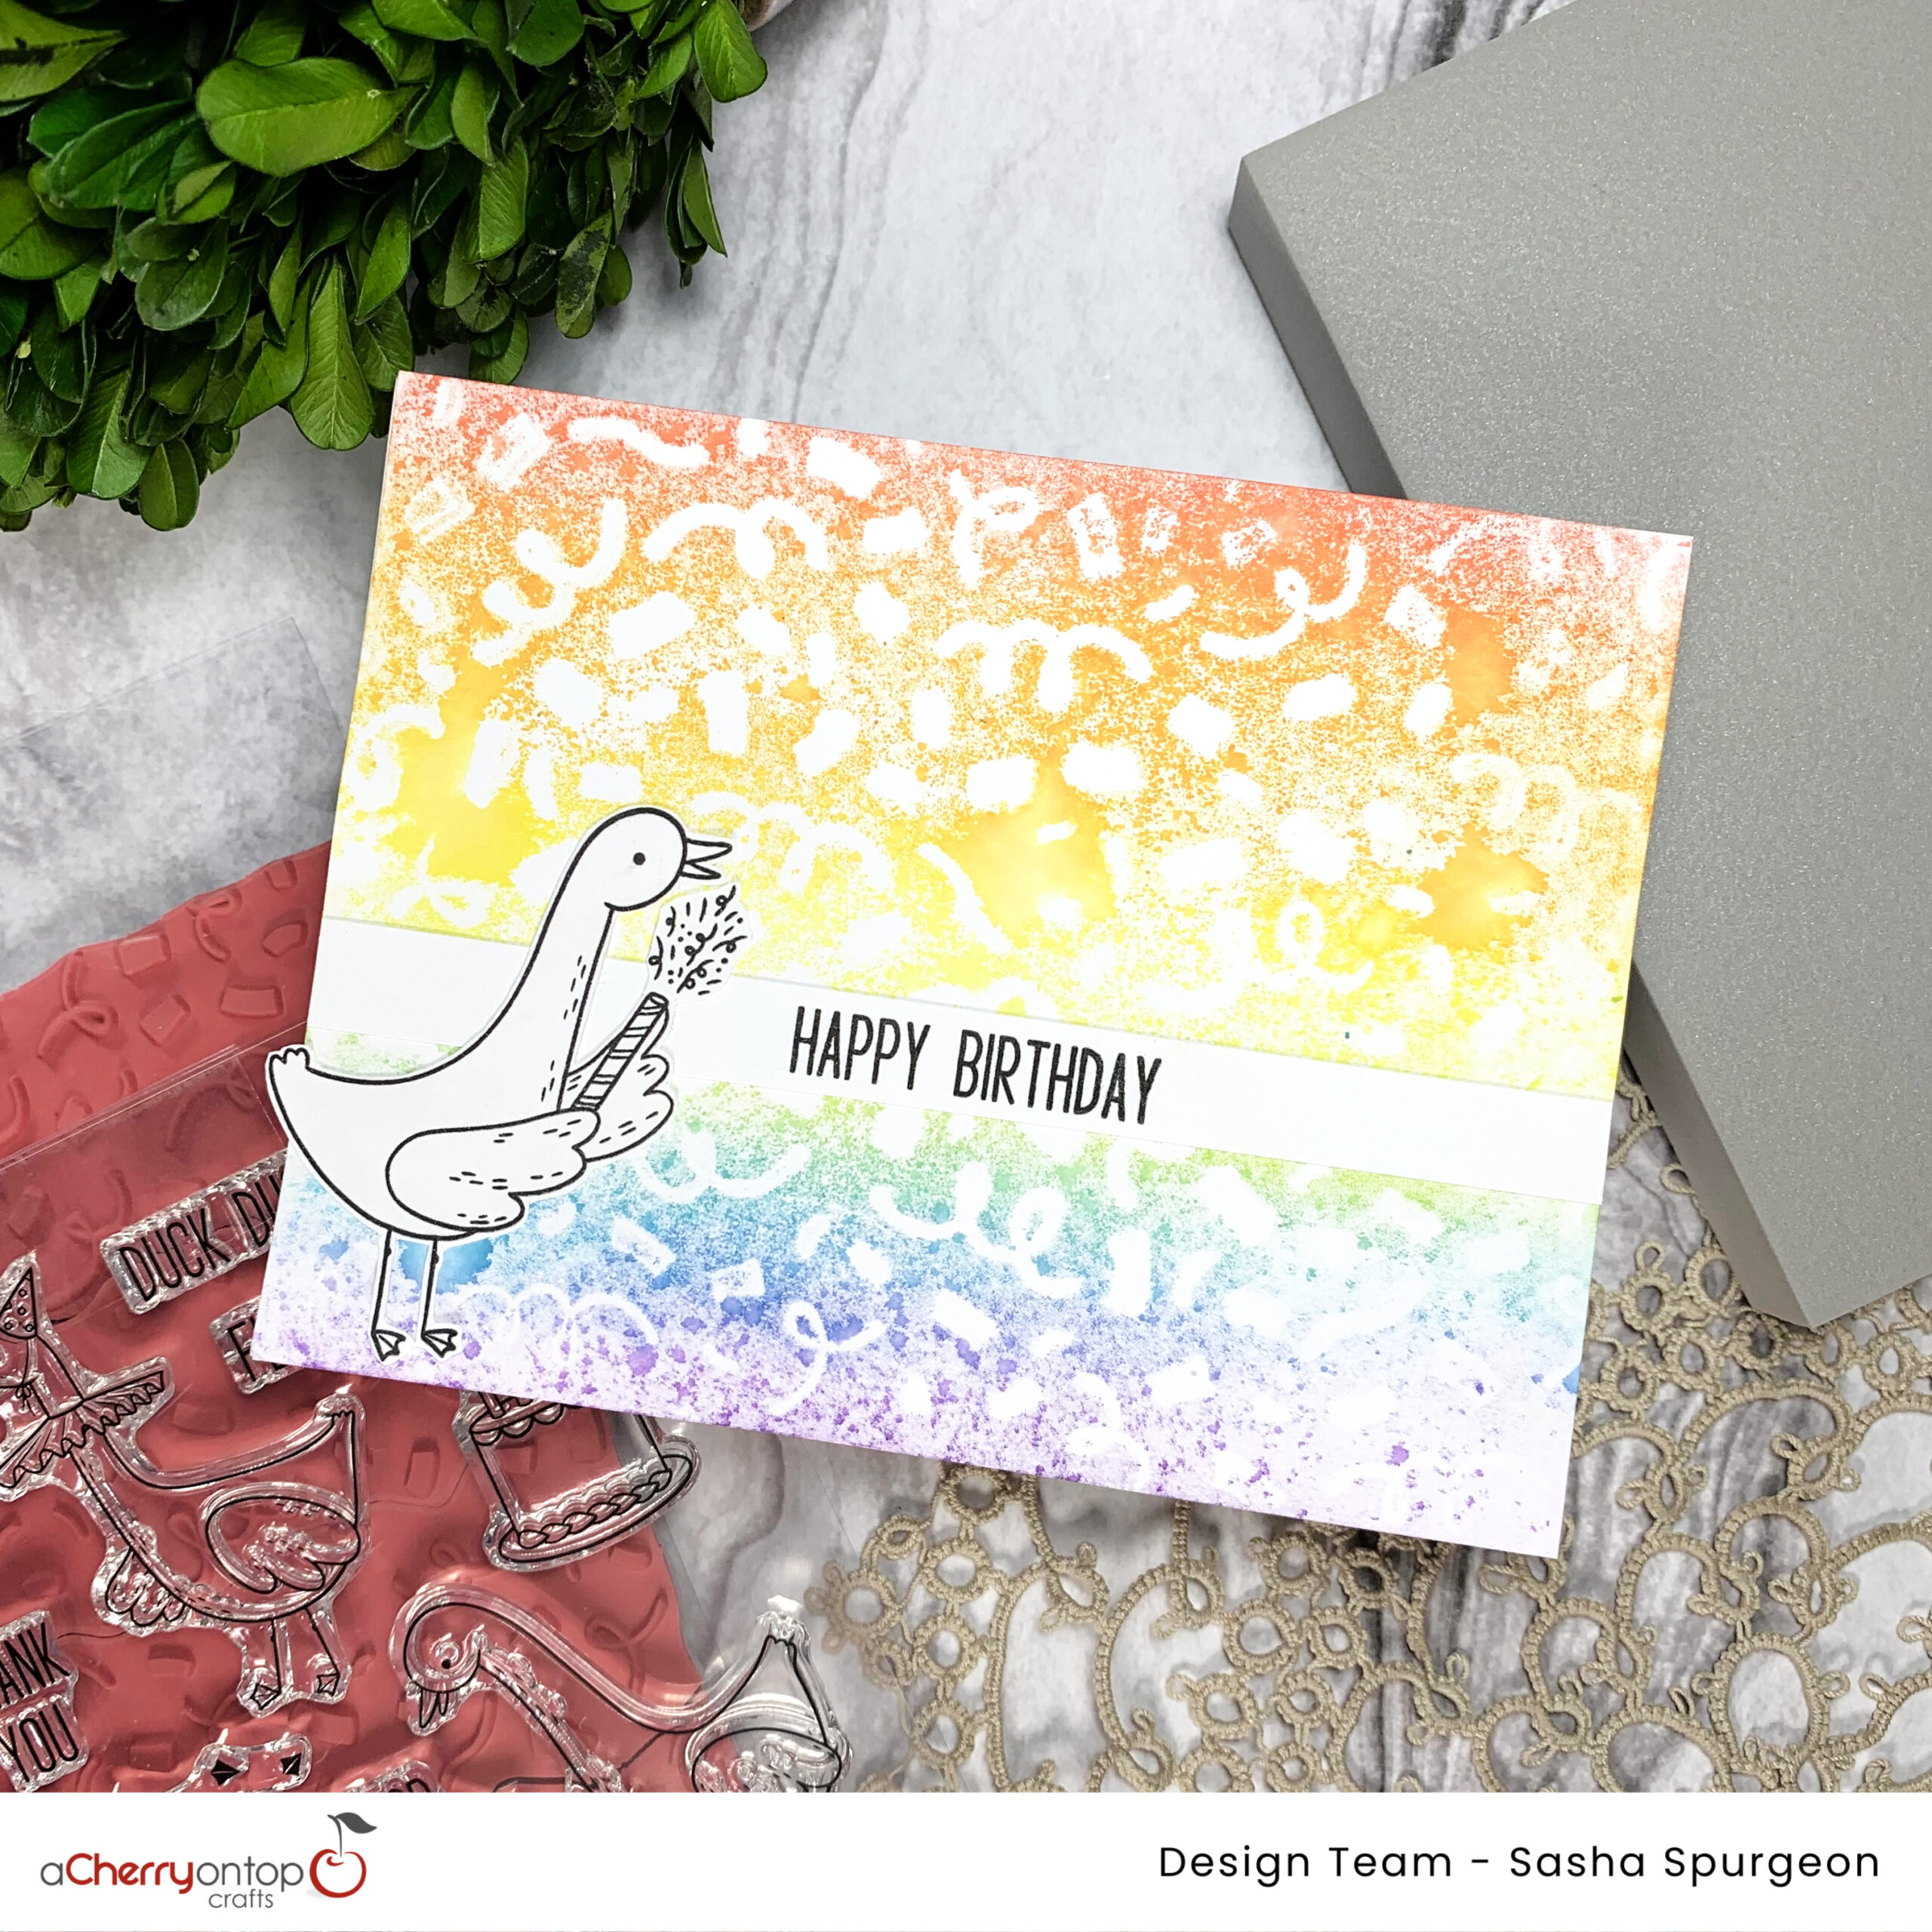
To finish off my project and to compliment the background I created using the stamping foam, I stamped an image and sentiment from Simon Hurley’s Silly Goose Stamp Set using Gina K. Designs Obsidian ink. I then adhered these elements using liquid adhesive.
And that’s the completed project!
To watch me make this card, be sure to check it out on TikTok!
I always love reaching into my stash and playing with exciting tools I don’t often use on my card projects to create unique effects! Stamping foam is especially a really fun mixed-media tool to have some fun with!
Thanks for reading! See you next time!
Sasha
Products Used
This post contains affiliate links that are of no extra cost to you. Using my affiliate links simply helps me to keep doing what I love – thank you!
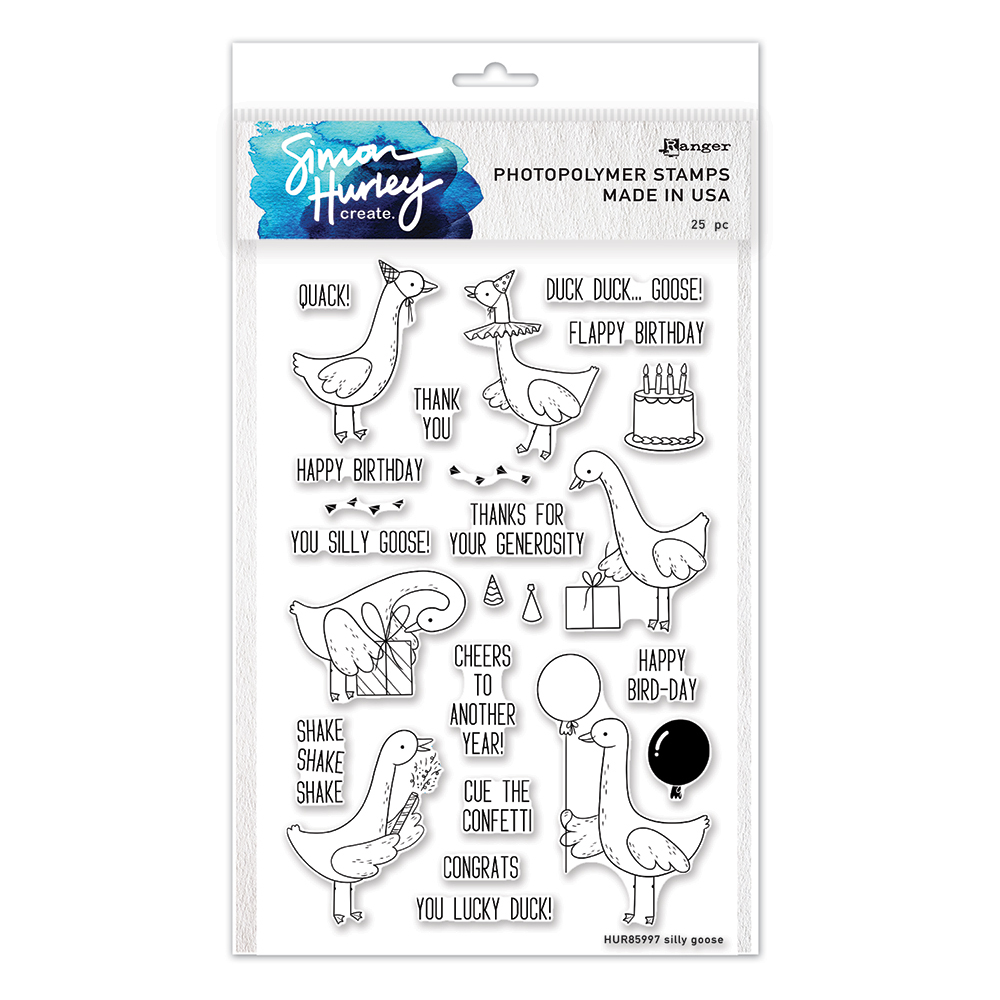
Silly Goose Stamp Set
Buy From
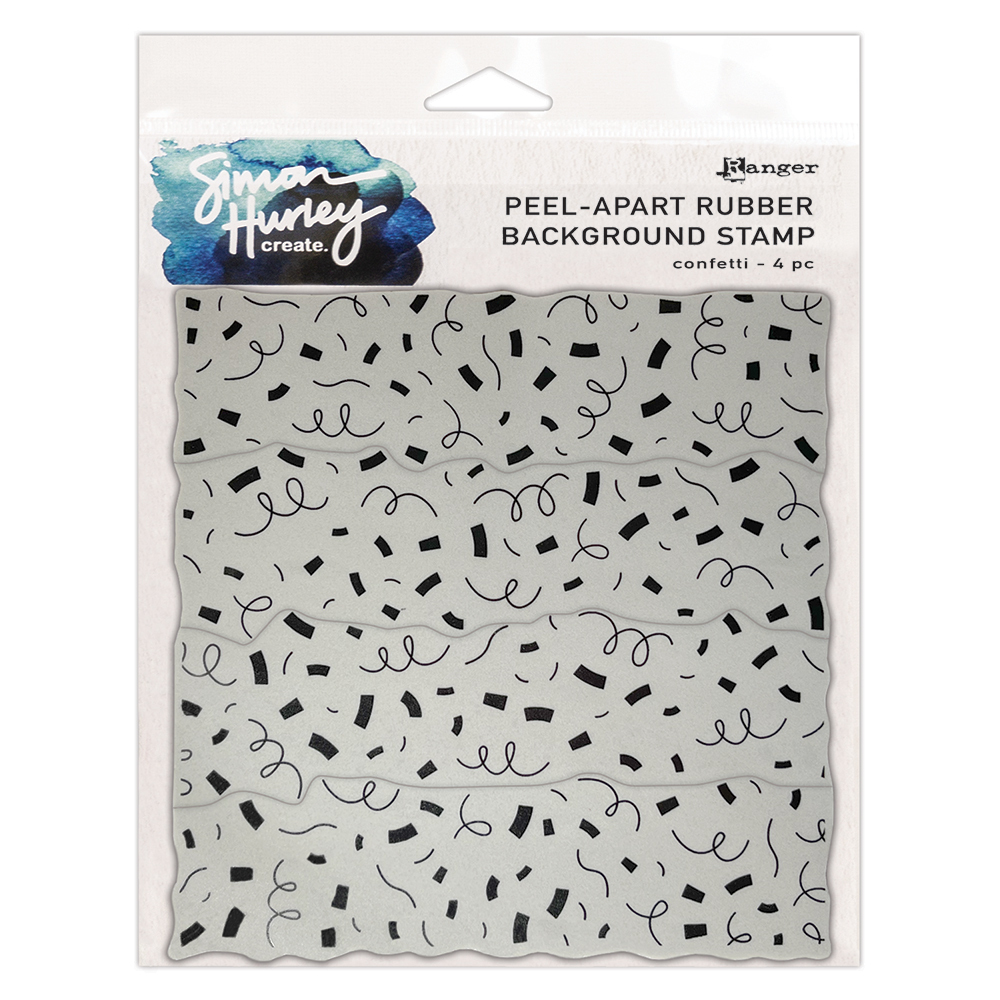
Confetti Background Stamp
Buy From
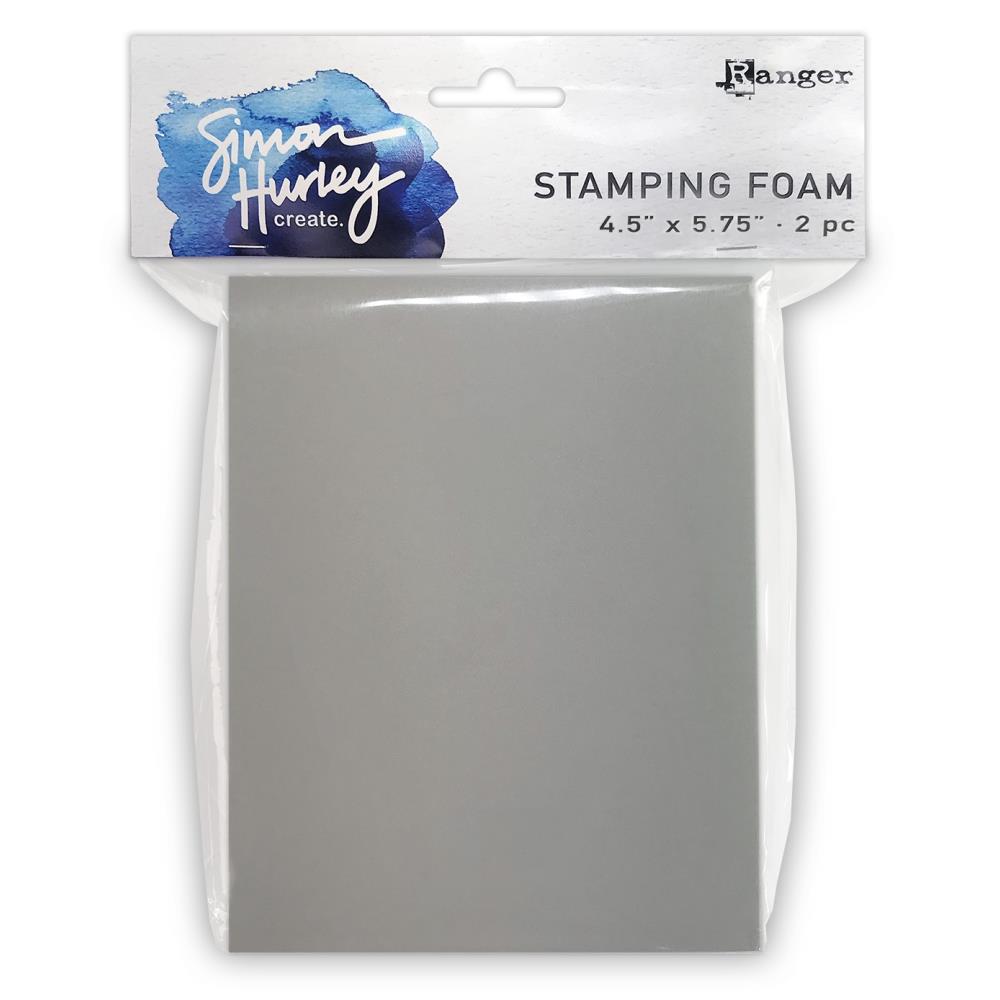
Simon Hurley Stamping Foam
Buy From
Tim Holtz Distress Sprayer
Buy From
Candied Apple Tim Holtz Distress Oxide Ink Pad
Buy From

Spiced Marmalade Tim Holtz Distress Oxide Ink Pad
Buy From

Mustard Seed Tim Holtz Distress Oxide Ink Pad
Buy From
Twisted Citron Tim Holtz Distress Oxide Ink Pad
Buy From
Salty Ocean Tim Holtz Distress Oxide Ink Pad
Buy From
Villainous Potion Tim Holtz Distress Oxide Ink Pad
Buy From
Obsidian Amalgam Ink Cube
Buy From

Gina K. Designs Connect Glue Small Tube
Buy From
12″ Portable Fiskars Paper Trimmer
Buy From
Scor-Pal Eights Measuring & Scoring Board – 12″ X 12″
Buy From
Add a Comment